

What The Orange Color Means On Electrical Wires In Your Home
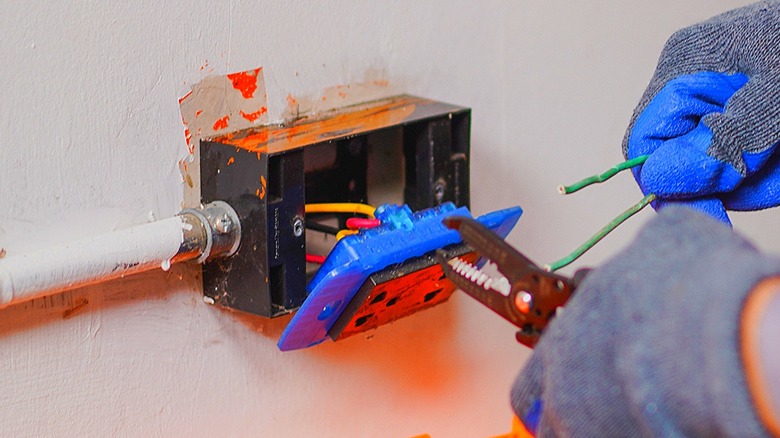
With all of those easy-to-follow YouTube tutorials out there, it's never been easier to DIY your own simple home wiring projects. But whether you're replacing an outdated light fixture or installing new garden lighting, you need to know what you're getting into so your cool home project doesn't turn into a visit to the emergency department or a call to the insurance company. That means understanding the purpose of your home's orange wiring so you can safely work around it.
While there is no official federal-level code governing all electrical wiring colors, many states and municipalities adopt color-coding guidelines from the National Electrical Code (NEC). Beyond NEC codes, contractors and electricians tend to be governed by industry conventions. Under both NEC and de facto conventions, orange wiring typically indicates a hot wire – that is, a wire carrying electricity.
According to NEC standards, orange wires are reserved for "high-leg" conduction within a high-leg delta system. These much higher-voltage systems are typically not found in residential homes. They may also be used with certain appliances such as an older model electric range or an electric water heater. As a layperson, the only thing you can know for sure is that it's a hot wire.
Most of the time, hot wires within a residence will be black. However, these wires can also be orange, yellow, blue, brown, or red (as opposed to green ground wire or neutral white or gray wire). Writing on r/AskElectricians, one Redditor advised, "Ther[e] are no firm color codes for hot wires ... they can use any of 8 colors for hot." Either way, orange wires, and any wires that could potentially be hot, should never be touched if there's an operating power source.
Safety steps when working on wiring in the home
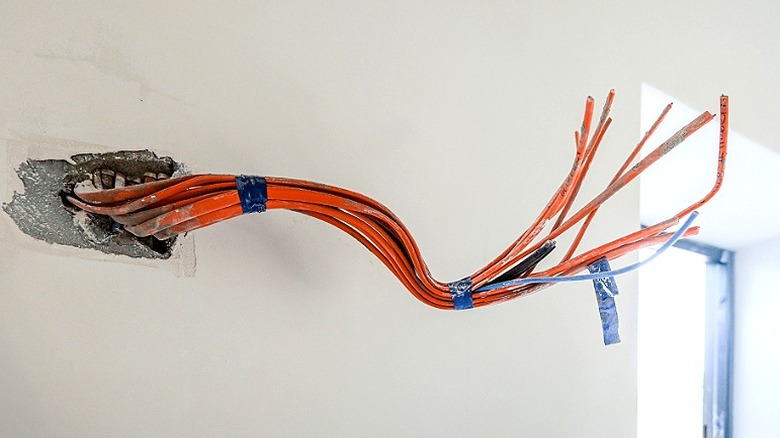
Whether or not you spy a live wire (like an orange wire) inside of your home's walls, always exercise extreme caution when dealing with wiring. To ensure you are safe, that means turning off the circuit breaker to the area in question before you begin any work rather than merely turning off the light switch.
After locating your circuit breaker, your safest option is to cut off power to the entire house before wiring. However, this isn't always workable for busy households. If you're just turning off the circuit within the area you'll be working in, make sure you've got the correct one.
Many DIYers will simply flip on the light to observe whether the breaker getting flipped turns it off. However, breakers can be mislabeled, and it's possible to still have a current running through your circuit. That's why the safest method for checking voltage is to use a no-contact voltage meter to ensure the breaker is off. Use your no-contact meter to test both the wire and the light switch – ensuring there's no power going to the area.
Once you've established you have the right circuit, turn off the light switch, and then label your breaker if it isn't already. Now that you've double-checked your breaker is shut off, it's time to get busy installing your new ceiling fan or light fixture!