Steps For Installing A Ceiling Fan To Cool Down Any Room
Ceiling fans are an essential home appliance, and that is the hill that we would die on. Not only does it keep your room cool during the summer, but it also circulates heated air around the room during winter. Even more, it serves as an excellent hanging spot for lighting décor. Although this home appliance is sold everywhere and seems like the simplest device to buy, it can be challenging to get the right ones without guides.
If you're a strict budget follower, the price tops the list. Fun fact, you can get your working fan for as low as $50, but you want to know what functions it performs aside from cooling the area, and sometimes, a lesser price means low quality. Another factor, according to The Times of India, is the fan size. Fans vary in size, and a bigger fan simply translates to better air circulation for your room. Also on our checklist is the durability of any fan you purchase. Before getting your fan, you want to ensure its quality to avoid wobbling down the road, via A-1 Dayton Electric. After considering these and more, you can proceed to buy your fan.
Many homeowners would prefer hiring a professional to install their ceiling fans, costing between $100 to $150, says 5Estimates. But if you want to DIY the installation, we've got you! Read on!
Unpack your ceiling fan and review the safety precautions

Like other appliances, your ceiling fan comes with a manufacturer's guide that'll be useful during and after installation. You'll have to unpack your ceiling fan, gather the parts together and settle down to digest the content of the guide. By reading, you'll find out the names of each fan part, the number of screws, how to fix it when damaged, and the installation and cleaning process, says Energy Vanguard.
In addition to these tips, you must secure yourself from electrocution by switching off all electrical connections on the circuit breaker, says Hvac-buzz. Remember that you'll work with wires that may spark or cause electrical shock if connected during installation. After this, ensure the potential installation spot is free from all damaged wires and other obstructions. While inspecting the site, you can seize the opportunity to clean off specks of dust and dirt. It'll make your home cleaner and avoid dust speckles entering your eyes while working.
After that, you'll need to gather your installation tools: a ladder, crescent wrench, voltage tester, pliers, screwdrivers, electrician's tape, safety glasses, gloves, and mask, via DelMar Fans and Lighting.
Select an installation spot
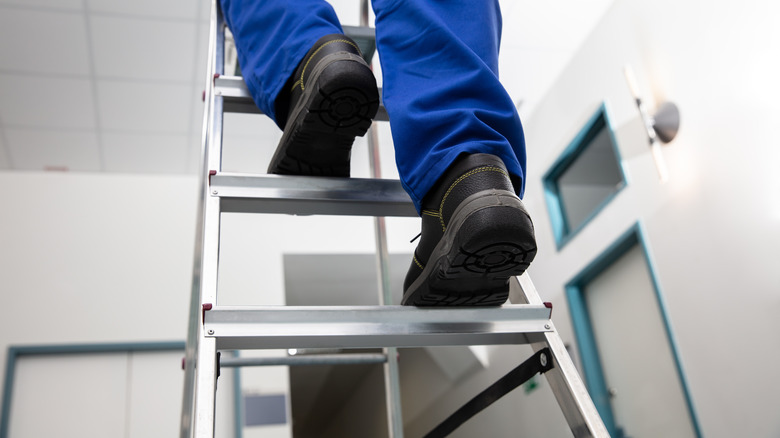
The next step is choosing an installation spot for the ceiling fan. With your ladder, climb to the ceiling to easily measure and locate the area. It is recommended to place the fan at the center of the room for equal air circulation. To avoid any errors, use your tape to measure the length and width of the room. Divide each figure into half, and you'll achieve the center. Pursue Today suggests that you measure the room's floor for an easy process. Before hanging the fan, check for any cracks on or around the site to ensure safety.
Additionally, you need to bear in mind that your ceiling fan should hang 8 to 9 feet above the ground, while fan blades have to hang at least 7 feet from ground level to provide adequate air circulation, writes DelMar Fans and Lighting. If your ceilings are higher or sloppy, you need a longer downrod for added length, says Modern Fan Outlet. Likewise, your ceiling fan blades need a space measuring 8 to 10 feet below the ceiling and should be 18 inches away from the window or doors.
Fix the junction box and mounting bracket
Now, you have to mount the junction box for your fan. Amongst other benefits, the junction box is critical to secure wires from hanging carelessly, and even the Electrical License Renewal requirement for fans weighing over 16 kg. To do this, you need to cut out a hole at your measured center of the room. Then, insert a brace into the hole and turn clockwise until it locks with the ceiling joist. Proceed to seal the brace well with a wrench after inserting cable wires. Then, you need to attach the U-bolts bracket to the sealed brace before inserting the nuts through it. Tighten the nuts loosely after this before moving to install the mounting bracket.
Thereafter, you attach the mounting bracket to the box. A ceiling fan's bracket, according to wikiHow, gives the fan a perfect suspension to the ceiling. So, insert your mounting bracket in the junction box and connect wires through their middle to secure both parts. Retighten the junction box bolts with a wrench and ensure this is fit enough to hold the fan in place when rolling, says Electric City Corporation.
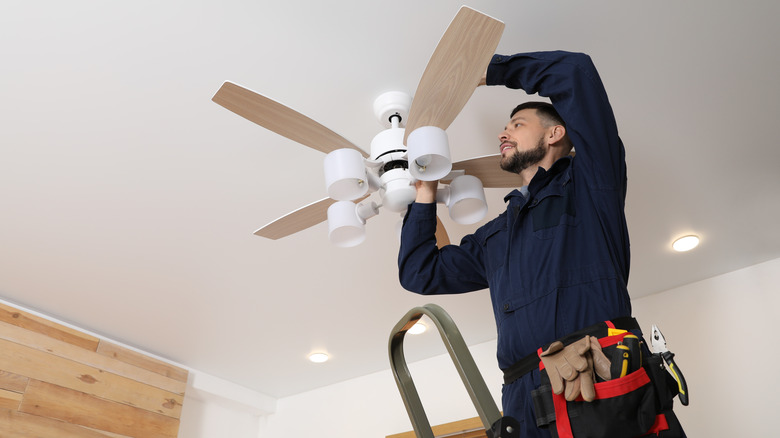
Install the ceiling fan
It's time to fix your ceiling fan. If you're using a downrod for added length, ensure you have the right size for your appliance, via Modern Fan Outlet. Then, place your ceiling fan on a flat area to fit correctly before attaching it to the ceiling. This is very important because any mistake will require you to uninstall and, most times, cost you more for repairs. After this, tighten the downrod to the fan body using screws. To perfectly secure your downrod, check for all screw holes on the fan body and tighten well. Also, read your manufacturer's guide to check for recommendations on using downrods, says Rustic Lighting and Fans.
When you've completed this process, carefully lift the fan to the ceiling. WikiHow recommends you have someone to hold your ladder in place while working on your fan for safety purposes. Also, check if your fan has a temporary holding point for you to connect the wires. If not, you'll need assistance holding it until you're done with the connection. Being scared at this point is normal because you will have to work with wires — just be careful and take all the precautionary safety measures.
Connect other parts of the ceiling fan
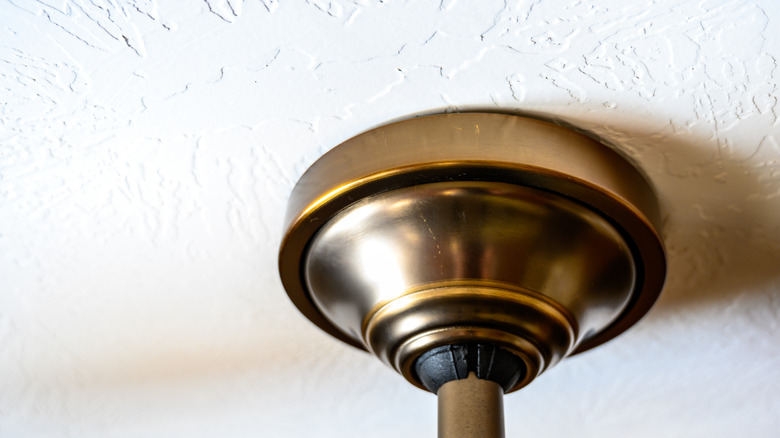
You're almost done with installing your ceiling fan. Remember, other parts of the fan are yet to be connected, most notably the blades. Now, it's time to do that. The first step is to secure the fan canopy over the fan box. The canopy serves as the concealer of the wires and other internal connections of the fan, said Hunter. With the remaining screws, attach the canopy to the right spot and tighten well. Ensure the screws are well connected to avoid the canopy falling off and damaging your fan during motion, says wikiHow.
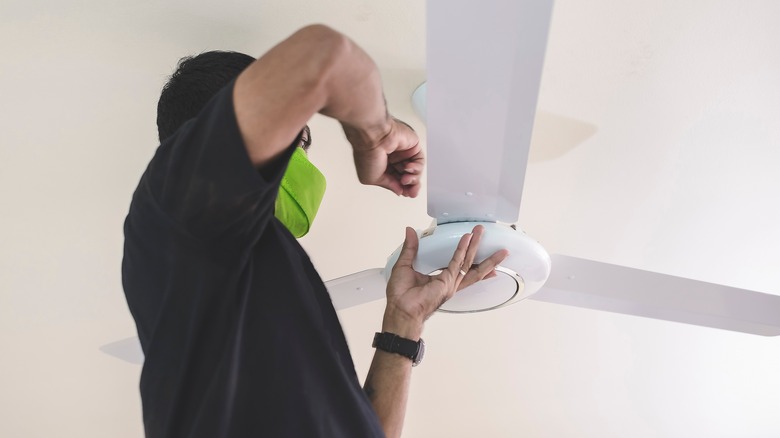
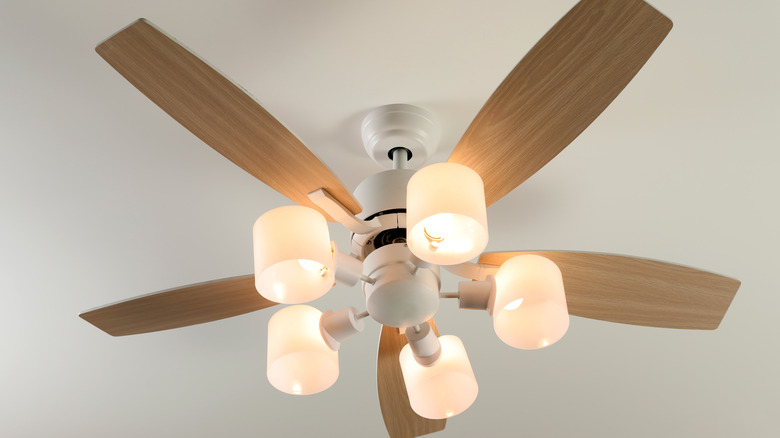
Proceed to attach the fan blades by inserting them into their position on the fan motor. As we mentioned earlier, your guide will provide the necessary information on the connection spot for the fan blades. Tighten the blades well with their screws because looseness could lead to wobble, says Interiors Place. If the fan is designed to hold light fixtures, attach them to their spaces. Well done; the installation process is completed. You can proceed to switch on the fan and check for any other adjustments.