

Sanding Furniture Is 10x Easier And Neater With A Simple Swap

We may receive a commission on purchases made from links.
You've decided to upgrade your furniture with a new look and refurbish it yourself. The plan is to include all the bells and whistles to turn that old dining room table and chair set sitting in your basement into a new room showpiece. But you start the sanding process with your orbital sander, and before you know it, your workshop looks like a dust storm tore through it. On top of that, having to empty the dust bag (or can) periodically and unclog the sander is annoying and a huge time suck.
Luckily, there's a solution to this common problem: use a mesh sanding disc instead. These discs are similar to your typical sanding disc, except that they lack the paper backing. The abrasive sanding surface is just a mesh screen, which allows more dust to pass straight through into the dust collection can, preventing the sander from clogging and minimizing dust accumulation on your work space. This simple disc swap translates to less time and effort spent cleaning up and clearing clogs, and more time spent on other project tasks — it also means less money spent on drop cloths from Lowe's.
If you're looking to bring your furniture back to life using mesh discs, take note that they'll typically have higher price points than sandpaper ones. But the trade-off is that they tend to last longer and don't tear as easily. You can find them at hardware stores or on Amazon. For example, this 3M Xtract Net Disc 12-piece set is available for just under $10 and will work for the average DIY project. If you want to get more discs, there's also a BMOTL 5" 50-pc set available for close to the same price.
Tackling the messiest sanding step with a mesh disc first
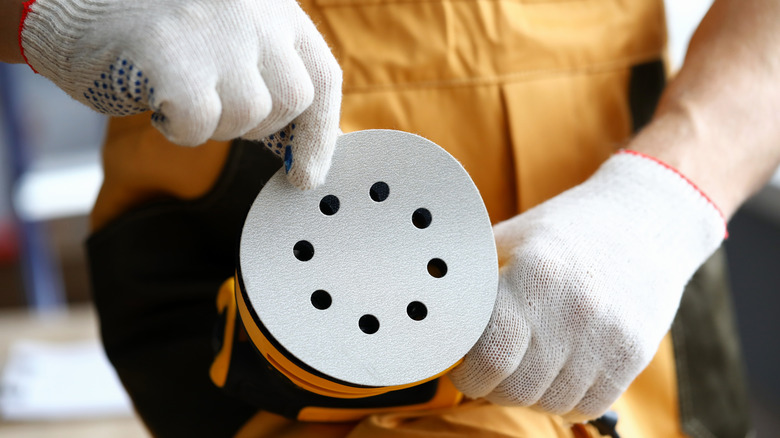
Sanding is one of the most important steps in prepping furniture before refurbishing it, and mesh discs make this step an almost dust-free process. So, for example, let's say you're working on the initial stripping of a furniture piece. It could be an old vintage piece or one with multiple coats of paint or stain — in either scenario, a mesh disc with a coarse grit (like 80 to 120) would work great. And if you have a shop vac available to attach to your orbital sander, even better — you'll have stronger suction capabilities and a larger storage capacity for the accumulating dust.
If you don't have a shop vac, you can rent one from Home Depot. However, you'll likely need a vacuum hose adapter to connect the shop vac, and the size will depend on your sander's make and model. These adapters are available on Amazon and typically cost under $20, like this Galactic Gadgets Adapter, which is available for $17. Connecting them is easy: You simply twist the adapter onto the sander's dust port before using it, similar to using the attachments on carpet vacuums.
After completing that first pass with the coarser-grit mesh disc, the next step is to follow it up like you normally would, but with a traditional fine-grit sandpaper disc, such as 180 to 320-grit. This will give it a smooth finish. All that's needed afterward is a quick wipe down with your tack cloth, and then you can move on to the next step of your furniture refurbishing project. With a simple disc change, you can keep your sanding area cleaner and save a few bucks, all while reserving the more expensive mesh sanding discs for future heavy-duty jobs.