

15 Of The Biggest Wastes Of Money You Can Spend On Garden Beds
We may receive a commission on purchases made from links.
I've spent two decades gardening professionally and even longer working on my own garden, so naturally I've spent a great deal of time building and working with raised garden beds. And honestly, I just don't buy that much stuff, because so much of what's marketed to gardeners is really just a waste of money. I've built beds with scrap lumber and even old logs from tree removals, and filled them with a mix of twigs, leaves, grass clippings, veggie scraps, cardboard, old top soil, and compost.
So many of the overpriced products brands try to sell to gardeners can be replaced with free or very cheap things. One of my favorite tools in the garden is a stick. It's useful for so many things and replaces so many tools that you just don't need. As a permaculture specialist, I'm much more interested in working with what you have to build good soil health and big, full plants bursting with vitality. Even my long-handled tools are stored in a DIY scrap wood pallet tool rack. I'm not suggesting you cut corners, but I am suggesting that you only spend your money where it really needs to be spent.
Pricey dibbers and widgers
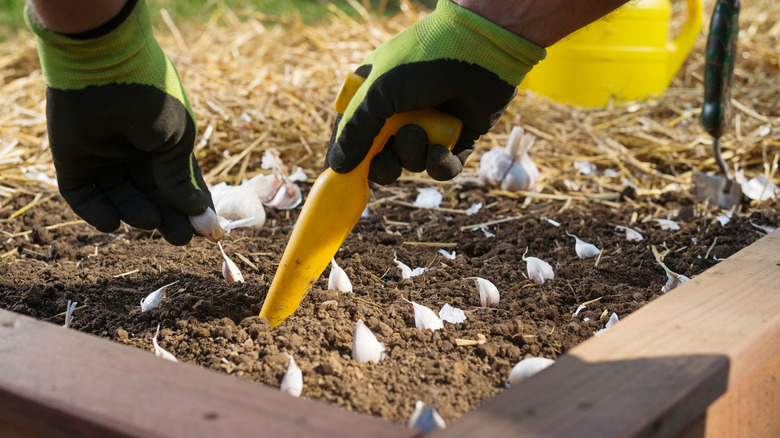
A dibber is just a pointed stick for poking planting holes. A widger is a slightly flattened stick for easing seedlings out of seed trays without damaging their roots. That's it. Nurseries just sell you boxed sets of polished sticks made of fancy wood like olive, oak, or coffee wood, and they charge you $20 or more for the privilege. Some will charge you even more if the handle is finished with leather or a supposedly ergonomic grip. You can also get metal ones. But honestly, a stick is a stick.
I do have to admit I own both, but that's because people tend to give them to me as gifts, and I'm very grateful. However, I have never been in the midst of planting and thought to myself, "Oh my goodness I wish I had a dibber or a widger," because you can literally use a stick or your finger. A pencil works, so does a chopstick or a sturdy twig off the apple tree. For lifting seedlings, you can shave a bit off the end of a stick to get a sort of flat-ish stick, or you could use an old dinner fork or spoon. They serve exactly the same purpose and cost you nothing.
Laser levels and row spacing gadgets
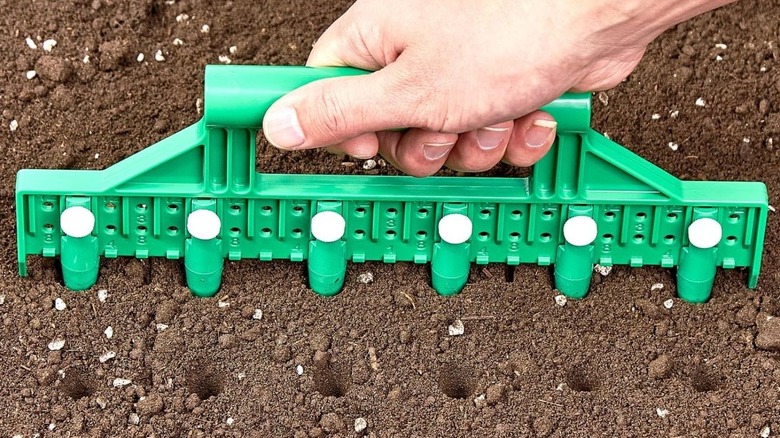
For gardeners who like their outdoor space to be dead straight and perfectly even because they feel like nature should be more ordered than she is, there are specialty row spacing tools and laser levels that promise to give you totally straight rows in your beds. These things usually cost $40 or more, depending on how many bells and whistles they've got. Yes they usually work fine but they are so shockingly unnecessary and such a waste of money.
If you've got a spare $40, spend it on plants or some good quality compost, or something that your garden actually needs. If you really do want straight rows, you can get them with some twine or yarn stretched between two sticks and just driven into the ground at either end of the row. You see? Sticks are awesome. This is the old-fashioned method that all growers relied on long before battery-powered lasers were a thing. Most professionals I know still use two sticks and some string, not a specialty row spacing tool. I like to tie a few knots along the length of the string at specific intervals, like 6 or 12 inches. This then makes the tool doubly useful, as it provides a straight row guide and a row or plant spacing gauge. Again it's simple, effective, and free.
Bargain plastic edging
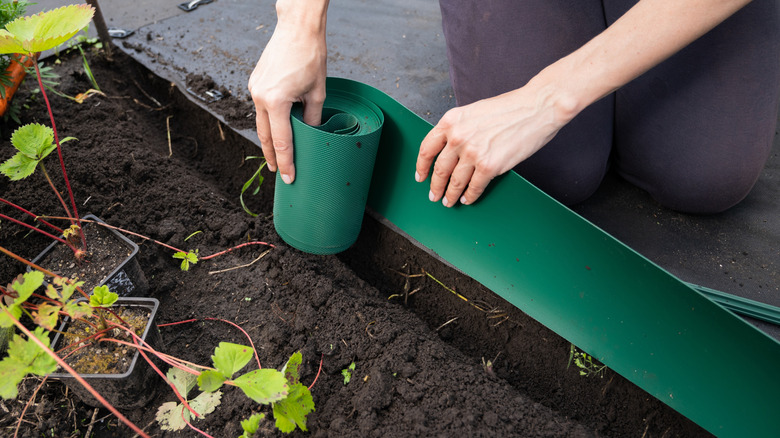
Everyone likes a bargain, myself included, but sometimes supposedly good deals for the garden can be false economy. Bargain plastic edging is one of those times. A budget-friendly roll of plastic, vinyl, or wood edging can look pretty nice for the first year. After a summer of sun and a winter of bad weather, they'll end up warped, sun-bleached, and falling over. It doesn't last and it just ruins the look of your carefully tended garden beds. Plus plastic gets brittle and snaps off at the slightest provocation.
You're better off setting aside a little more of your budget and investing in better quality edging to begin with. Redwood edging, for example, costs more initially than a cheap roll of plastic, but it will last for many years with little to no maintenance. Remember that if you are thinking about edging a bed that will grow anything edible, you need to know what, if anything, the edging product is treated with. Many chemicals, including preservatives, can leach into the soil from products like bed edging and be taken up by nearby plants.
Completely filling the bed with bagged soil
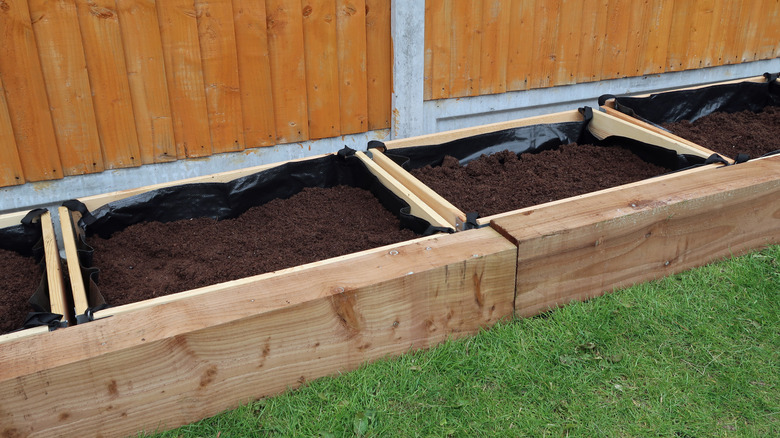
Even a small raised bed holds a surprisingly huge amount of soil. Trying to fill that entire cavity with nothing but bagged mix from the nursery will cost you a small fortune. I'm not suggesting you cut corners and do something ridiculous like add pool noodles to the bottom of the bed, as I saw suggested on social media (please don't do this). Instead, make use of an old permaculture technique called hugelkultur. My own tweak for this technique is to add a fairly thick layer of cardboard to the bottom of the bed first to help block any weeds from getting through. Then you build the next layer out of logs, branches, and any other untreated scrap wood you have laying about. You can also mix in leaves, grass clippings, and kitchen scraps that will all compost down.
Then you just top this free and cheap filling with some good quality nutrient-rich compost. If you're lucky, you'll be able to find some free top soil available locally, which will reduce your costs even further over time.
Landscape fabric under the bed
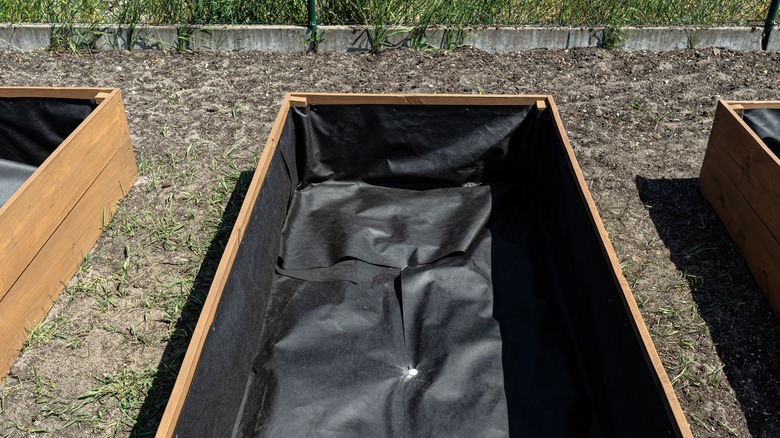
Using landscape fabric under your raised beds is more than just a waste of money. It's actively harmful for your beds and for the wider environment. Even the higher quality stuff is dreadful. It shreds and degrades, releases microplastics, and gets tangled around plant roots. Plus, it's not particularly effective. Weeds find their way through, or seeds blow in and weeds grow on top, getting further tangled in the hideous plastic shreds.
This is not something you want to add to your garden beds, because if you ever want to remove it, it is incredibly difficult, because it just fragments. This is why I recommend cardboard at the base instead. Yes, it breaks down over time, so you'll still be keeping on top of weeds by hand whether you use landscape fabric or cardboard, but the latter is much cheaper. Spend the money on helpful weeding tools instead, and have healthier beds and soil. Or, if you want a longer-lasting weed suppressant that isn't damaging, ditch the landscape fabric for jute matting, which is a great natural alternative.
Battery-powered soil moisture meters
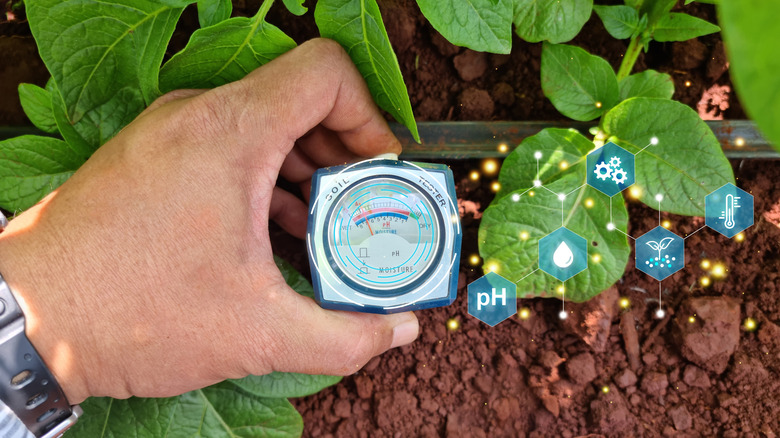
It seems that many of the products aimed at gardeners are designed to stop people coming into contact with the soil, but getting your hands in the soil is one of the simplest ways to know how healthy it is. Plus, playing in the dirt is part of the fun of being a gardener. Soil moisture meters are cheap enough and they are supposed to tell you exactly how moist your garden soil is and when it needs to be watered. These things tend to have probes that corrode or that end up covered in mineral buildup, which skews the reading and of course the batteries die. In my opinion they aren't terribly useful for most people.
The far more reliable option is to stick your bare finger into the ground up to about the second knuckle. If it's dry at that depth, then depending on your soil and the plants growing in it, you need to water. If it's still damp and nice and cool at that depth, then you can wait another day or two, depending on the weather, and then test again. It's really as simple as that and costs absolutely nothing.
Multi-zone drip systems for one or two beds
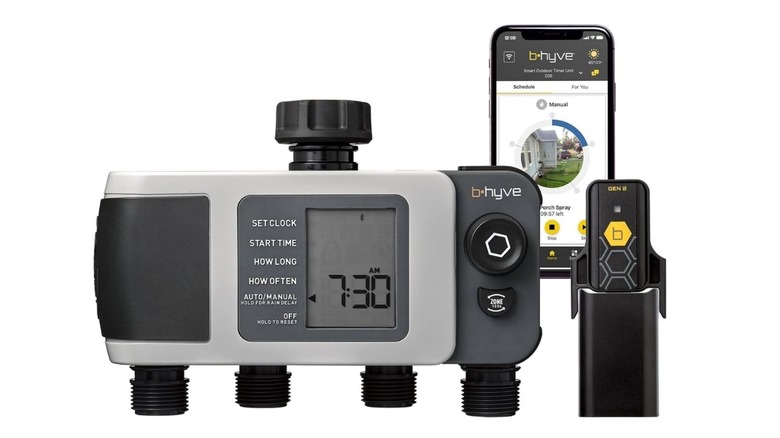
I am a big fan of installing multi-zone drip systems for large areas, but not just for one or two beds. In a large, busy garden, a proper drip irrigation setup with a filter, pressure regulator, a multi-zone timer, and head assembly is a great way. It is a great low-maintenance watering technique. However, it's a lot of equipment that costs quite a lot of money.
Just for a single raised bed or two, you'd be better off with a soaker hose sitting under or even on top of the mulch, with one end connected to a timer. This is perfectly acceptable just for a couple of beds. It's an effective hands-off way of watering the plants in your garden and costs just pennies compared with a full multi-zone drip setup. There are plenty of lower cost options when you are only watering a small area. Don't invest in big and fancy systems until it is essential.
Copper slug tape
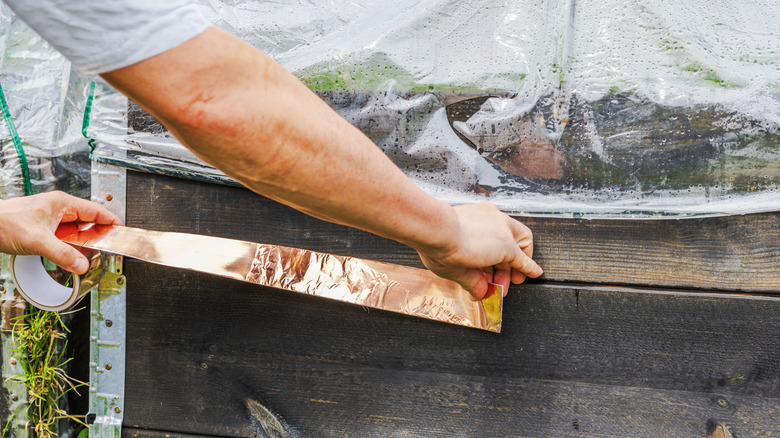
Copper slug tape gets touted as the foolproof solution to stopping slugs like it's some magical can't-fail slug barrier. It's not. The Royal Horticultural Society actually tested its effectiveness under realistic guarding conditions and found that copper tape barriers, along with other common slug barriers gardeners swear by, actually suffered just as much damage as those that weren't.
Under perfect lab conditions, copper tape is pretty good, but in the real world, the tape oxidizes, collects grit, and it very quickly stopped being an effective barrier. There are plenty of other natural methods of controlling slugs that work far better than copper tape and cost much less. I prefer things like beer traps, making the area around my plants less hospitable, and going out and hand-picking them at dusk and drowning them, which is pretty gross, but very effective.
Bags of dyed decorative mulch
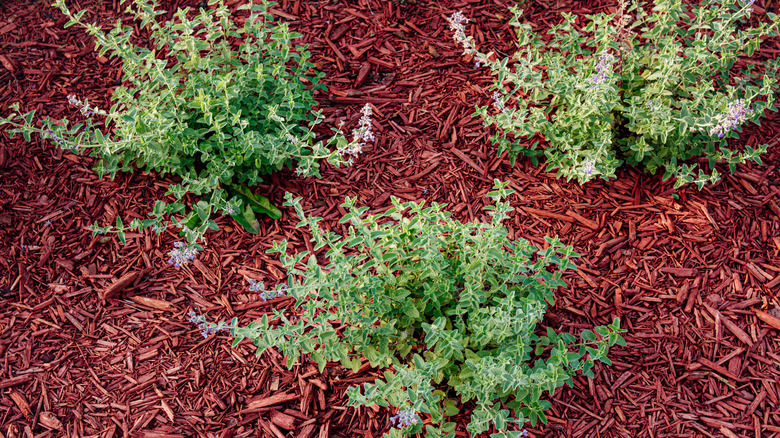
Dyed mulch usually costs more per bag than plain old wood chips. The biggest issue here is that a lot of colored mulch ends up being from sources like old pallets or construction and demolition waste. That can all too easily introduce contamination from older pressure-treated lumber or from chemical spills when the wood was serving its original purpose. If those chemicals persist in the mulch, along with the chemicals in the dyes, they will leach out into the surrounding soil. It's a very expensive method of contaminating your garden beds.
I prefer to use a local arborist or tree service who will happily bring me a load of wood chips, usually for free or just the cost of fuel. Now admittedly it's not pretty blue, green, red, or black, but it does come from a known source. It will break down into beautiful organic matter that will nourish my soil instead of just holding color for a season or two and then leaching chemicals.
Plastic pond liners as bed liners
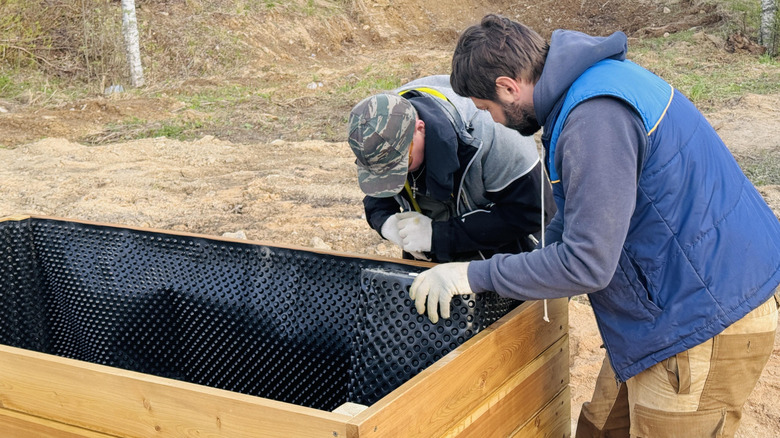
Over the years, I've seen quite a few people think they're being clever by using an impervious pond liner in the bottom of their raised bed. The theory is that it stops weeds growing through, which it does, but it's still a terrible idea. If you use an impermeable liner, it traps water instead of letting it drain away. It stops all the soil life, like earthworms, from getting into your soil to keep it healthy and well structured.
Plus, if the area underneath the bed is wet to begin with, you'll end up with moldy soil beneath. Or, if it's too dry, then you'll end up with compacted desiccated soil that takes a very long time to fix. It's a waste of money and is harmful. It still won't keep your bed weed-free because seeds will blow in and start to grow, so skip the synthetic liners and just go with cardboard.
Premium bagged raised bed soil blends
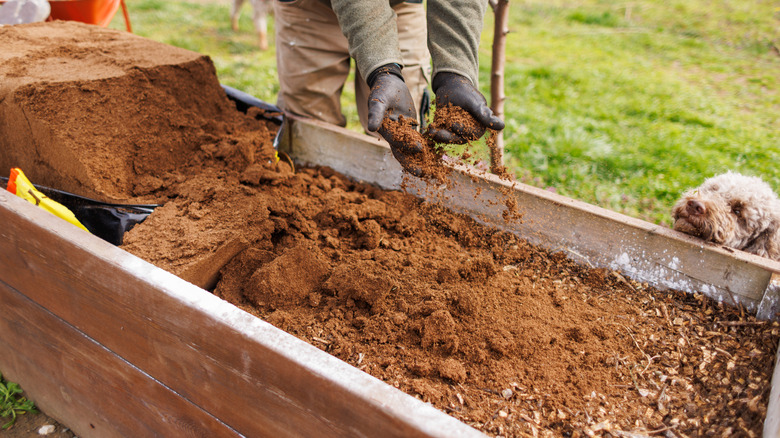
Lots of stores try to sell you premium raised bed mixes at a huge markup over plain topsoil and compost, like there's some magic specialty formula raised beds need to be healthy. It's very clever marketing, but absolutely unnecessary.
Follow my hugelkultur method to minimize how much soil you actually need and just mix your own blend of around one part good quality compost to two parts topsoil. That's basically what most of the premium bags are anyway, so save yourself the money and mix it yourself. If you're filling more than one bed, get it from a bulk supplier. That's even better value, as it will probably be cheaper by volume to do it that way. Don't forget the soil doesn't have to be perfect right out of the gate, because you can keep improving that soil for years by digging in your kitchen scraps and adding finished compost from your home compost heap.
Mycorrhizal fungi inoculant powders
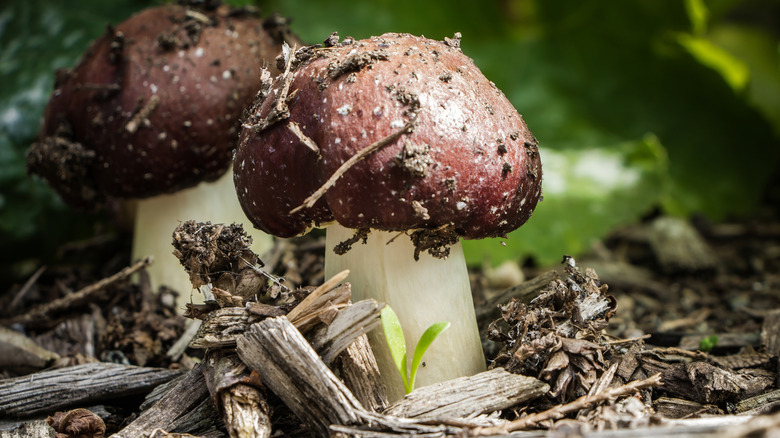
I love seeing evidence of mycorrhizal fungal networks in my garden soil because it lets me know that it's healthy and full of life, and that the soil ecosystem is working exactly as it should. I don't, however, like to waste my money on powders and packs of inoculants for general purposes like ensuring my transplants are healthy. The thing is, most regular garden soil already has that same fungi living in it. The plants will form the same beneficial relationships with the fungi that's already in the soil as it would with the pack of inoculant.
You can improve and encourage more fungi and fungal networks by improving the quality, structure, and overall health of your soil. I talk about soil health a great deal, and probably bore some people into insensibility, but it really is the foundation of a healthy garden. Focus on building soil health naturally by enriching your garden beds with plenty of organic matter and nutrient-rich finished compost and your local fungal networks will expand their presence.
Branded greenhouse hoop kits
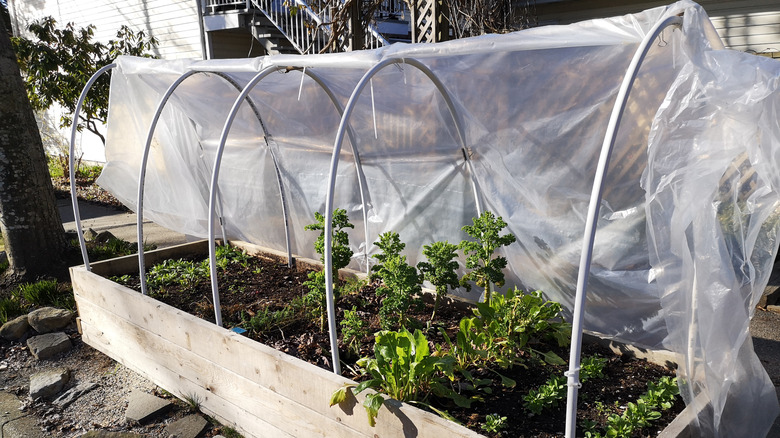
Branded greenhouse hoop kits are expensive and unnecessary, and can cost well over $100 just for a single raised bed. They are useful, however, because a hoop system over a raised bed can extend the growing season, raising the temperature a degree or two. This is just enough to keep edible crops growing for a few weeks longer and to get them started a few weeks earlier. However, I am thrifty and don't like to spend money on something like this. Instead, I tend to build my own, most commonly using 1/2-inch PVC pipe bent over stakes, driven into the side of the bed, and then with garden fleece attached over the top.
I've also created hinged versions where I create two lumber frames, the same size as the top of the raised bed. On the bottom frame and the top of the bed itself, I use little latches so I can secure it to the bed. Then I attach the second frame on top of the first with hinges on one long edge. I then attach the PVC pipe to either side and I can either attach netting or fleece to those half hoops. Once this lid is on my raised bed, I can open and close it at will, and then just remove it at the end of the season.
Small bags of soil instead of bulk delivery
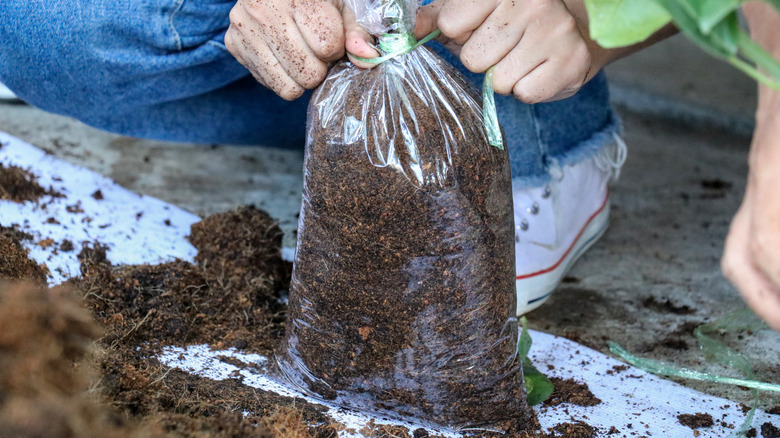
I touched on this a tiny bit earlier: If you are topping off just one or two small beds, then little bags of soil may be reasonably cost-effective, but for anything larger, I'd recommend you look into bulk delivery. If you're filling three or four beds, even if you're using the hugelkultur method, you are going to need quite a lot of soil.
I would suggest calling a local landscape or soil supplier to see what kind of deal they can give you on a decent quality topsoil, because it's highly likely it will be less costly than the same volume of soil in teeny tiny bags. Just make sure that you use a reputable supplier and that the soil is of good quality, so that you don't fill your beds with contaminated soil or rough, thin, or clay-heavy soil. That is not good value and will create more problems than it solves.
Brand new ornamental trellises
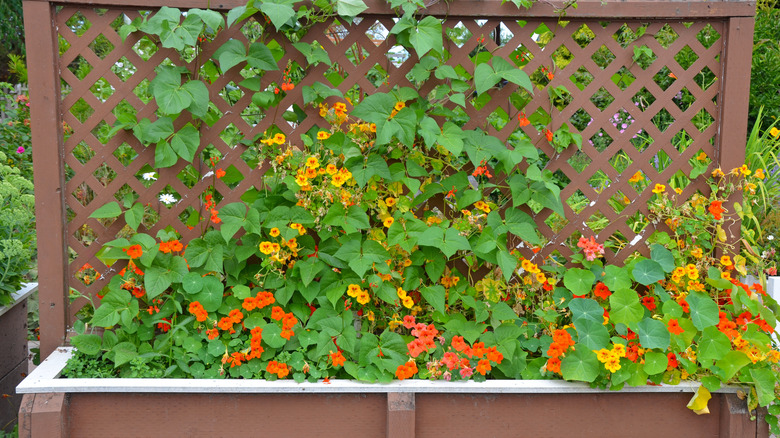
I love a trellis. They can be incredibly useful and look fantastic, but bought new, they are expensive — especially if you get a semi-decent one that will last more than one season. As well as being a gardener, I'm also an avid thrifter and most of my ornamental garden decor has come from yard sales, thrift stores, and auctions. I've never purchased an obelisk or trellis new, and I rarely buy an ornamental planter fresh from the store, either. Instead, I love finding them for just a few dollars, because people want to get rid of them and don't know how else to do it. You can also make your own affordable DIY trellis.
I've found some fabulous wrought iron pieces that are probably from the early 1900s, but still in amazing condition. I snapped those up for maybe $15 each a few years back. They are heavy and substantial enough to support mature and aggressive climbers, and they look fantastic now they've been touched up. Plus, you can repurpose other materials such as an old wooden ladder that's probably not safe for climbing on anymore. This makes a fabulously rustic trellis for climbing plants. If you're less fussy about the ornamental aspect of the trellis itself, you can use a livestock panel curved into an arch, which is what I do in the vegetable garden. They are sturdy, inexpensive, and will last for years.