

Turn A Simple Frying Pan Into Adorable Patio Décor With A DIY Using River Rocks
We may receive a commission on purchases made from links.
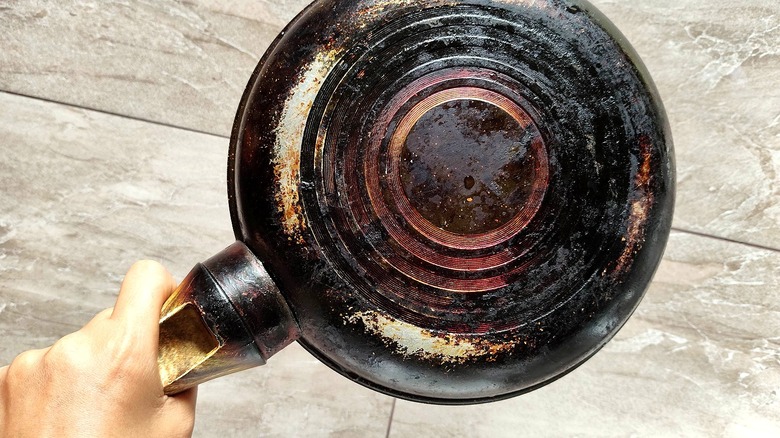
Even if your scratched, dented, or wobbly cookware has retired from kitchen duty, it doesn't mean you need to throw it away. In fact, there are plenty of fun, clever, budget-friendly ways to upcycle your frying pans, including turning them into outdoor décor, like YouTube creator Marifetli İşler did with a deeply scratched frying pan, river rocks, and acrylic paint.
This is a great way to incorporate art into your yard. Frying pans last much longer these days, with the average length being at least five years for well-cared-for nonstick cookware. Eventually, though, you might want to update that old frying pan. When that time comes, rather than toss the pan, or store it back in the cabinet because you can't bear throwing it away, you can renew its usefulness, turning it into patio décor.
As mentioned, for this project, you will need rocks. You likely can find suitable stones around your yard, or, you could pick up a jar of pebbles for under $5, like a 45-ounce jar from Panacea, available at Walmart for $4.67. If you do, you'll have plenty of rocks left over for more craft projects, so that's a consideration, too. In addition to rocks, you should also gather (indoor-outdoor) acrylic paint, a primer, a sponge, paintbrushes, a hair dryer, twine, and a hot glue gun.
Turning your old frying pan into outdoor décor
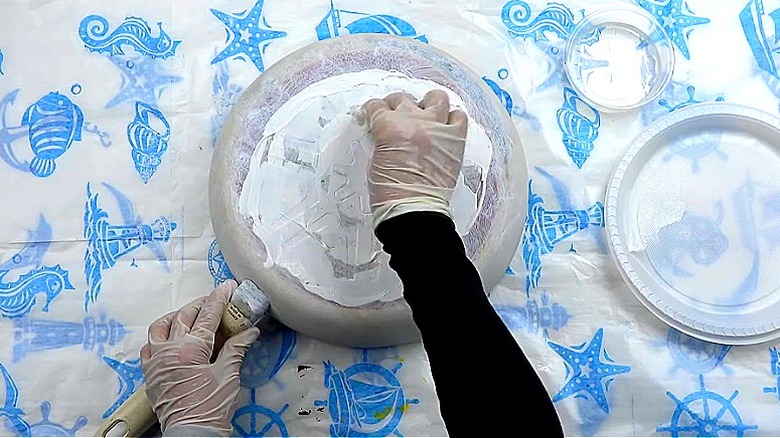
To get started on this frying pan project, wash the cookware to remove grease and grime. When it's dry, lay out plastic sheeting over your workspace and put on a pair of disposable gloves. From there, squirt a layer of the acrylic base paint into the frying pan and spread it out evenly with a sponge. You will repeat this process on the outside of the pan, too. Use a hair dryer to set the paint. Do it twice more (for a total of three coats of paint).
On that note, when crafting outdoor projects, be sure that the paint and/or varnish you use are for outdoor use. However you design your old frying pan, you'll want to protect it. For example, for the paint, look for outdoor acrylic paint, or an indoor-outdoor paint like from Apple Barrel, which you can find at retailers like Michaels and Amazon. Also, to weatherproof your final DIY décor, you'll add a varnish or sealer; something like Mod Podge Outdoor ($11.19 for 8 ounces) can work for this.
Once the coats of paint are dry, it's time to get creative with the small rocks you found, which will add a dimension of depth to the piece. Prepare the rocks by applying a layer of primer with a sponge. When they're dry, paint them to fit the design or scene you have in mind (perhaps from a sketch you made before starting). Place them in the pan, along with the other decorative elements you chose. (You could, for example, do as Marifetli İşler did and add a stick at the bottom to look like a log.) Once you've laid everything out, hot glue it all into place.
Final touches to your new frying pan patio décor
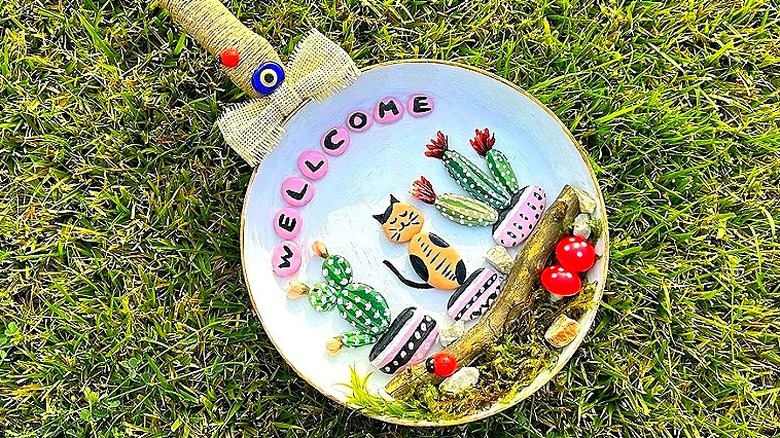
To finish up, wrap the handle in twine and hot glue it down. If there's a hole at the end of the handle, it's a good idea to leave that as-is, since you can use it to hang up the finished piece in your yard. You can spruce it up by adding a layer of metallic paint around the pan's rim or gluing décor onto the twine-wrapped handle. Finally, add your varnish to the entire pan, rocks and all, on the back and on the sides.
Of course, you can adapt this frying pan patio décor to better fit with your style and existing pieces. For that reason, we recommend doing some planning before you start on the crafting. For example, if you live near a lake or ocean, you may want to create a water-themed design. Or if you're putting it in your garden, rather than your patio, maybe paint the rocks to resemble a veggie patch instead of cacti.