

Wall Cleaning Dos And Don'ts You Need To Know Before Tackling Your Home
We may receive a commission on purchases made from links.
Cleaning the walls around your home needn't be complicated. After all, they're just walls, right? That is true, and we'll admit that as household chores go, it's about the farthest from rocket science as they get. But at the same time, it's rarely a simple case of breaking out the bucket and sponge and scrubbing as hard as you can. In fact, as you'll see later, that's one of the worst things that you can do — depending on the nature of your walls.
To help make a simple task that little bit simpler, we've pulled together a series of things you should do when cleaning your walls. More importantly, we've compiled a list of things that you should absolutely avoid if you hope to keep your walls in ship shape. We'll highlight some of the easiest ways to clean your interior walls, and we'll point out some considerations you should bear in mind before you even wet a sponge. On that note, we'll also cover the materials you should use to clean your walls (and those you should avoid). And whether you're dealing with a stubborn stain or generally maintaining your home's interior, we'll offer some advice to ensure your walls are actually left clean — and not in need of a repaint.
Give your walls a dry clean first
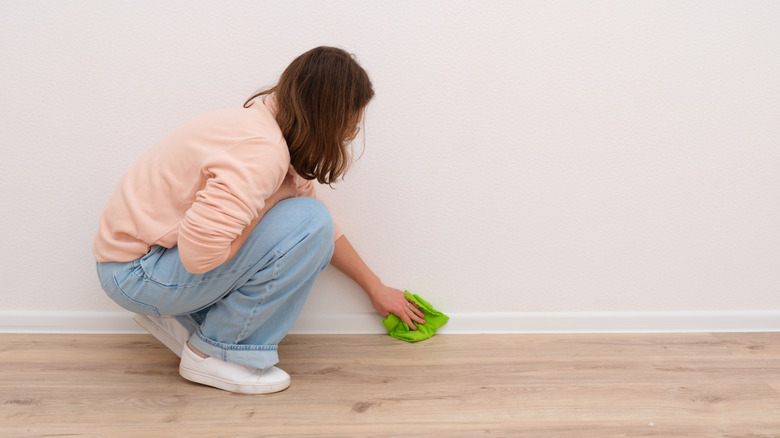
Whether you're cleaning walls with oil-based paint, wallpaper, or indeed any other type of finish, it's always best to begin with a dry clean first. The reason is that if you go straight in with a damp cloth, you risk simply spreading grime across the surface of the wall. Dust and loose debris are much easier to remove from the walls when they're dry than when they're wet. Not only that, if they're allowed to soak up water, they could actually stain the wall, leaving it looking worse for wear even if it is, technically, clean. And don't forget that if you're using a bucket of clean, soapy water, and you contaminate it immediately with dust, you'll have to change it much more quickly. If you don't, you'll only wind up washing your wall with dirty water, which again can lead to long-term staining.
As for how to do it, work your way from top to bottom. If you go the other way around, you could end up spreading dust from the wall's higher elevations to the parts you've already dusted. Aim to clear any cobwebs from the ceiling that are dangling over your walls with a long vacuum attachment. With that done, grab a microfiber cloth, which you may find most effective at grabbing and removing fine particles of dust. While you're at it, don't forget to dust your baseboards. Even if you're not planning to wet-clean them, dust from the wall may fall onto them, so it's a good idea to wipe them down before you finish.
Check your paint type before cleaning
As we mentioned earlier, cleaning your walls needn't be tricky, but it's always important to understand the type of surface that you're cleaning. Specifically, it's useful to know what your walls are painted with. Different types of paint are suited to different areas of the house, and in turn, they each come with their own unique cleaning requirements. For example, if you opted for a "scrubbable" type of paint, then per the name, you can usually get away with applying a little elbow grease. But if you used, say, a matte or flat finish in your bedroom, then a gentler approach is required, since these paint types are easily damaged.
The most reliable way to know this is if you painted the walls yourself and remember which type of paint you used. Alternatively, you can usually get a good idea of the type of paint your walls are painted with by inspecting the surface. A shiny, glossy surface usually indicates a hardier paint type than a smooth matte or silky surface. And if you use soap and water on a matte or flat paint finish, you could very easily damage it. This is why knowing which type of paint you're trying to clean is so important. The last thing you want to do is for a quick cleaning job to turn into an expensive, time-consuming redecorating project.
If you have them, consult your paint manufacturer's cleaning instructions
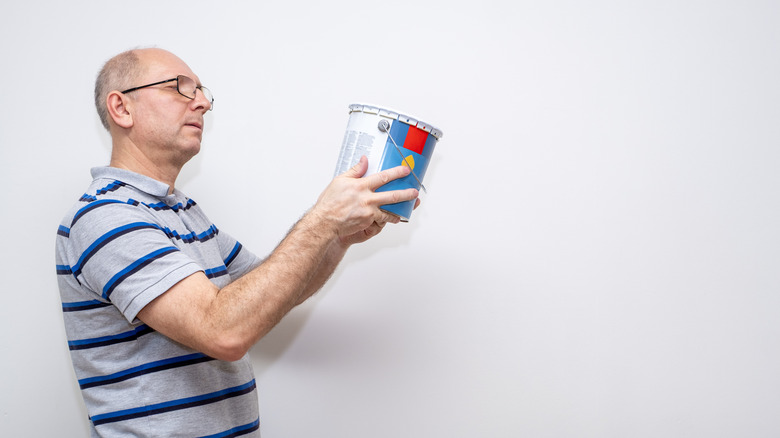
As well as having a good idea of the type of paint that your walls are coated with, it's also a very good idea to consult your paint manufacturer's cleaning instructions. The problem is, while there are lots of cleaning tips and guides online — this one included — nothing quite beats the recommendations of the manufacturer itself. After all, these instructions are provided to ensure that your finish lasts for as long as possible — and that you don't end up filing a complaint or a poor review of their product. In other words, if you have them, refer to them!
Now, if you don't have those manufacturer instructions to hand (they're often found on the label of the paint can), there are a few things you can do. The first is to contact the manufacturer, if you know who made the paint, and ask them for their advice. They may also have cleaning instructions on their website. Alternatively, you could refer to the previous section and check for a glossy, matte, or flat finish. And if you're really unsure, you could hire a professional to inspect and clean your walls. Finally, if you're contemplating a re-paint anyway, then that's a great time to specify a paint type that's up to the rigors of regular cleaning. If you can spring for one, a scrubbable paint type is sure to make your life easier by reducing the chances of cleaning damage on your walls.
Try plain water before reaching for anything else
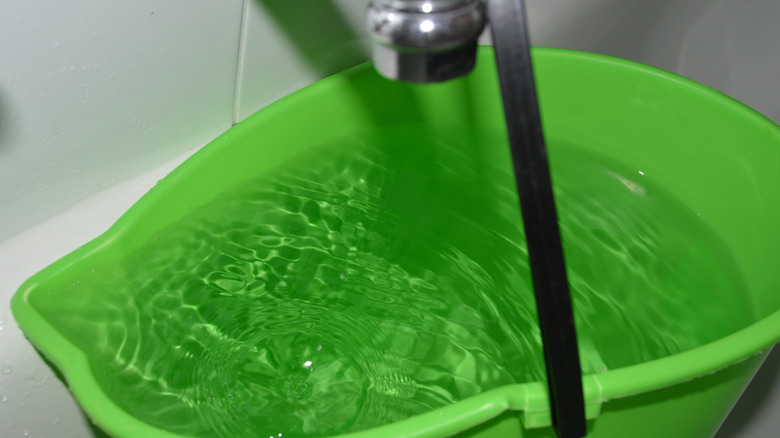
While many paint brands recommend using soap and water to clean most painted walls, there's really nothing quite as "safe" as plain water. For that reason, it's best to try that first. Start with a bucket of warm water, dampening a soft cloth or sponge (and wringing it out), before wiping gently over the surface. For most walls around the home, this ought to be enough to clear any surface grime that's built up since your last clean.
Of course, in areas like the kitchen and bathroom, where grease, limescale, and mold are more likely to build up, you may find that you need something with a little more agency to deal with them. But for bedroom, living room, and hallway walls — particularly those with more delicate finishes — it's best to avoid anything with chemicals to reduce the chances of damage. In areas where grease, limescale, and mold are less of an issue, you may just find that a little water goes a very long way.
Avoid using harsh cleaning products
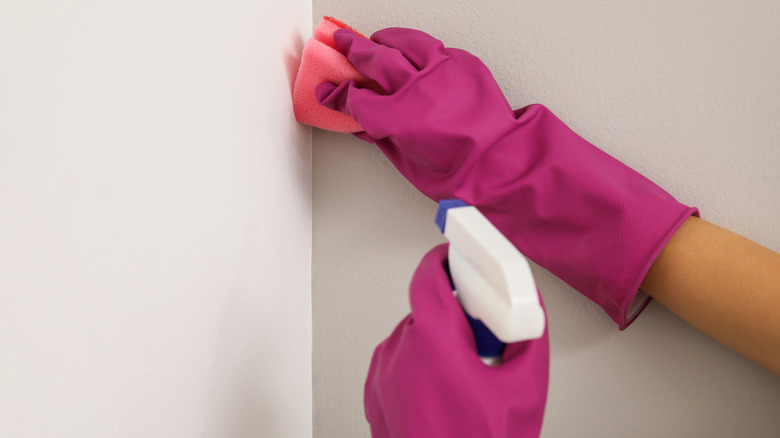
We touched on this just now, but it's super important to stress the importance of avoiding certain cleaning agents when it comes to painted surfaces. In fact one of the biggest mistakes people make when cleaning their walls is going for the strongest cleaner they can reach for. And we get it, especially if your walls are stained and you have guests due to stay over the weekend. However, even if plain water isn't quite, ahem, cutting the mustard, you should still look for another gentle way to clean them.
As for what to avoid, things like bleach, strong solvents, and anything with ammonia should be on your wall-cleaning naughty list. Instead, you should look for dedicated, paint-safe cleaning products, like this painted wall cleaner spray from CHOMP!. Alternatively, if you're working with a hardier type of paint, dish soap is usually a safe addition to your routine. A tablespoon or two of Dawn dish soap, for example, mixed with a bucket of water should be more than enough to deal with most dirty walls. The trick is to use the mildest cleaning agent you can get away with. Apply it gently (and sparingly) with a sponge, then go over with another damp, non-soapy cloth to rinse.
Avoid soaking wet cloths for delicate or wallpapered surfaces
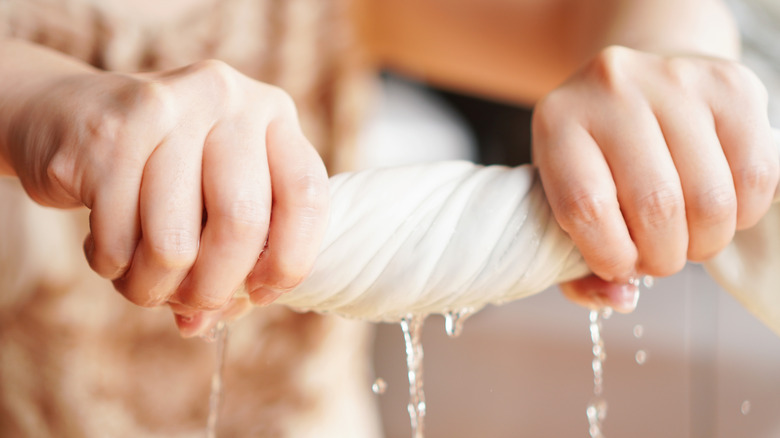
Regardless of whether you're using plain water, dish soap, or a dedicated painted wall cleaner, the logic remains the same. The less "wet" you can make your wall, the better. And it applies to both painted and wallpapered surfaces. If you saturate the wall, then you risk the water soaking into the surface and causing water marks — not what you want to look at each evening when you settle down to watch TV. More than that, you'll end up with rivulets of water running down the wall and potentially funneling behind your baseboards, which is a surefire recipe for mold.
So, when you come to clean, adopt a less-is-more approach. Start with your dry clean and see where that takes you. With a microfiber cloth, you may well be surprised by how much of the surface dirt you're able to lift off. If you still feel like a wet cloth is necessary, then wring it out until it's only damp — not dripping. Don't forget to dry the wall afterwards, either. This is a crucial step in the wall-cleaning process, as any damp that's left behind could soak into your walls. And don't forget, the wetter you make your wall when you're cleaning it, the harder it'll be to dry.
Use soft cloths or sponges to clean while avoiding scratches
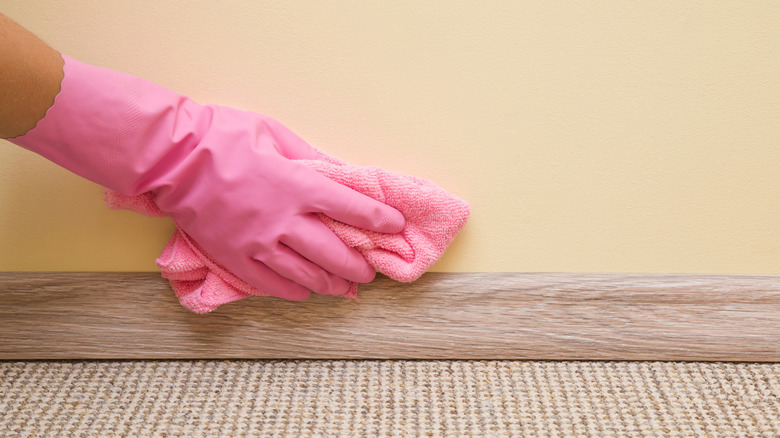
As well as avoiding harsh chemicals, it's of paramount importance that you leave your stiff-bristled brushes and metal scouring pads in the cleaning cupboard. If you use them, yes, you will almost certainly remove those pesky stains from your walls. However, that's because you'll actually be taking the paint with them. You shouldn't even use the rough side of your kitchen sponge. Doing so could break down the protective layer on the surface of your paint, and if you have a lovely matte finish, it could even end up buffing that one visible spot to a shine.
Instead, it's best to stick to soft cloths, like microfiber, and soft sponges. Even then, you'll want to avoid applying too much pressure, especially with more delicate finishes like matte and flat paint. Like the amount of water you use, less is always more, so make sure that you only ever apply gentle pressure. If you go in hard to start with, you could end up eroding the paint layers away and leaving behind a shiny or dull patch that'll annoy you every time you look at it.
Try vinegar or heat to remove greasy stains

All of this talk of just using water, applying only gentle pressure, and avoiding chemical products may not be what you wanted to hear, especially if you're dealing with a greasy wall. These can occur anywhere in the home, although the most likely place for grease to build up is in the kitchen. And while you may not have the desired result by using plain old water, that doesn't mean that you should grab the de-greaser and start scouring your kitchen's paintwork.
Unfortunately, the best way to remove grease stains from your kitchen walls depends, to an extent, on the material it's made from and how it's finished. But if you're working with a painted wall, there are one or two home remedy-style methods that you can try. The first is to use warm (not hot water), to try and break down the grease. Alternatively, for other finishes, try the aforementioned dish-soap-and-water solution to see if that removes the grease. Failing that, try adding a cup of vinegar to a bucket of clean water, and wipe your surface with that. In either case, remember to use as little of the solution as possible, and avoid applying too much pressure.
Blot stains, don't rub them — and act as quickly as you can
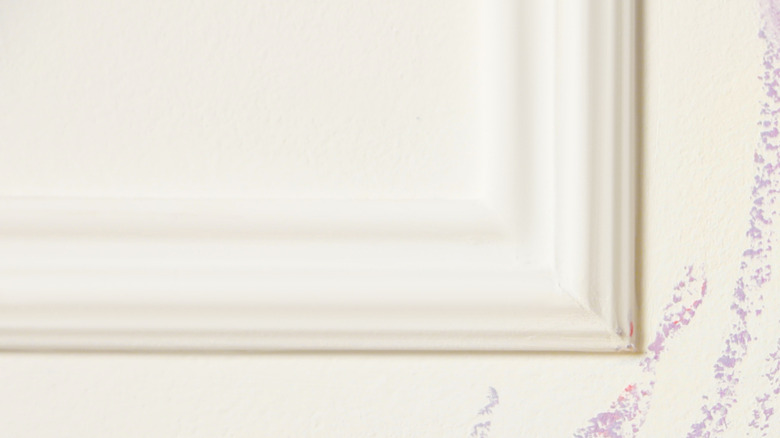
This one will make a lot of sense if you've previously had to remove wine stains from your carpet. If you happen to catch your toddler creating a masterpiece on your living room wall, firstly, it's important to act quickly to prevent those stains from seeping in and making themselves at home in your paintwork. And instead of wiping over the stains with a damp cloth in your panic to remove the artwork, remember that when it comes to stains, it's best to blot, not rub.
If you "rub" your stains by wiping over them with a damp cloth, you'll more than likely spread the problem. By blotting them, you should be able to work the worst of the stain away from the wall without causing undue damage. As with general wall cleaning, it's best to use a soft cloth or sponge, while sticking to one of the aforementioned mild cleaning solutions. Dish soap and water may do the trick, or you may need to use vinegar mixed with water for greasier stains — provided that your wall has a finish that can handle it, like gloss. Finally, while blotting is the best course of action if you can get away with it, it may not work with all stains, especially if they've had a chance to set in. In that case, try a baking soda paste (only on satin or gloss paint). Mix a cup of baking soda with half a cup of water, and apply it gently to the affected area. Leave it to work for up to an hour, and then gently wipe away with a soft cloth and warm water. Just remember that baking soda is mildly abrasive, so you should avoid "rubbing" at the stain while the soda is still in situ.
Clean your walls regularly
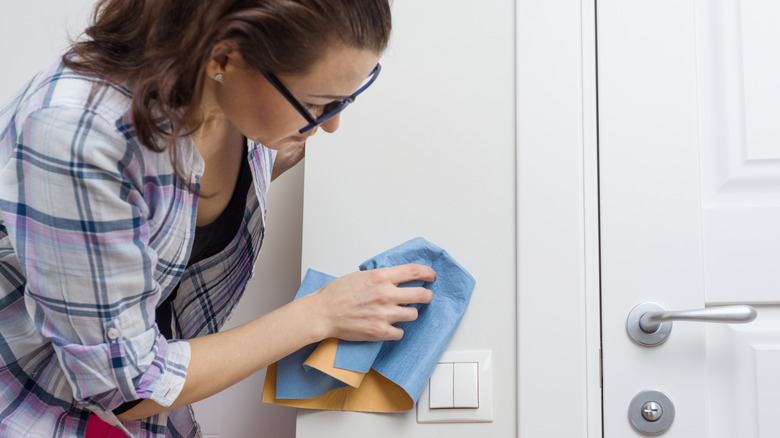
The final "do" in this guide is to ensure you clean your walls frequently enough. As for what frequency is best, that varies from room to room. For example, kitchen walls naturally demand more regular cleaning, especially those around your stove, since grease doesn't take long to build up. For those, aim to clean them weekly. In lower-traffic areas, on the other hand, once a year — perhaps during your spring cleaning routine — is often enough to keep the walls looking their best. Just know that this is not a hard and fast rule, and that it depends on your unique household.
As an example, family homes with crayon-happy kids and greasy-fingered teenagers may need their walls cleaned more frequently, even in low-traffic zones. Similarly, walls that are painted with deeper shades of color will look pristine for longer than those which are painted bright white and which therefore show marks easily. With these points in mind, make a loose plan with the above timings in mind, but be flexible. If you notice build-ups on your walls weeks or months before you're due to clean them, it's best to act. If you don't, dirt could become more deeply set and harder to clean, thus putting your wall at greater risk of damage from hard cleaning.