

Forget Traditional Kitchen Window Treatments: The Rustic Alternative That Brings A Cozy Vibe
We may receive a commission on purchases made from links.
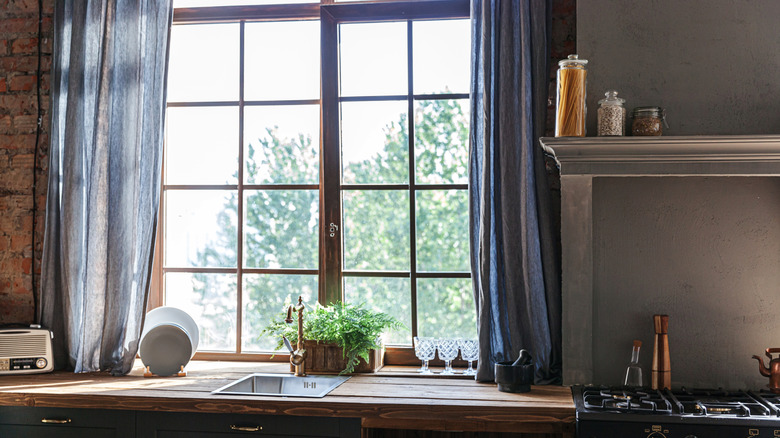
Who else dreams of a rustic kitchen — where the charmingly worn kettle is always softly burbling on the stove, there's always cookies in the cookie jar, and whatever delicious dinner in the oven wafts through the air? But unless you got to design your kitchen from scratch or you scored a charming cottage in the Cotswolds (in which case, we're incredibly envious), having this kind of dreamy rustic kitchen is a bit of a reach. However, there is one easy way to bring this level of warmth into the heart of your home without remodeling: using burlap coffee sacks to make curtains.
The magic lies in the sack's fabric. Made of unbleached jute, burlap's signature rough texture adds an irresistible warmth and homeyness to any space. Even better, this kitchen curtain idea easily adds charm and style to your space for next to (and sometimes actually) nothing. An easy way to get your hands on free coffee burlap sacks is to ask your local coffee roasters and shops. They often have a surplus of burlap coffee bags that they'll give away for a nominal fee or, in some cases, for free. Or you can load up on these hidden crafting gems on Facebook Marketplace. The key is to look for standard (aka, untreated) burlap. Waterproofed burlap coffee sacks or ones that have been otherwise treated may be trickier to work with. The best way to tell if the burlap is untreated is by the texture. It will often feel rough, even crisp to the touch. The best part is this project can be easily tackled by novice and experienced sewists alike.
Prep, cut, and sew the burlap-bag curtains
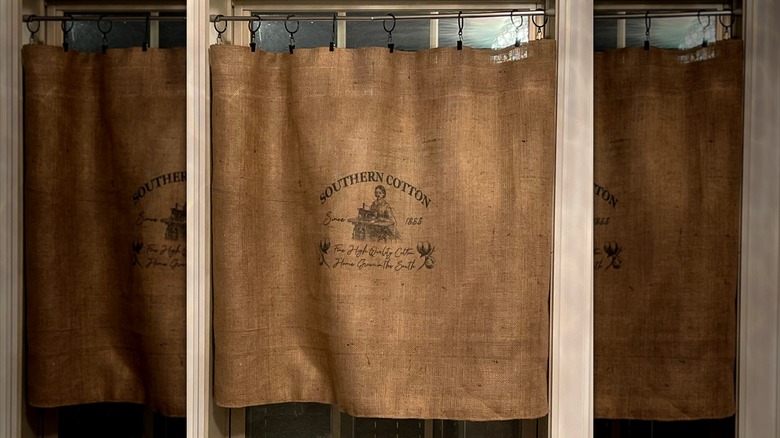
First, wash the bag by hand in cold water and let it soak for 15 minutes before rinsing. Resist the urge to wring out the fabric; it might get water out faster, but it could warp the burlap. Then cut the bag so it lays flat, trimming the edges as needed and adding a light coating of glue to the ends so they don't unravel. Next, use chalk or pencil (a permanent marker can work in a pinch) to trace cutting lines.
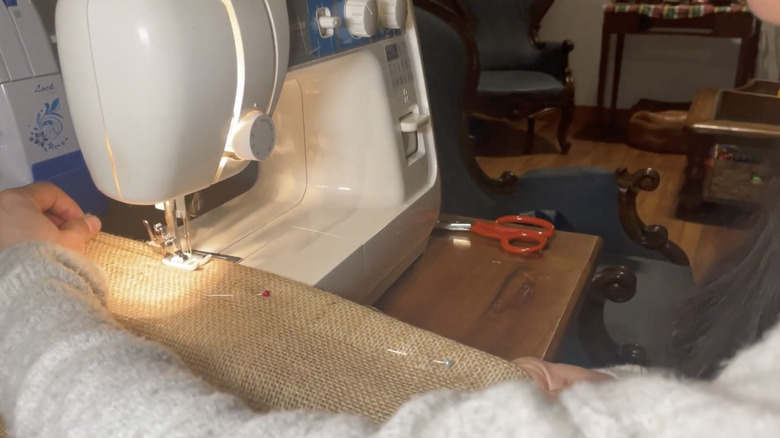
Your sewing machine needs a bit of extra prep too. Swap out your regular needle for a heavy-duty one (like size 100/16) and add a walking foot. A polyester or cotton thread (or a blend of the two) is ideal. Then adjust the stitch length and tension so your machine can handle the burlap. Want to hand sew? Grab a size 5 sharp needle.
Next, measure. For tension curtain rods or inside mounting rods, measure the window's width. If you're mounting the rod on the outside, measure from trim to trim, then add in how far the rod extends past the trim for the final width. To get the length, measure from the curtain rod to the bottom of the window (or to the desired length if you're making valances or cafe-style curtains).
Sewing the curtains is fairly straightforward. Once you trim the burlap to size, fold the long bottom edge up 1 inch and stitch into place, then repeat, stitching along the top fold. For your curtain rod sleeve, tuck down the top 2 inches to make a loop and sew. Resist the urge to backstitch; the burlap's hardiness will keep your stitches from unraveling.
Customize your rustic burlap curtains
You could hang your curtains now, but why not add a little personality while you're at it? Have leftover lace? Tack it along the bottom or top of the curtains to break up the burlap's texture while still leaning into the rustic vibe. For a seasonal touch, try a ribbon as a border, or sew on a pom-pom trim or ricrac. To add more depth, line the burlap with muslin or another light fabric before sewing.
While the brown burlap is classic, you can always switch thing up and add a dose of color by dyeing the burlap. Make sure to cut your curtains slightly bigger than the window to accommodate for fraying and shrinking during the dyeing process. Then mix a ½ cup of salt and 1½ gallons of hot water in a large pot or bucket. Add your dye of choice, mix well, then add the burlap. Mix again to make sure the fabric is fully saturated, and let sit for at least 30 minutes. Then, using cold water, rinse thoroughly and let air it dry.
For a true color payoff, bleach the burlap first in a solution of equal parts water and bleach mixture for 15 seconds, then rinse thoroughly and hang dry. You don't have to use bleach if you don't want to. Just know that the final color will be tinted by the original burlap brown, but it'll still lend to a rustic kitchen that's warm and inviting.