

2 Toilet Parts You Should Replace Every 5 Years
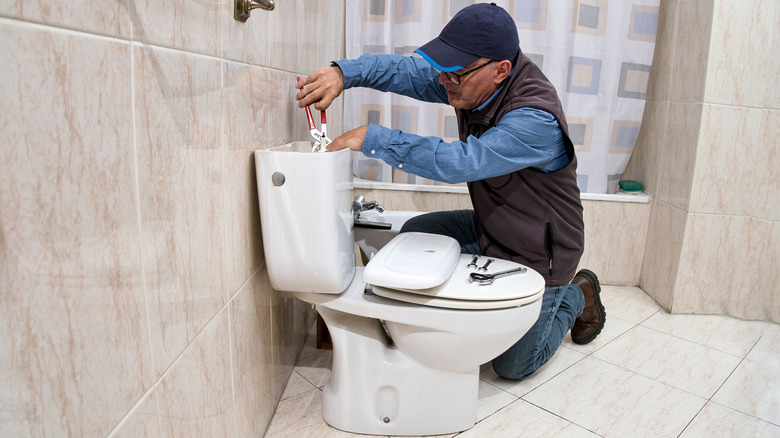
Though toilets themselves should last about 50 years, the internal mechanics do wear out over time and need to be replaced periodically. While your toilet is functioning properly, you don't really notice what goes on inside that tank every time you hit the handle. Water quietly flows into the bowl with ease — that is, until the rubber and plastic begin to wear down and small leaks and phantom flushing occur. Regularly replacing the flapper and fill valve before tiny leaks become your new normal — about every five years — can save you water and help you avoid the biggest mistakes everyone makes with their toilet.
The toilet flapper is what creates a watertight seal over the flush valve opening to hold water in the tank until you push the flush handle. Eventually, this part becomes warped or rotted away due to consistent exposure to water and minerals. The average flapper leak can send hundreds of gallons of water careening into your toilet bowl and increase your water bill without you knowing it. Not to mention the added strain on your home's plumbing. For just a few bucks, you can avoid costly repairs down the road and install a new flush mechanism yourself in minutes. Don't let your lack of handyman skills discourage you from tackling this project — replacing tank hardware is one of those basic DIY home improvement projects anyone can tackle. The replacement hardware is available at most major home improvement retailers, and you will also need a few tools that most homes already have.
How to replace the toilet flapper
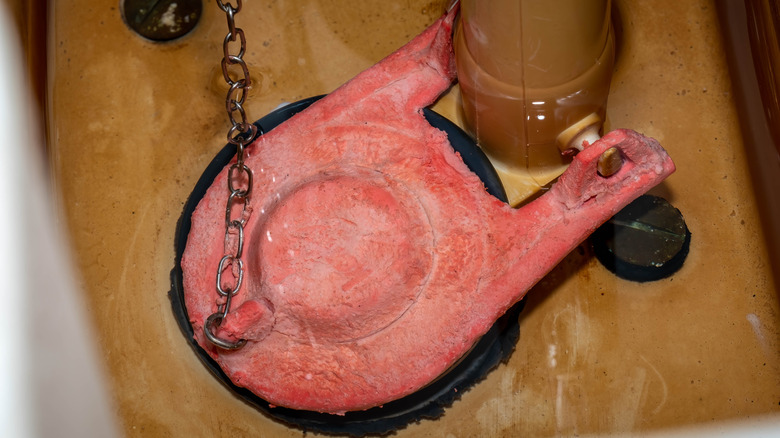
Knowing the signs you need to replace your toilet flapper, like a constantly running toilet, is key to catching these issues early. When it's time to replace it, first turn off the water from the shut-off valve that's on the wall behind the toilet until hand-tight. Flush the toilet to drain the tank, holding down the handle until the majority of the water drains. If there is water left over in the bottom of your tank, simply grab a sponge and soak it up so you have a dry workspace. Remove the lid to the tank and set it somewhere where it'll be safe from any bumps.
Unhook the flush lever arm chain from inside the tank, then pry the rubber ears of your toilet flapper from the pegs located on the overflow pipe in the center of the tank. Remove the old flapper and attach the ears of your replacement flapper, then reconnect the lever arm chain to the flush handle, leaving about a half inch of slack. Turn the shut-off valve on the wall counterclockwise to turn your water back on. Allow the tank to fill all the way back up, then flush to ensure you don't have any running water.
To make sure the seal is tight, put a few drops of food coloring in the tank water and wait about 15 minutes. If the water in the toilet bowl does not become colored, the flapper seal is tight. If you see colored water in the toilet bowl, adjust your chain to give it more length, or make sure your flapper ears are properly aligned on the pegs so that the flapper can sit flush over the drain.
How to replace the fill valve assembly
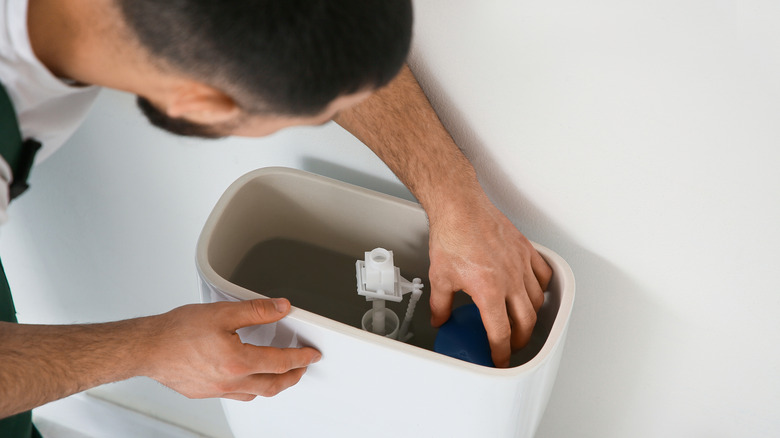
The fill valve assembly regulates how water flows into the tank after each flush; however, water exposure wears away at the internal rubber gaskets and seals over time. Installation takes less than 20 minutes and requires nothing more than an adjustable pair of pliers and a small bucket.
Turn off the water valve behind the toilet, then flush and hold down the handle to drain water from the tank. Wipe up any leftover water with a sponge from inside the bottom of the tank so you don't ruin your floor. Place a small bucket underneath the supply line connection at the bottom of the tank, use pliers to loosen the coupling nut on the flexible water supply line, and unhook the plastic locknut from beneath the tank by placing your hand inside the bottom outside edge and unscrewing the locknut. Lift the old fill valve assembly along with the rubber washer and refill tube assembly out of the tank.
Twist the threaded base of the new fill valve assembly to raise or lower so that the "Critical Line" engraved on the unit is positioned at least one inch above the top of the overflow pipe. Slip the rubber washer onto the valve shank, then place the fill valve assembly into the hole in the tank. Hand-tighten the plastic locknut beneath the tank. Use pliers to twist the locknut an additional quarter turn. Clip the refill tube onto the overflow pipe nipple, and reconnect the water supply line to the bottom of the tank. Turn the water valve back on at the wall to allow the tank to fill, and adjust the float screw so the water line stops filling about ½ inch below the overflow pipe nipple.