

She Kept Old Egg Cartons To Make A Stunningly Modern Vase
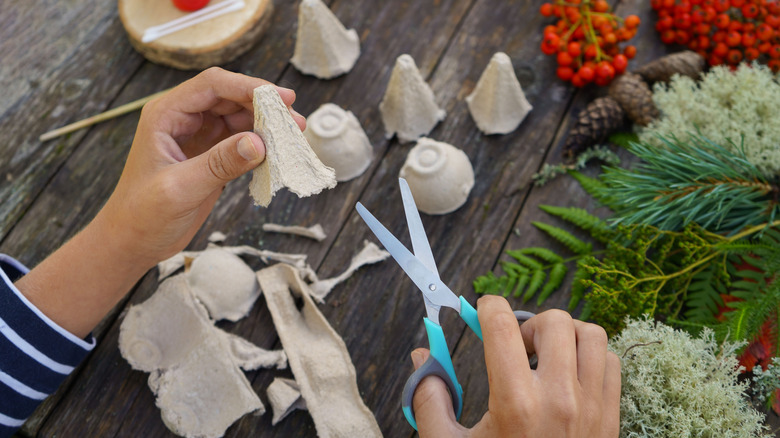
One of the most wonderful things about DIYs is that you can take literal trash and turn it into a beautiful piece. Take egg cartons for example. Add a bit of water and glue, and you've got paper mache pulp that you can shape into a stunning modern and high-end vase. Then, when your guests comment on how beautiful your decor is and ask where they can get a similar vase, you can proudly say, "I made it myself!"
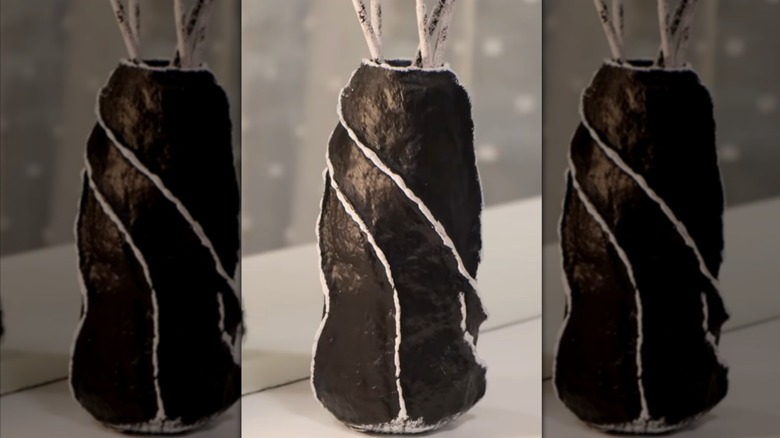
This particular DIY comes from content creator MarysCraftLab on YouTube, though it's based on the common technique of paper mache. You can make all sorts of things with egg carton paper mache, like a DIY Halloween Jack-O-Lantern or a decorative entryway bowl. In this case, the creator uses this DIY technique to cover and disguise an old glass bottle, turning it into a stunning vase. Once it's dry, she paints it and fills it with artificial flowers. This is a creative way to decorate your home with vases, but it's best to avoid filling it with water (hence the artificial flowers instead of fresh ones). This is because paper mache isn't waterproof, even if you cover it with a sealant. So to avoid your DIY falling apart, keep it away from water.
To do this DIY, you'll need some egg cartons, a bit of warm water, a cheese cloth or other fabric sheet you can use for straining. You'll also need some Elmer's Glue-All (or similar). For painting, you can use spray paint or liquid paint, depending on what effect you want to create. And to protect your hands, make sure to use plastic gloves.
How to DIY a paper mache vase with egg cartons
To turn the carton waste into a beautiful upcycled vase, start by tearing the egg carton into small 1- to 2-inch pieces. Fill a mixing bowl with the torn egg carton and top with warm water, soaking it for a few hours. You can either use a food processor or an immersion blender to break it down fully, or knead it with your hand. The goal is to avoid any lumps, breaking the cardboard into a smooth pulp. Next, place the mixture into a cheese cloth and wring out all of the water from the pulp. Discard the water, and add some salt (to avoid mold) and a few teaspoons of Elmer's glue to the cardboard pulp, mixing it into a thick paste with your gloved hand.
Once you're happy with the consistency (it should be malleable — not too hard, not too liquidy), cover your glass bottle. Work slowly and press the paste firmly with your hand, making sure it adheres to the glass. Once you've got around a 2-inch layer of material covering the entire bottle, use your fingers to pinch ridges into the paper mache. This is how you'll create decorative patterns all over the vase, and you can be as creative as you want: equally spaced straight lines, chaotic ridges meeting halfway, or horizontal waves.
At this point, leave the vase in a dry spot to cure for a few days. Then, use spray paint to cover the entire vase and a small paintbrush to highlight any of the ridges that you created. Finally, finish with Mod Podge to seal and protect the design, and also give it a bit of a glossy look.