

For The DIYer: The Retaining Wall Material That Doesn't Need Mortar
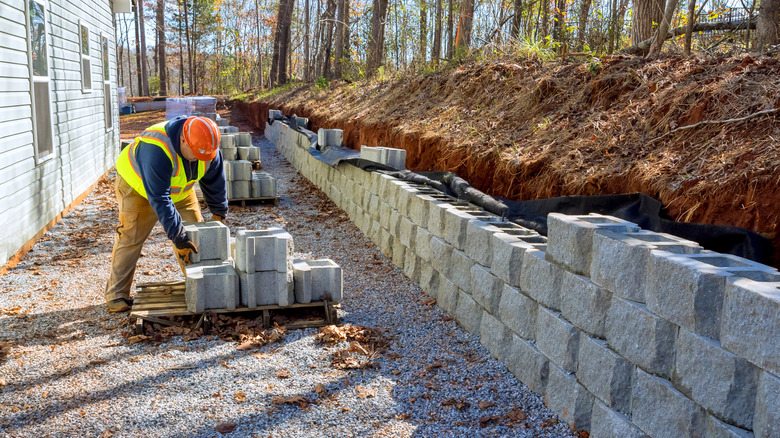
There are plenty of reasons to build a retaining wall. If you live somewhere with sloped terrain, you are concerned about soil erosion, or you need to improve the drainage in your space, this is a simple change that can seriously improve the functionality and appearance of your yard. The main hang-up for most homeowners is the cost — with an average price tag of over $3,000, it's a major investment to hire someone to do the job for you. Taking it on as a DIY project can seriously cut down the necessary costs, but it's an intimidating job, especially if you've never worked with mortar. Luckily, there's a simpler solution: interlocking concrete blocks.
Rather than relying on mortar to keep things together, interlocking concrete blocks are designed to connect to one another and create a solid structure without any assistance. They're essentially large-scale, adult Legos — while the installation process will require some preparation and heavy lifting, the actual build is as easy as slotting pieces together. This simplified design makes for an incredibly beginner-friendly but charming DIY retaining wall, so if you're willing to get your hands dirty, this building style is a great way to nix the cost of labor.
With that being said, however, you will still have to front the price of materials. Interlocking concrete blocks usually cost between $2 and $10 each, so the spend can add up if you're building a particularly tall or long wall. Additionally, you'll need to factor in the cost of additional materials like paver base, gravel, landscaping fabric, a shovel, a hand tamper, a chisel, concrete adhesive, a level, and a masonry saw.
How to choose the best interlocking concrete blocks for your retaining wall
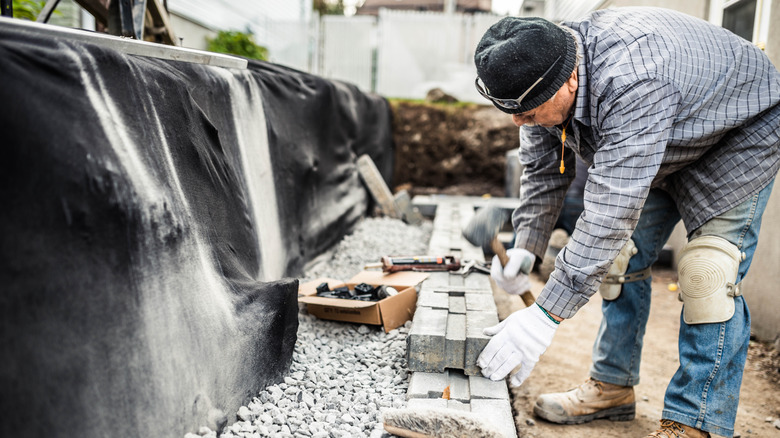
Most concrete blocks rely on similar design features. Even without any special add-ons, they're fairly large and heavy — their sheer weight helps to create stability when they're laid correctly, so once they're in place, it's highly unlikely that they'll budge. Interlocking blocks take things a step further. These designs include small ledges or nooks that keep the units connected and add an additional level of stability. The exact interlocking system will vary based on the brand you choose, but popular options like Unilock, Techno-Bloc, Allan Block, and Belgard should all provide more than enough support for a moderately-sized DIY retaining wall.
You should consider two main factors when it comes to choosing a product that will work for you: appearance and overall wall design. Interlocking concrete blocks come in a wide array of colors and textures, so you're not limited to smooth gray. Plain concrete is great for a modern look, but warm-toned, textured options can help to create a more weathered, Old World feel. There are even blocks designed to mimic the look of natural stone that will allow you to replicate some of your favorite gorgeous backyard design ideas on a budget.
Once you've decided on a general look you like, you'll also need to consider the shape of your intended wall. While just about every style of interlocking block will work for a straight wall, curves can be a bit tricky. Make sure you're picking a product that states that it will work for curves if that's your goal — these designs are usually more of a trapezoidal shape with a narrower back end.
The basics on working with interlocking concrete blocks
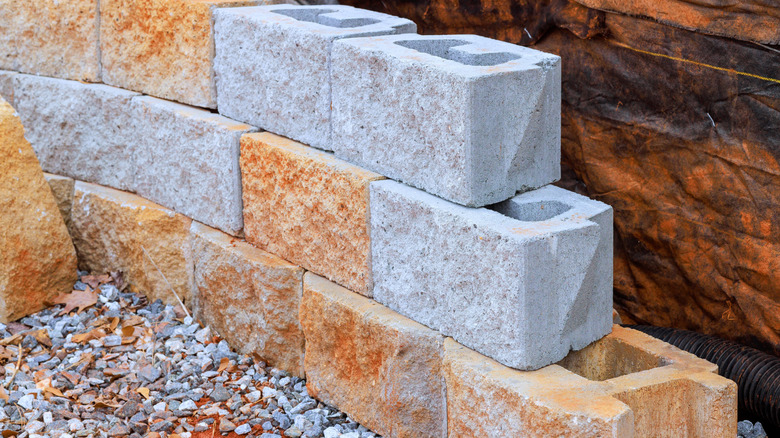
While the exact instructions will vary based on the blocks you choose and the design of the retaining wall, the basic steps of this process are generally the same. First, you'll dig a wide trench along the path of your wall, add in your paver base, and level everything with a hand tamper. From there, you simply lay on your blocks. If they have a lip at the back, you might need to chisel this edge off for the first row. Check that things are level, then continue on to the next layer, staggering the placement so that the seams between each block don't sit on top of each other. This is where the masonry saw comes in handy — you'll be left with an empty edge that needs a half block to finish things off.
From there, simply repeat the process. Landscape fabric will need to be layered behind your wall, and the gravel will be used to fill in the gap between the wall and the dirt behind it. This provides the entire setup with drainage and additional protection. Finally, you'll add on your wall tops — these are specialized blocks that help to create a finished look. If desired, they can be glued in place with some concrete adhesive.
All in all, this job can be time-consuming and tiring, but it doesn't require a ton of construction knowledge or experience to complete. Finish off the design with some lush plants, and your DIY job should come out looking just like a professional did it.