

Don't Toss Your Cookie Tin Lids: Make Chic Taper Candle Holders
We may receive a commission on purchases made from links.
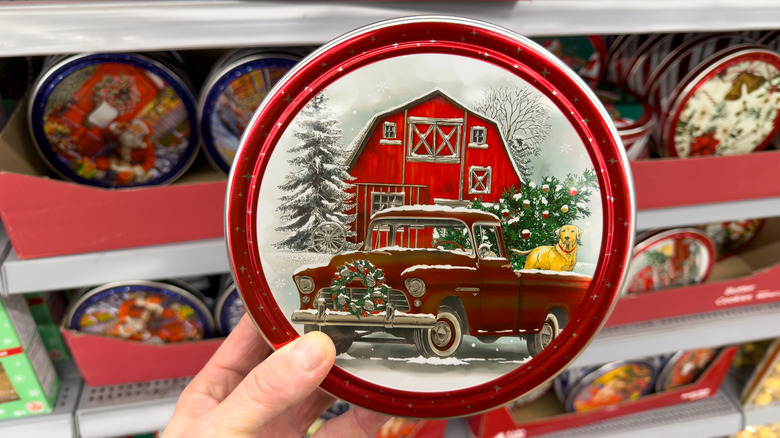
Typically, old cookie tins face one of two destinies: the recycling bin or holding buttons and sewing supplies. There's actually a third option to consider next time you finish a tin of cookies. You can turn the empty tin into a rustic holder for an elegant grouping of tapered candles. It's a simple yet beautiful way to decorate your home with candles. In their clever DIY tutorial, TikToker shelleycarline_design takes the lid of the cookie tin, flips it upside down, and adheres candle holders to it. Then, they fill the tin with plaster, let it harden, and paint it. They add embellishments and push taper candles into the holders to create a centerpiece worthy of the very best dining table, mantel, or credenza.
For this DIY, you'll need just one cookie tin lid. TikToker shelleycarline_design used the lid from a tin of Nestle Quality Street Assorted Chocolates, which you can buy at Walmart for about $55. However, any large cookie tin lid will work, so you can choose whichever brand you prefer. For example, Walmart also sells tins of Royal Dansk Danish Butter Cookies for about $6. You'll also need some Perfect Craft Casting Powder (it's a kind of plaster) and five Aomig Aluminum Christmas Candle Holders. Once you've gathered these supplies, you have all the essentials you need for this project. The key to DIYing a gorgeous elevated candle holder on a budget is getting creative with the embellishments. If you want to take a leaf from shelleycarline_design, choose white chalk paint, glass jar lids for feet, Mini Half-Round Wooden Beads, and artificial moss.
How to make a rustic candle holder from a cookie tin
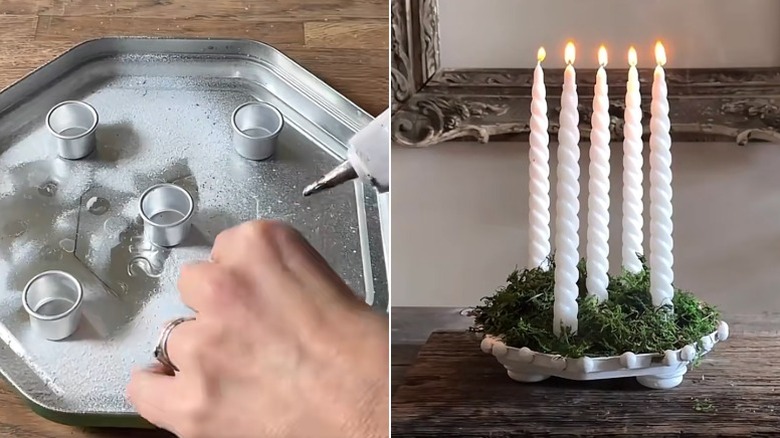
Clean the tin lid with soap and water to remove dust and crumbs. Once the lid is clean and dry, place it upside down on a flat surface. Adhere five candle holders to the inside of the lid with hot glue. You can vary the number of holders and arrange them however you like: around the edges with one in the center, in a circle, or all in a line. Try to arrange them so the weight of the candles will be equally distributed. Mix the plaster with water, following the manufacturer's instructions for the correct ratio. You should end up with a thick, pourable mixture. Pour the plaster into the tin lid up to the rim of the candle holders. You don't want to get any plaster inside them. Leave the plaster to cure, which typically takes a few days — again, check the package for brand-specific curing times.
@shelleycarline_design A little Spring upcycle💚 . Happy Thursday! Back from an incredible 10 days in Mauritius and full of ideas for a more sustainable home and upcycling projects. . Here's a candle holder I made for which I used the lid from the empty @qualitystreetuki tin(I used the bottom for a planter). . Let me know what you think and please save and share❤️ . Right, time to catch up on the jet lag and enjoy my favourite weekend of the year- just love it when nights are getting lighter and there's the promise of warmer weather around the corner. . Happy Easter everyone! . #upcycle #sustainability #sustainableliving #sustainablehome #recyclereuse #candleholder #centrepieceideas #interiorhacksh
When the plaster is cured, it's time to decorate your candle holder. First, paint it to hide the metal lid. If you find plain white paint boring, use some metallic or glitter paint instead. Glue on some legs — instead of the jar lids TikToker shelleycarline_design used, you could use wooden blocks or large beads. Then add texture to your DIY candle holder by using hot glue to adhere the half-round wooden beads to the rim of the candle holder. Or switch the beads out for anything else you like: buttons, Youway Style Iridescent White Glass Mosaic Tiles, or CraftyCrocodile Silver Metal Ribbon. Place long tapered candles into the holders and arrange the artificial moss around them. Then all that's left to do is light the candle wicks to enjoy the ambiance of this elegant piece of decor.