

The Funky, No-Carve Craft That Turns Your Pumpkin Into A Cauldron
We may receive a commission on purchases made from links.
For all the oohs and ahhs that carved, lit Jack-o'-lanterns inspire, there's a fair number of eeewwws and ouches to go along with them. From messy pulpy innards to accidental knife nicks, carved pumpkins aren't everyone's cup of tea. Fortunately, no-carve pumpkins have come into their own in recent years, giving you all the fun without the pastime's associated criticisms.
Designs commonly range from the traditional Jack-o'-lantern face to the witch's cauldron. In the latter case, all that's necessary to make a funky no-carve pumpkin cauldron worthy of its weight is a fat fall squash and some paint.
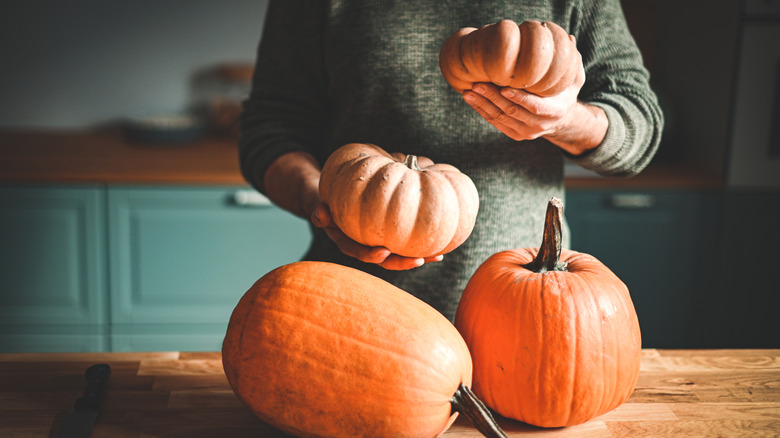
Since the body of the cauldron is made from the pumpkin, the squash you choose should fit a couple of parameters. Look for a large pumpkin that's wider than it is tall. This mimics the round "belly" cauldron shape at its widest point. Also, consider the skin. Warty pumpkins make for more interesting visuals, particularly if you're making a bubbling witch's cauldron (the warts become the bubbled brew). You'll build cauldron details, like the kettle's lip and its handles, out of materials such as foil and paper towels or repurposed shredded paper.
You'll additionally need some tools and practical supplies to transform the pumpkin from orange to black — namely, black acrylic paint and brushes. If having a shiny black kettle is your thang, try a paint like GOTIDEAL Metallic Acrylic Paint Pearl Black for a metallic sheen. Finally, Mod Podge Craft Glue, an old plastic container, and water are needed to create a glue paste worthy of your best paper mache crafts.
Forging the cauldron out of a no-carve pumpkin
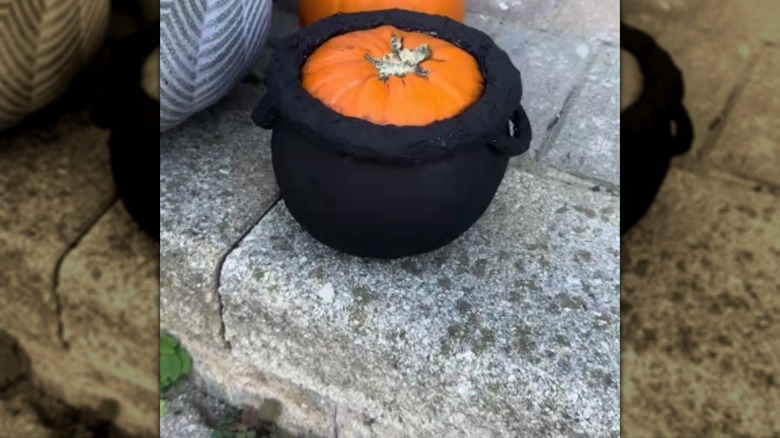
The design of most witch's pumpkin cauldrons features a rounded base topped with a lip flanked by two handles. Your squash forms the base. You'll make the lip from a piece of foil that you roll up and wrap around the top of the pumpkin. Glue it on with a mixture of the craft glue and water that you apply with a paintbrush. You can give the cauldron's lip more texture by adding layers of glue-soaked paper towels to the foil.
@maysaakayy Don't get attatched, I'm going to use this pumpkin to experiment with new techniques
Next, roll up a paper towel, dip it into the glue-and-water mixture until it's saturated, then form it into a half-circle shape. This half becomes one of the handles, which you'll attach to the pumpkin, just underneath the kettle's lip. Repeat the process to make the cauldron's second handle. Alternatively, use PerkDecor Thick Twine Rope for Crafts Projects to make handles instead. Just cut short pieces of the rope and bend it into a loop. Glue the ends of the rope loop together to create a ring. Then, attach it (and a second one) to the sides of the cauldron. Lastly, paint the cauldron black, leaving a bit of exposed pumpkin at the top for contrast.
This DIY pumpkin craft is fun on its own, but adding embellishments introduces authenticity and humor. For example, slide some meekoo Halloween Witch Legs with Shoes under the finished cauldron to let trick-or-treaters know what happened to the Wicked Witch of the West. Or, give the kettle its own legs to stand on by placing it on something like a Hosley Black Iron Pillar Candle Holder. The latter makes for a cute centerpiece on a Fright Night party table.