

A Rustic DIY: Use Old Cake Pans To Keep Counters Organized And Stylish
We may receive a commission on purchases made from links.
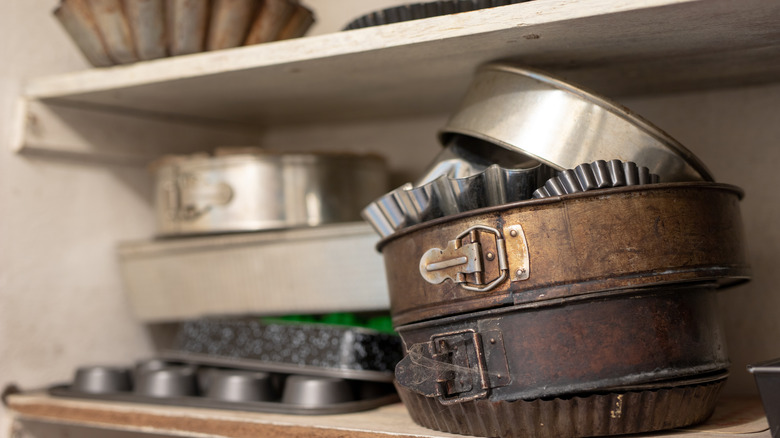
Often, our organizational solutions for kitchen countertops involve boxes or shelves. Functional, they are. But stylish? Not always. The solution to ho-hum storage lies in a change of shape — literally. If you're crafty, the remedy can also include an upcycle of something you've contemplated throwing away. An old round cake pan ought to fit the bill nicely. Its round shape moves your kitchen's aesthetic away from all that boring boxiness, and a well-placed pedestal will elevate the cake tin up off the counter, giving this rustic decor piece added height and charm. Best of all, this upcycled round tray is a brilliant budget-friendly idea to organize your kitchen.
Round cake pans come in a variety of sizes, typically ranging from 6 inches to 10 inches. Go with the largest pan if you can. Repurpose a pan from your cupboards, if you can. Otherwise, you're likely to find something at a yard sale or thrift shop that would make a suitable recycle. To lift it up off the countertop and give it that tray look, you'll add a candlestick holder to the bottom. Choose one that has some weight and a wide bottom; this will give the cake pan a solid foundation to stand on. Something like Zeochyni Elegant Black Taper Candle Holders would work. Finally, you'll need super glue and spray paint to turn the two pieces into a solid whole. Paint with a hammered metal finish is a classic choice, but there are plenty of other colorful paint shades to suit a rustic home.
An elevated cake pan is the perfect countertop organizer
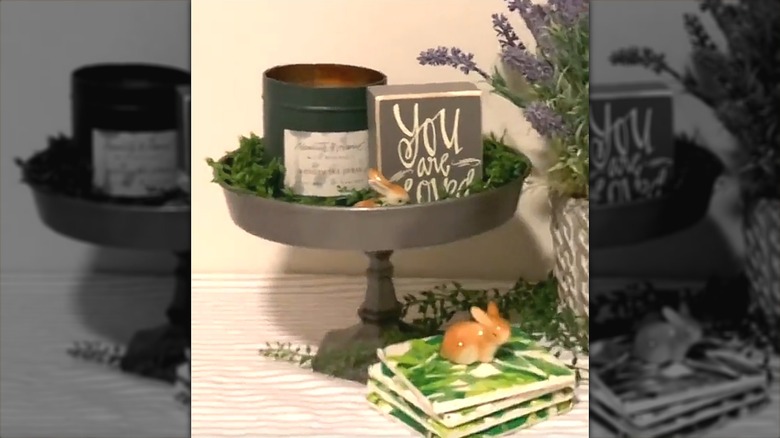
Start this process by cleaning any grease residue or caked-on crumbs –- pun intended -– from the pan. The surface of the pan needs to be clean in order for the paint to adhere and the cake pan and the candleholder to stick together properly. The glue should stick to the bottom of the pan as is. However, if you sand the bottom of the pan slightly before adding the adhesive, it'll make the bond stronger, ensuring that your elevated cake pan stays together. When you're ready, find the center of the cake pan and use super glue to adhere the top of the candlestick to the bottom of the pan. Hold it in place until the bond holds.
@hometalk Grab a pan and a candlestick for this cute farmhouse tiered tray DIY! ✨ #TikTokPartner #LearnOnTikTok #farmhouse #howto #homedecor
Next, spray paint everything top to bottom. This visually unifies the two pieces, but if you'd like to play around with the design a bit, you could paint the bottom piece one color and the top another before assembling them. For example, make a white cake pan that sits on a black or deep red base. You can also bring in a touch of rustic design by adding some shelf paper to the bottom of the pan. Choose one like VaryFloral Rabbit Wallpaper Black Floral Forest to reinforce the woodsy and rustic theme in both color and style.
Now, to decorate and utilize your tray. Arrange greenery, pretty candles, and other small items for subtle yet impactful kitchen countertop decor. If you're after something both functional and pretty, try using it to store your spice jars or salt and pepper shakers. It would also make a cute place for grab-and-go snacks, like granola bars. Quick remedies for post-work hunger have never looked so stylish.