

He Turns A Retaining Wall Into A Functional Entertaining Space With This Genius DIY
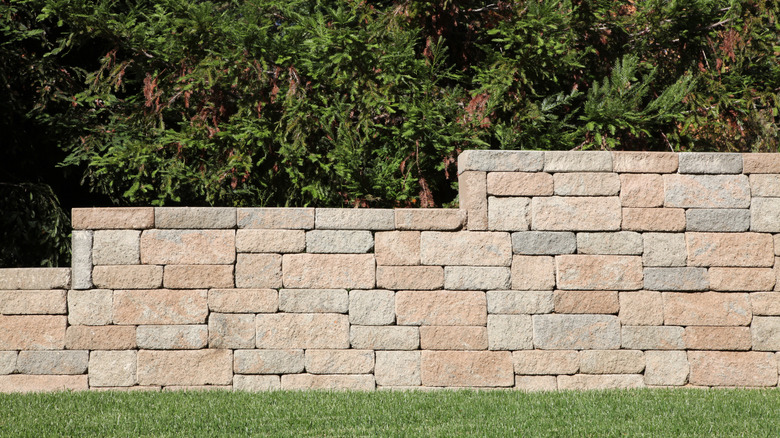
If you have a sloping yard, a retaining wall is about as essential to your property as your gutters are to your house. Retaining walls direct drainage, protect against erosion, and create level areas around your yard. However, if not incorporated into the landscaping, they can sometimes be unsightly and utilitarian-looking. YouTuber Richard Cox decided to make his retaining wall part of a new entertainment area, helping the wall itself blend in and serve multiple functions — and he documented his entire build in a video.
For this DIY, Richard constructed the retaining wall first, then dug out and leveled a seating area directly in front of it. With the addition of a fire pit made from tumbled concrete blocks and some fresh landscaping courtesy of his wife, he created a perfect backyard entertainment space for his whole family to enjoy. Due to the layout of his yard, Richard wasn't able to build out his seating area in a perfect circle as he'd envisioned, but he was able to adapt his design as he went along.
This project cost him a few hundred dollars to build, though your own expenses will depend on the size of your wall and what you have on hand. You'll need concrete retaining wall blocks and concrete bricks for the fire pit and seating area, along with paver base, paver sand, gravel, construction adhesive, and landscape fabric. As for tools, you'll need, at minimum, a shovel, level, tamper, angle finder, rake, and wheelbarrow. You may also find a pickaxe useful for weed removal as you dig.
How to build this retaining wall entertaining space
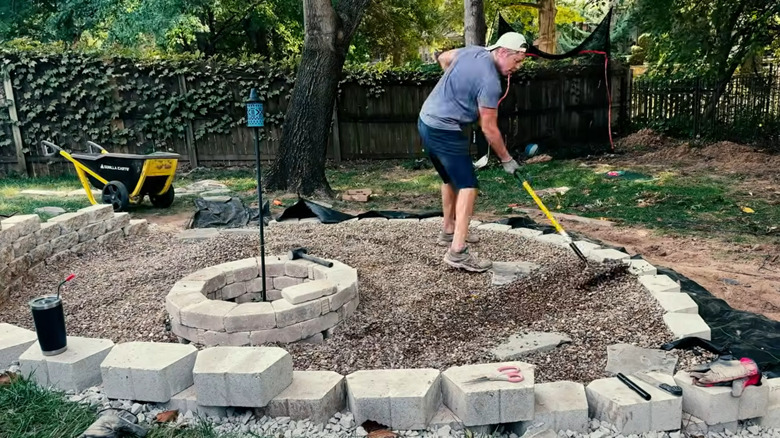
First, survey your yard to determine where you want to build the retaining wall and seating space. Mark the area, and call 811 before you dig to avoid hitting utility lines. If the wall will be taller than 3 feet or your yard has significant runoff, it's best to skip this DIY and hire a professional instead. Additionally, make sure the area is clear of any trees and overhanging branches. In Richard's case, he had to trim some branches to create enough clearance to use his fire pit safely.
The project itself involves a whole lot of digging. First, dig a trench for the retaining wall, add paver base and paver sand, tamp it, and level it. Then lay the first row of retaining wall blocks with your level and angle finder. If that first row isn't perfectly level, the variance will show through in later rows, resulting in a visibly crooked wall. Continue laying each row of blocks until the wall is complete, backfilling with gravel as you go. Next, dig out the seating area and level the soil. Dig a hole for the fire pit, form the base with sand, and level the tumbled bricks along the perimeter. Lay landscape fabric and gravel across the seating area, add some chairs, and your new entertainment space is complete.
This DIY may get tricky at times, especially if there are trees nearby. If you run into a lot of roots that are difficult to maneuver around, consider using a pickaxe or hiring an excavator to remove soil. Additionally, since leveling is such a crucial factor here, grabbing a laser level may make the process less tedious, and adding construction adhesive between each layer of fire pit bricks will help ensure they stay in place.