

How To Remove Landscape Fabric Without Damaging Plants
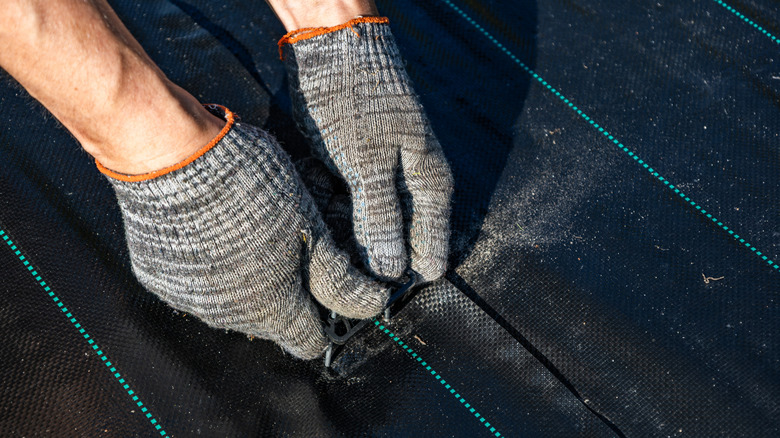
Installing landscape fabric provides several benefits for homeowners, but the primary one is preventing weeds from sprouting underneath. However, people often make mistakes when using landscaping fabric, and some may feel as if it has caused more problems than solutions. One issue polypropylene or polyester landscape fabric can cause is poor plant root health because it limits water and air exposure. Additionally, weeds may eventually grow over the material as dirt, seeds, and mulch collect on it. So, if your plants are struggling and you want to remove the fabric, use a slow technique to prevent plant damage.
When you have valuable plants growing through the landscape fabric, the removal process becomes a bit more difficult. Before you start, you have to understand that no easy, quick option exists. If you rip out the material without a clear plan, it can lead to further damage in your garden, and worse, your plants won't survive. To succeed, you will need specific tools, a clear schedule, and preferably, a day when it is not too hot. Since the plants will experience quite a bit of stress from the removal, the last thing you'll want to do is introduce more because of extreme heat.
Steps to remove landscape fabric and keep existing plants
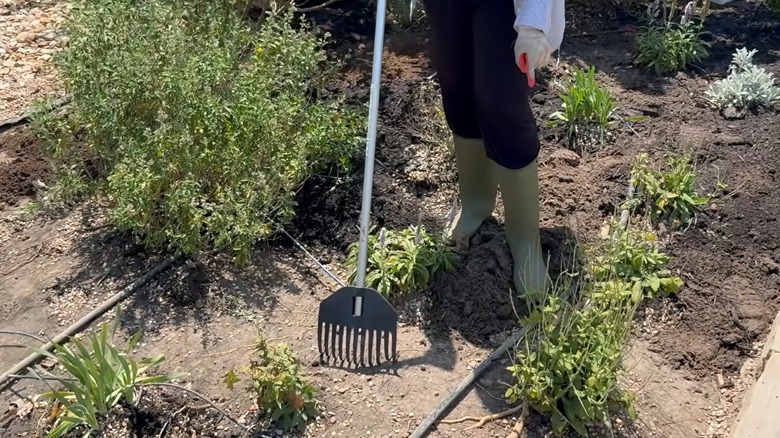
Before starting any work, you'll want to have a few key tools on hand. Sturdy scissors, a utility knife, a hand rake, a shovel, a trowel, pliers, and a wheelbarrow can help a lot. Just as gloves are a must-have when weeding your garden, they can come in handy for this project, so consider wearing them to protect your hands. Keep a hose nearby so you can water your plants after you remove the fabric. Finally, use marking paint or flags to identify each plant you want to save, especially if other people will be helping you and may not be able to identify the plants worth keeping.
Start by picking up rocks, sticks, mulch, and dirt from the top of the existing landscape fabric. For debris near your plants, work carefully with a trowel or hand rake to avoid damaging leaves or stalks. Next, loosen the perimeter of the landscape fabric. They usually have long staples around the edges, so use pliers to pull them out of the ground and cut around any that are rusted or stubborn.
Cut the fabric into sections with scissors or a knife, leaving a ring a couple of feet in diameter around each plant. Slowly pull the cut sections back and place them into the wheelbarrow. Then carefully lift the edges to loosen the small pieces of fabric around each plant. As you get closer to the stem, cut away small chunks of the remaining fabric until you can safely (and slowly) pull it all away.
Tips for a smooth landscape fabric removal process
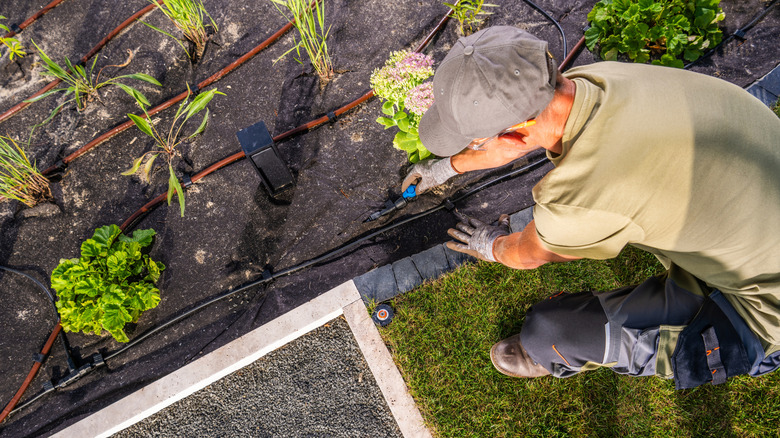
To limit damage to the plants, you should plan to remove the old landscape fabric in early spring. Plants will have time to recover from any stress with the growing months still ahead. Otherwise, consider doing the work in fall, when plants are mostly done growing.
If the roots of your plants have become entangled with the landscape fabric, work as carefully as possible with the knife to keep the larger roots intact if at all possible. Sometimes, though, you'll have to cut into the entangled roots. If this happens, make a clean cut with a sharp knife blade to give the roots the best chance to recover, and don't pull hard to separate them.
If you plan to say goodbye to landscape fabric and install a groundcover or let the existing plants spread instead, you'll need to allow time for the soil to regain its health. To help with this process, you should water the area a day before removing the fabric. This step helps the roots, decreases plant stress, and makes the fabric looser and easier to pull away. To replenish the soil, carefully break it up with a tiller or pitchfork around the plants you're keeping. Add about an inch of organic matter to return nutrients to the area.