

Man Uses An Angle Grinder To Make Beautiful Wood Bowls For Dining And Decor
We may receive a commission on purchases made from links.
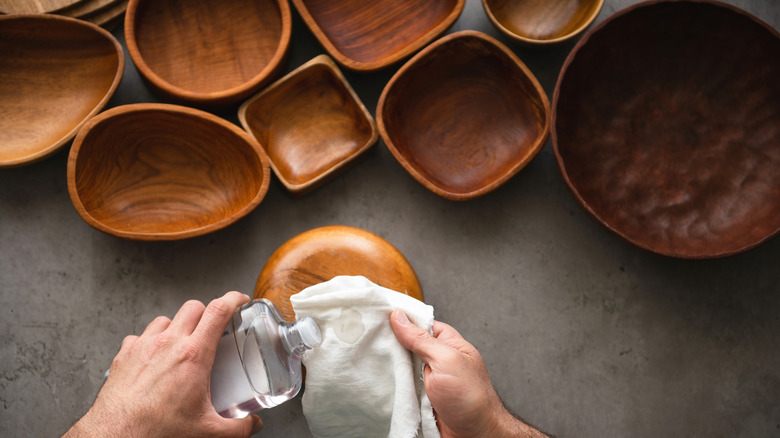
Want to impress your friends and family at your next dinner party? We're sure you've already got the culinary chops to satisfy their taste buds, but if you want to go the extra mile, why not serve the food in gorgeous wood bowls you made yourself? If you follow this YouTube tutorial by Nick of Six Eight Woodworks, that's well within reach. You'll end up with a stunning bowl that looks high-end and elegant — but can be made out of firewood, logs from fallen trees on your property, or timber from a local lumber yard.
This is an afternoon project, from start to finish. However, if you're new to woodworking, it might take you a couple of tries to get it right. The bulk of the work involves carving wood with an angle grinder. That can be dangerous, so make sure you're taking the appropriate woodworking safety precautions to avoid injuries.
While these wood bowls are fantastic for serving up salads, pastas, and other tasty dishes, there are other ways you could use them, too. For example, they'd be a chic DIY decorative storage bowl on a table or bookshelf, or they could make a stylish entryway key holder. They could also serve as cute catch-all bowls to store jewelry, hair accessories, spare change, or other small items. Another option? Adding a monogram or phrase and giving one of these customized bowls to a friend as a gift.
How to prepare for this DIY
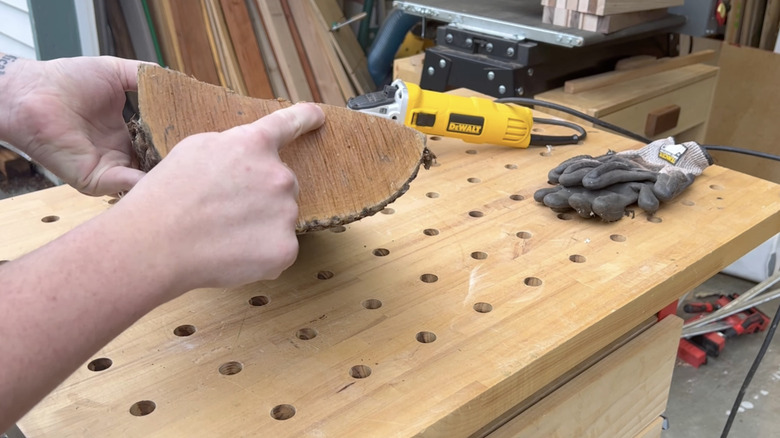
So, which tools and supplies will you need for this project? Let's start with the wood. Either hard or soft wood is fine, but you should aim for a piece that's about the size of a fire log. In addition, you'll need an angle grinder with a wood shaping attachment (like the Arbortech TURBOPlane, which our DIYer uses), a circular saw, chalk, a sander attachment for your grinder (with 80-, 120-, and 150-grit sanding pads), 220-grit sandpaper, Cyanoacrylate Adhesive (CA) glue and activator spray, mineral oil, wood wax, and a couple of clean cloths. You'll make the bowl on a woodworking bench with clamps, so you should have that, too.
When you're ready to get started, prepping the wood will be your first step. If it's wet, let it dry out before you start working on it. After that, check to see if it still has the center pith. If it does, the log may split or crack down the line. To prevent that, remove as much of the pith as possible, then seal the ends with wood glue.
Carve and contour your wood bowls with an angle grinder
After the wood dries, clamp it down to your table and remove any bark with the grinder. If there are cracks on the ends of the logs, use a circular saw to trim the edges. Next, flip the wood over and outline your preferred bowl shape with chalk. Then, inspect the entire piece for holes or cracks. If you see any, patch them with CA glue and activator spray (like this Instantbond Adhesive and Accelerator Kit from Home Depot).
Clamp it back down and use the grinder to start carving out the shape you sketched with chalk. To refine it, run your sander along the inside and outside of the bowl. Nick recommends starting with 80-grit sandpaper, then switching to 120-grit, and finishing up with 150-grit. Next, spray the bowl with water, rub it in with a clean cloth, and sand it again. This will help prevent the bowl from feeling rough when you're washing it down the road.
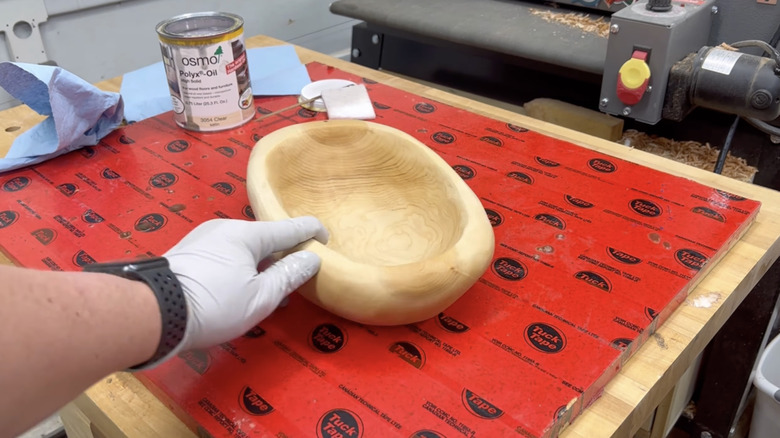
To get the bowl smooth and ready for finishing, hand-sand it with 220-grit sandpaper. Clean off any wood debris, then apply mineral oil (or another food-safe finish) with a clean cloth. Lastly, buff in wood wax to protect the surface and keep your wood homeware looking good for years to come. Now you have a unique rustic bowl or tray to use in any room of your house.