

Use Epoxy To Transform River Rocks Into A Planter That Looks Professionally Made
We may receive a commission on purchases made from links.
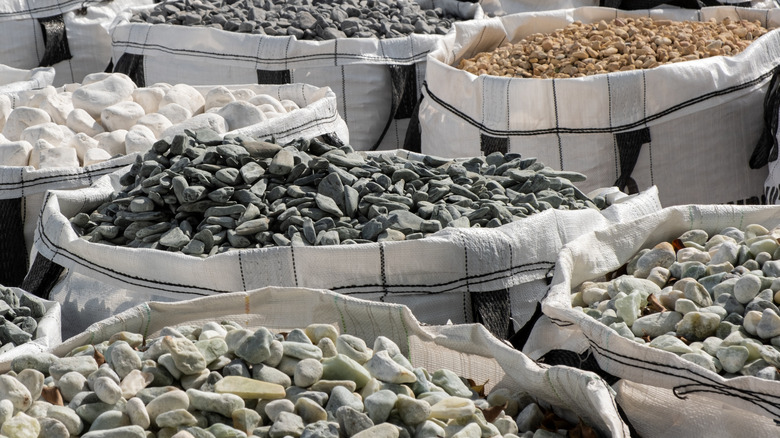
River rocks are one stunning example of how nature can make raw materials beautiful through time and weathering. The constant motion of river currents shapes and polishes the rocks underneath the water's surface, giving us the round, colorful stones so prized for landscaping, crafting, or bringing beautiful rock gardens to your yard. If you happen to have extra river rocks left over from any of these uses, you can make the most of their hues and textures by turning them into a planter.
This DIY is one of the easier alternatives to using cement as a base for river rock pot plants. Some crafters have found the rocks slip off the cement, making the process cumbersome. Also, many cement planters are made by hand-mixing the cement and pouring it over a form, which can be laborious. When it comes to making a river rock pot with glue and and epoxy, there are two basic design options. One is adhering the river rocks to a plastic pot, then coating them with the epoxy. Another method uses a different type of epoxy and a mold to cast the rocks into a solid pot shape.
Aesthetically, river rocks work well whether you're going for a modern vibe or a natural, cottage look on your porch, patio, or houseplant nook. However, it's important to wash the rocks first so the adhesive will hold well and the end product will look its best. All you need for this DIY are your smooth and clean rocks — whether collected naturally from a river bank or bought in bulk from a garden store or online supplier — as well as a basic plastic plant pot or mold, a strong adhesive such as Gorilla glue or E-600, and your epoxy or epoxy resin.
Create a textured plant pot with river rocks, glue, and epoxy
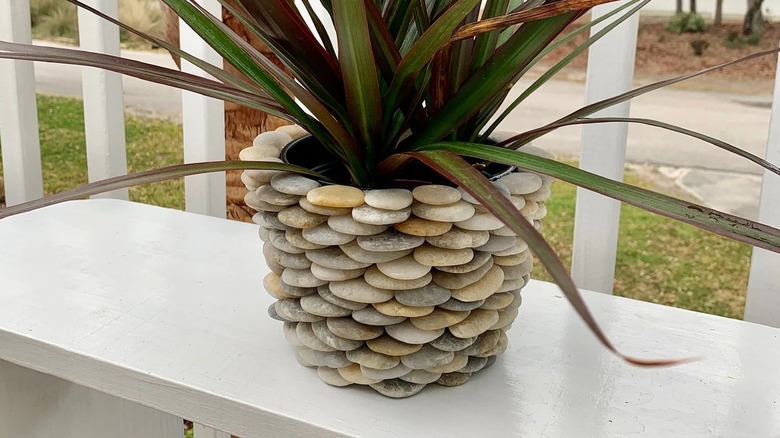
If you're looking for a simple planter with some texture on the outside, adhering the rocks to a plastic pot is the method you should try. This is a great way to upcycle plastic nursery pots, or a perfect use for inexpensive pots of any size that you might find at garage sales and thrift stores. Once you've picked the right base pot, sift through your river rocks to find the best candidates to stick to its surface. Ideally, they should be 2 inches or smaller and smooth on at least one side for easy adhesion. After washing and drying the rocks, start gluing them to the sides of the pot, starting with the bottom around the drainage hole. Let each side sit to dry so that the rocks stick well, then turn the pot and move on to the next side. While some crafters have had success with Gorilla glue, E-600 Craft Adhesive is recommended if you're keeping the planter outside because of its waterproof and heat-resistant properties.
In this version of the project, epoxy can be used to give your river rocks a shiny finish. Apply it as a coating after all the rocks are adhered to the plastic pot. One option that could work particularly well is the Alumilite Amazing Quick Coat Epoxy Kit from Walmart. An epoxy coat can bring out the same depth of color that the rocks display when they're wet, so if you like that look, this isn't a step to skip, especially if the pot will be exposed to the elements. As you go through the process, make sure you're not covering up the hole at the bottom of the pot, since proper drainage is important for healthy plants.
Cast rocks in crystal clear epoxy resin for a smoother look
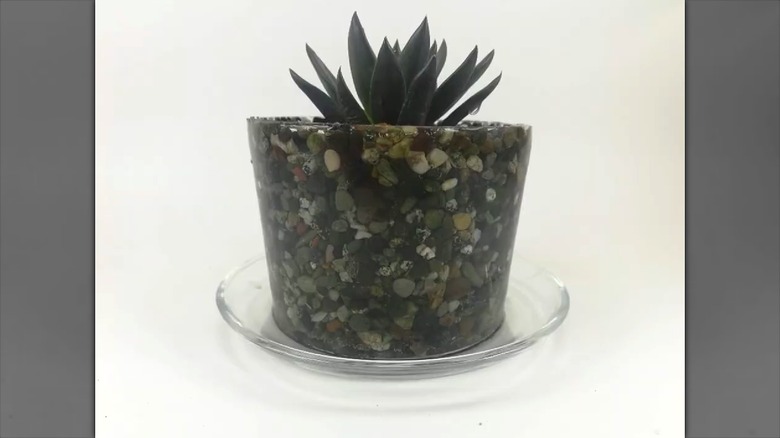
For those who enjoy a smoother look, suspending river rocks within a casting epoxy, like Let's Resin Crystal Clear Epoxy Resin is the way to go. This kit includes both the resin and a hardener, which are mixed before pouring. Instead of spare pots and glue, you'll need to make a mold using two containers you're okay with disposing afterward. They'll need to fit together while leaving a gap between them. If you're using smaller containers for the mold (such as plastic cups), comb through your stash of rocks to pick ones that fit. This could also be a good use for pea gravel instead of river rock.
The exact steps will vary depending on the dimensions of your rocks and mold. For smaller containers and smaller rocks, mixing the epoxy and rocks then pouring them in together is more maneuverable. While the rocks are suspended in the epoxy resin, you can move them around the mold with a popsicle stick or other small stirring tool. If you're using bigger rocks and your DIY mold consists of large bowls or buckets, it may be easier to place the rocks first, then pour the epoxy resin in around them. Let the solution set according to package directions before prying or cutting off the outer mold layer. Note that you may have to wait a few days for the pot to fully cure. Since this method may not give you a drainage hole, consider using a plastic liner pot inside the epoxy planter.