

15 Home Cleaning Tips From Professional Housekeepers

Have you ever wondered which cleaning habits the pros use to stay ahead of mess? If so, then this guide is for you. In exclusive interviews, we reached out to housekeeping professionals to see what they most strongly advise to help keep home neat and tidy. As you might expect, some of the tips are obvious, like adopting a regular cleaning schedule, and ensuring that you don't let messes pile up. But there are also plenty of pro-level tips that you, like us, may never have thought to consider.
For example, while it's important to replace your kitchen sponge regularly, did you know that it's possible to extend its lifetime by popping it in the microwave? Do you know what to pre-rinse your glassware with to remove smudges and cloud marks? Or do you know how to clean your cleaning supplies? In the guide below, we've highlighted 15 useful tips to help make cleaning easier. All are easy to do, and importantly, all come recommended by those who know what it takes to keep your ship in good shape.
Clean your vacuum after every use
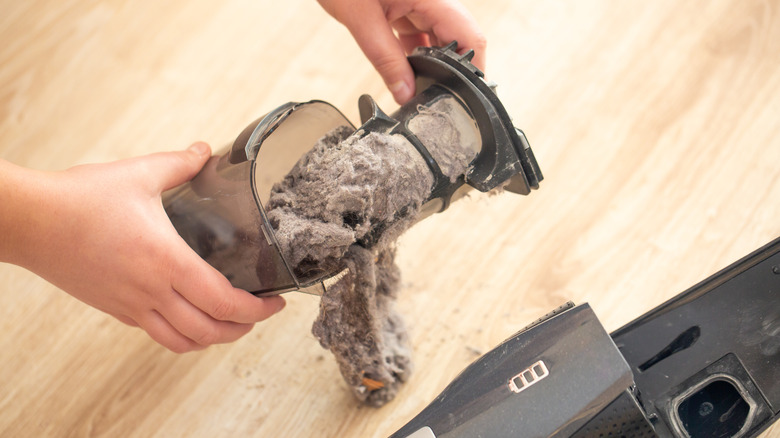
One easy tip to make vacuuming more effective is to simply ensure your cleaner is ready for use. That's according to Scott Benson, director of operations for The Cleaning Authority. In an exclusive interview with House Digest, he advises that you "Empty the canister, clean any brushes and attachments, and replace the filter if needed." As for how often to clean your cleaning tools, in the case of your vacuum, it's best to do it after every clean.
There's a good reason for this. Depending on the type of appliance you use, not going through this checklist could cause problems the next time you use it. The dust bag may have filled up, for example, which can lead to dips in suction and performance. Similarly, in canistered vacuums, they can become clogged and lose suction. Vacuums can also become smelly if not frequently emptied, as food, pet hair, and other detritus begin to break down. As for cleaning the attachments, the reason is simple: if your vacuum head is dirty, it's not very likely to leave your floors clean!
Vacuum the right way
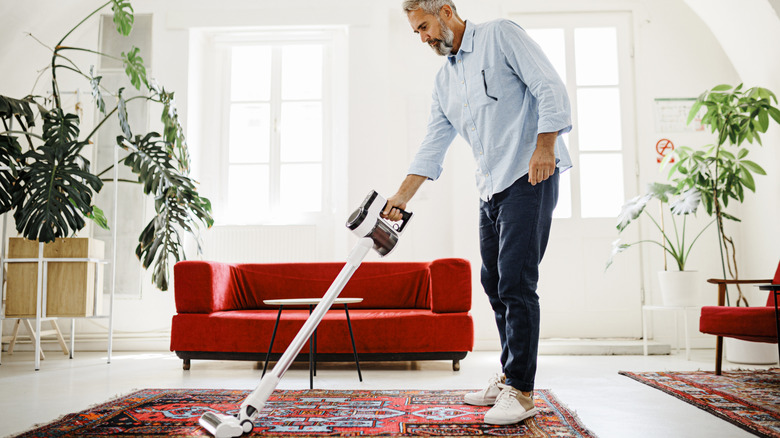
With your appliance cleaned and raring to go, the next thing to do is actually vacuum. But do you know the right way to vacuum your carpet and other floors? If not, says Benson, then it's best to "begin in the farthest corner and gradually work your way across the floor in slow, deliberate rows." The goal with your vacuuming pattern is consistency, rather than moving randomly around the room, which risks areas being missed altogether.
Another tip, says Benson, is to "Push the vacuum forward, then pull it back slowly to pick up any debris that may have been missed on the first pass." In other words, don't try to "zigzag" your vacuum to cover the floor more quickly, and don't rush your rows. When you do move on to the next one, you can slightly overlap the first one, but not until you've given the current row a full double pass. Doing it this way, says Benson, and then slightly overlapping, prevents dirt, dust, and debris from being left behind.
Create a nightly sink-cleaning ritual
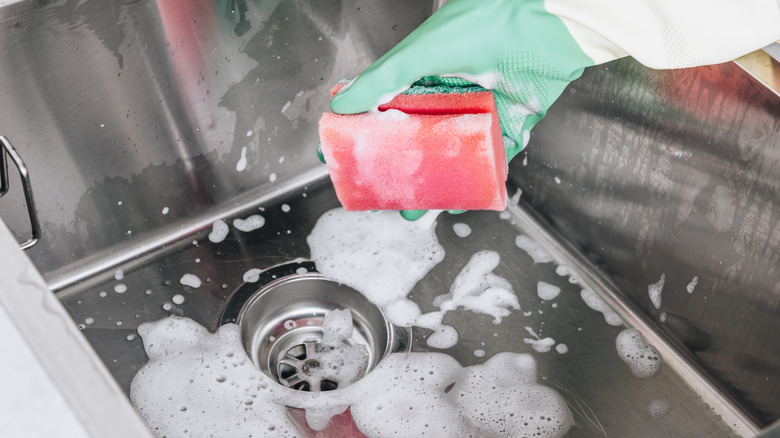
The sinks in our homes are breeding grounds for bacteria and mineral build-up. This is especially true in the kitchen, where they're used to both soak and wash crockery and cookware, and where small items of food inevitably end up loitering in the bottom. Grease can build up on the sides, as can scum from certain oily foods. What this all means is that, from time to time, it's really important that you clean your sink. Not only that, but cleaning it regularly is also important. In an exclusive interview with House Digest, Becky Rapinchuk, founder of Clean Mama, suggests doing it once per day. As she says, "An evening sink cleaning ritual just might help you keep your kitchen clean and give you a fresh start to your day."
Now, if you're already in the habit of regular sink cleaning, then you shouldn't need anything too drastic to do it. A simple wipe down with hot soapy water should be ample, ensuring that it's properly dried before you finish up for the evening. But if it's been a little while since you last gave it a scrub, or your bottle of Dawn is running low, you could use vinegar to clean your kitchen sink instead. Once it's clean, make a point of re-cleaning it daily to ensure your sink is nice and shiny when you come to fill the kettle in the morning.
Adopt a one-in, two-out policy

Keeping your surfaces clutter free is one of the simplest habits you can adopt to keep your home neat and tidy. It's also one of the top tips offered by Ashley Matuska Kidder, Founder and CEO of Dashing Maids. In an exclusive House Digest interview, she says, "My piece of advice would be 'one thing in, two things out.'" As for why, it's simple. Your home's surfaces are far easier to keep clean when they're not covered with clutter.
Of course, this may sound extreme. But the goal isn't to go out and buy 10 new things, and get rid of 20 existing items. Instead, it's to ensure you adopt the policy over time. "For every item you bring into your home," says Kidder, "get rid of two things. Over time, your home will have less items to move and less items to clean." And in case you're unsure which things to declutter, try to keep a mental note as you move around your home of which ones get used, and which simply gather dust. Anything that isn't used for a few months (and which isn't seasonal, like Thanksgiving tableware) is a great candidate for de-cluttering, whether that's with a trip to the thrift store or a good old-fashioned garage sale.
Replace your kitchen sponge more frequently
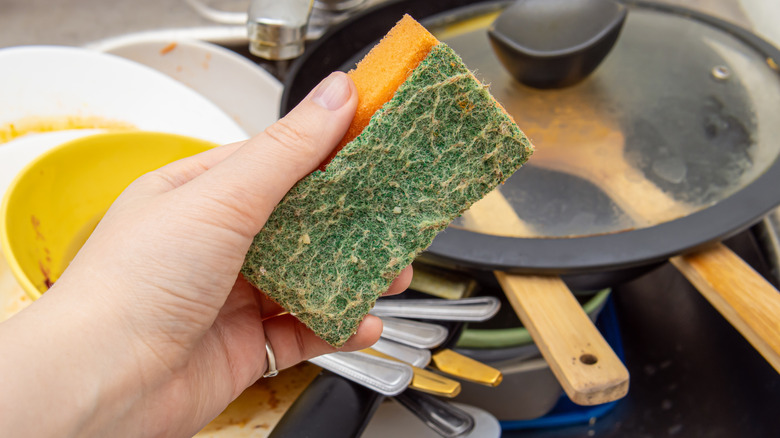
Have you ever wondered how frequently you should replace your kitchen sponge? The answer is that it depends, but as a general rule, Benson explains that it's usually best to grab a fresh sponge around every two weeks. As he says, "Most people keep their sponge far longer than they should." Not only that, but "Because sponges are constantly exposed to moisture and food residue, they can quickly become a breeding ground for germs, even if they look clean." With that being said, he does offer some tips to keep your sponge going for longer.
For example, he says it's possible to extend the sponge's lifetime by running it through the dishwasher. Alternatively, you could wet the sponge, place it in a microwaveable bowl, and then nuke it. A minute in the microwave is fine, says Benson, after which you should let it cool, before wringing it out and drying it. Aim to clean your sponge weekly, Benson adds, and when you start to sense it's time to replace your kitchen sponge, don't be tempted to make it last. The last thing you want to do is clean your dinner plates, cutlery, and counters with a bacteria-ridden sponge.
Make use of a cleaning caddy in the bathroom
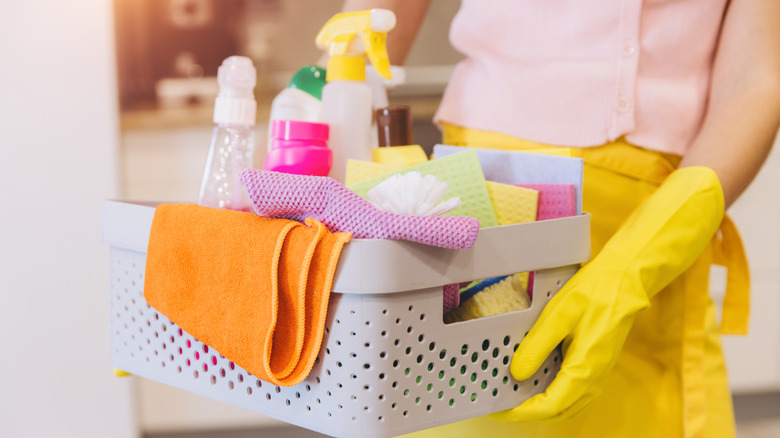
If all of your bathroom cleaning supplies are tossed into a cupboard with the rest of your kit, just finding the items you need can be a headache. And that's before you even clean with them. To make life a little easier, says Rapinchuk, you could "Keep a cleaning caddy in the bathroom so you have your supplies at the ready." We love this idea, and it's one that you could theoretically adopt for each room in the house.
The trick to making this tip work lies in properly stocking your cleaning caddy. In your bathroom, for example, you'll want your cleaning chemicals, along with accessories like gloves, wash cloths, and a shower-screen squeegee. In the living room, you may want a duster and some furniture polish, and in the kitchen, you may want to add a bottle of degreaser. You may even be able to pack your entire home's basic supplies into a single caddy. Just be sure that it's easy to carry around with you, and if not, consider splitting your items and organizing them by room instead.
Break down your cleaning schedule by day, week, and month

Remembering that we're taking tips from the experts, it makes sense that they'd have a few tricks to keep the task of cleaning organized. But that doesn't just mean keeping your supplies in a caddy or being careful not to add clutter. It also means scheduling, and according to Benson, that starts with breaking down your tasks by day, week, and month. As he says, "Not every cleaning task needs to be done daily and planning out your tasks will help you prioritize what needs to be done first without overwhelming yourself."
He's not the only one who plans this way, either. Indeed, as an example of how you might plan an effective cleaning schedule, Rapinchuk weighs in by saying, "I like to clean bathrooms on Mondays to ensure that they are clean for the week." Really, it depends on which rooms need the most regular cleaning and how much time you have spare throughout the week. To make life easier, you may also want to draft cleaning checklists for each room. "This," says Benson, "will make it easier to stay organized, work more efficiently, and remember the hidden trouble spots that are specific to each space."
Clean and tidy as you go

Taking a bite-sized approach to tidying is another of those easy habits you can adopt for a cleaner home. What we mean is tidying as you go, rather than waiting for everything to pile up, gather dust, and get grimy, and then all need cleaning at once. To do this, says Benson, "Begin with simple tasks, like placing your clothes in the hamper directly after changing or placing dishes in the dishwasher immediately after meals." Likewise, you could squeegee your shower door to prevent soap scum from building up, and make sure your plates and cups go straight into the dishwasher rather than piling up on the side.
In the long run, little actions such as these will help to save you time. Not only that, says Benson, but "You'll notice that messes don't build up as quickly." Crucially, if you're already half "on top" of things, like those inevitable piles of laundry, you'll find it much easier to tackle that all-important daily schedule without eating too much into your day.
Don't neglect your ice cube trays
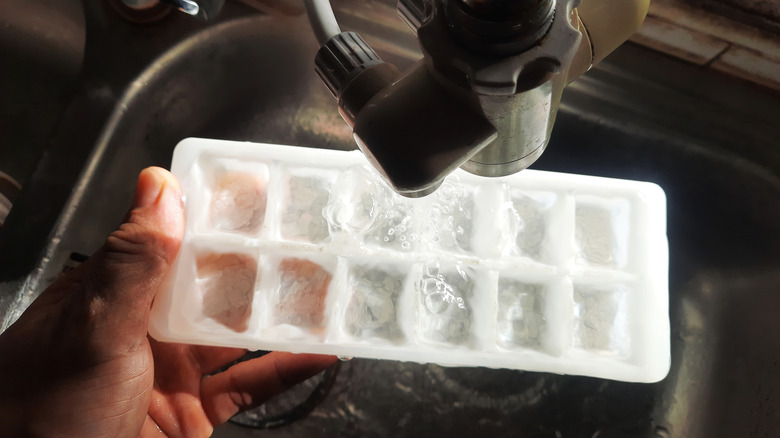
Now that your cleaning schedule is on track and you're starting to feel on top of the main house, it's worth thinking about the smaller items in your house that need to be kept clean. One example, says Benson, is your ice cube trays, and he explains that if they're beginning to yield cubes with a funny taste, the tray itself could be the culprit. As for why, he explains that "Freezer odors can linger and transfer to the tray over time." That's hardly what you want floating in your cola, and you're unlikely to curry many compliments if that ice goes crushed into a batch of mojitos.
To fix it, says Benson, "rinse the tray with warm water, then scrub each section." For a proper, thorough clean, he recommends a solution comprising two teaspoons of baking soda and half a cup of warm water. Alternatively, you could clean your ice trays with vinegar. Either way, give each section a decent scrub — perhaps with a clean toothbrush, to ensure you're able to clean properly inside each cell — before rinsing the trays thoroughly and drying.
Make a point of regularly cleaning bath toys
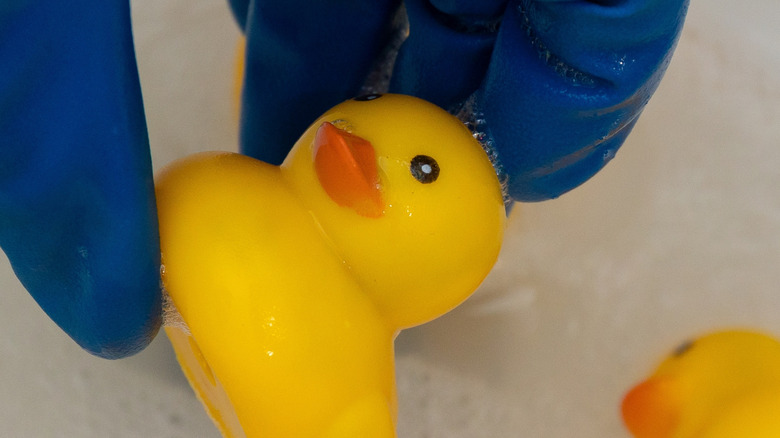
If you have little children, then chances are, your bathtub is lined with toys. Now, you might think that, being bath toys, the bath itself would take care of the cleaning. However, as Benson explains, "Bath toys can be a hidden spot for mold and mildew to grow, especially toys that hold water." In turn, this makes them a potential hazard, as mold can be dangerous if accidentally swallowed. In other words, it's always worth making sure they're thoroughly cleaned. Not only that, but it's important to clean your kids' bath toys frequently.
The first habit to get into is, says Benson, is to dry them completely after each bath. That means squeezing any water out of those that hold it, and drying everything else down thoroughly. As for how to more thoroughly clean them, he says, "Soak the toys in vinegar for several hours. For squirting toys, fill the inside with vinegar as well and let it sit." Now, it's worth noting here that, unless you can see the surface you're cleaning, you may not want to rely on vinegar alone. While it may kill certain mold types, it's not a fail-safe method. If you have squirty toys that you can't see inside, and you suspect that they're moldy, you may be better off getting rid of them. And to prevent mold growth from happening in the future, adds Benson, "You can also glue the holes closed on squirting toys to prevent mold growth from the start."
Clean now, and relax later

Our experts' final tip is one you may not want to hear, but it's one that we could all do with listening to. It is, says Benson, to "Clean now and relax later." What he means is you should try to avoid the temptation to punt all your weekly cleaning tasks down the road. Why? Because if you do that, your Sunday mornings will feel anything but easy. Instead, referring back once again to your schedule — if you planned one — the best thing you can do is stick to it.
As Benson explains, "Try not to push all weekly tasks to one day. Staggering the cleaning tasks throughout the week allows you to enjoy your free time." When you follow a schedule, and spend a few minutes each day working through your list, maintaining your house will feel less like a chore and more a part of your routine. Do it the other way around, and you'll realistically find yourself spending an entire day just scrubbing your house. That's hardly what you want when the sun's shining or you've been invited out for lunch!