

Man Uses A Track Saw To Transform Scrap Wood Into Restaurant-Quality Bowls
We may receive a commission on purchases made from links.
There's something very attractive and tactile about wooden bowls, and it can be particularly rewarding to create your own at home. Typically, you would use a wood lathe, but you can also use an angle grinder for bowl making. Or you can make one with scrap wood and a track saw, as a creator named Dan from the Range Woodworking YouTube channel illustrated.
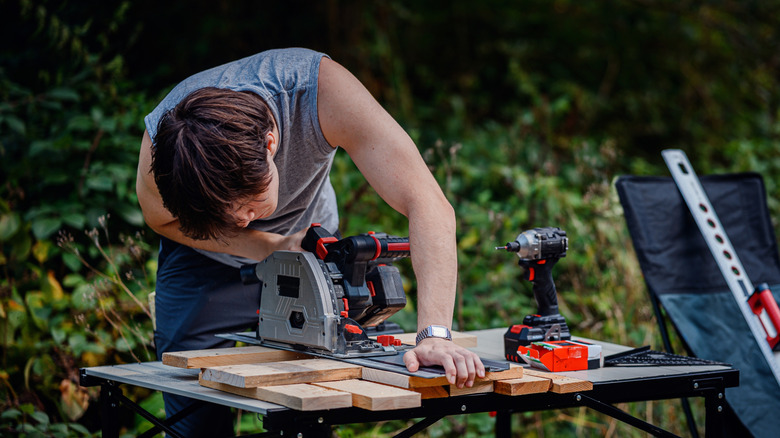
Before we get into the DIY, here's why a track saw is a good fit for this project. A track saw is similar to a circular saw but modified to run along a metal track. The track acts as a guide, letting you make precise cuts along boards and sheet material. Plus, it's one of the tools that can keep your DIY woodworking from looking cheap. One key feature of a track saw is its ability to plunge cut. While a circular saw can do this, it's not very safe because it can kick back and cause injury. Track saws vary in price considerably, but there are options like the WEN 6.5-Inch Plunge Cut Sidewinder Track Saw that are just under $100 at Amazon.
For this bowl project, you could start with a solid piece of wood if you have something thick enough. In the video, the YouTuber cut and glued scrap wood into a square block. If you do this, you'll need clamps to hold it together while the glue sets. Make sure you have earplugs, a mask, and eye protection. This gear is a must and should be one of your important safety precautions for any woodworking activity. Sawdust can cause breathing difficulties, allergic reactions, and some of it is even toxic.
Using the track saw
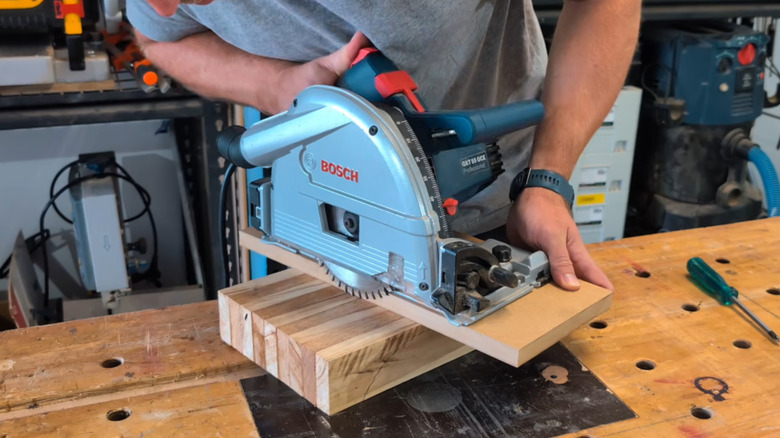
Although the video shows three ways to make a bowl without a lathe, we're going to focus on the track saw method. For clarity, the initial jig for mounting the track saw is made from medium-density fibreboard, but plywood would also work. For a quick fix, the creator uses cyanoacrylate adhesive (super glue) and an aerosol activator that helps it set almost immediately.
Once the jig is fitted to the wooden block, he plunges and rotates multiple times. Make sure to fix the depth adjustment on your track saw so the cuts are consistent. Also, avoid going to the full depth of cut straight away; do it in stages to minimize stress on the blade. You may want to clamp the block to the bench while you work, although you will need to move the clamp as the saw is rotated through the full 360 degrees.
Shaping the outside of the bowl and finishing it
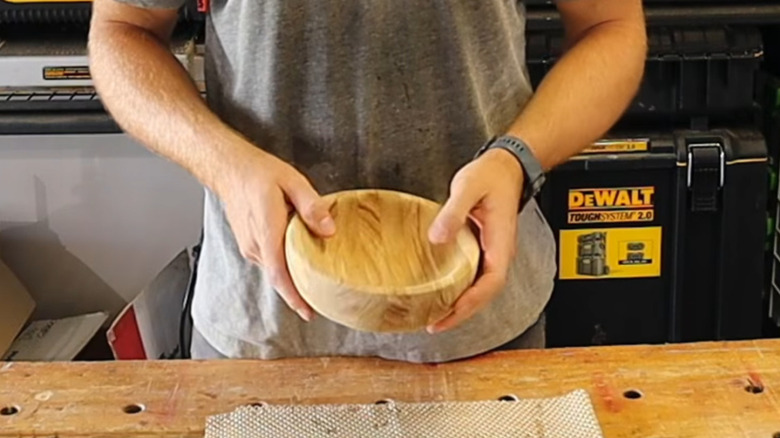
You could simply trim the outside edges of the bowl, remove the central spigot with a multitool or rotary tool, and leave it square. The YouTuber decides on a more traditional shape, but that process will require a bandsaw. Its ability to cut curves makes it one of the tools worth investing in to start woodworking at home if you're a regular hobbyist, but if you are not, it does go beyond common DIY equipment. Unfortunately, there's no other way of doing the job unless you do an awful lot of sanding.
Which brings us to the disc and belt sander. In theory, it would be possible to use a hand sander, but this tool is faster and more accurate. Smaller, more affordable models than the one shown in the video are available, though they are still likely to cost around $150. You could finish shaping with a handheld sander, then complete it by hand. For rapid material removal on the disc sander, start with 80 grit, then move on to 100 or 120 grit for final shaping, and up to 240 or 300 grit for that high-quality smoothness.
The last step is to apply a finish to bring out the warmth of the wood and help protect it. If it's a purely decorative bowl, wipe-on finishes are easy to apply, and water-based versions are available. If it's going to hold food, a mineral oil and beeswax blend is best, or you could use walnut or tung oil. Follow the instructions on the can carefully.