

How Do Professional Painters Paint Accent Walls And Patterns?
We may receive a commission on purchases made from links.
Whether you're in the camp that thinks accent walls are outdated or you're a big fan of this way to add a colorful dose of personality to a space, we can all agree on one thing: achieving a precise paint job is important, especially if it's going to be a focal point in the room. It's understandable that this process is intimidating to a lot of homeowners — plenty go with the option of hiring a painter to avoid potential DIY blunders on these more involved projects — but if you take a page out of the pros' handbook, it's actually fairly simple to get a quality finish on your own. All you need is some high-quality painter's tape and a few basic tips.
Many professional painters rarely use painter's tape for everyday jobs, but reaching for a roll when creating a patterned or accent wall is common practice. Walls that feature concentrated color in one section can look incredibly sloppy if the edges aren't straight and crisp, and taping is the easiest way to achieve this. With that being said, you don't want to settle for just any plain masking tape — investing in a high-quality product specifically for this purpose can minimize the chances of damage to the wall beneath, bleeding beyond the taped-off border, and rips during removal. If you're painting over a wall that's been painted recently, use a tape that's engineered to be more delicate, like FrogTape Delicate Surface. If this isn't the case, ScotchBlue Original Multi-Surface Painter's Tape is a trusted and reliable product that can tackle nearly any paint job.
Applying your tape before painting
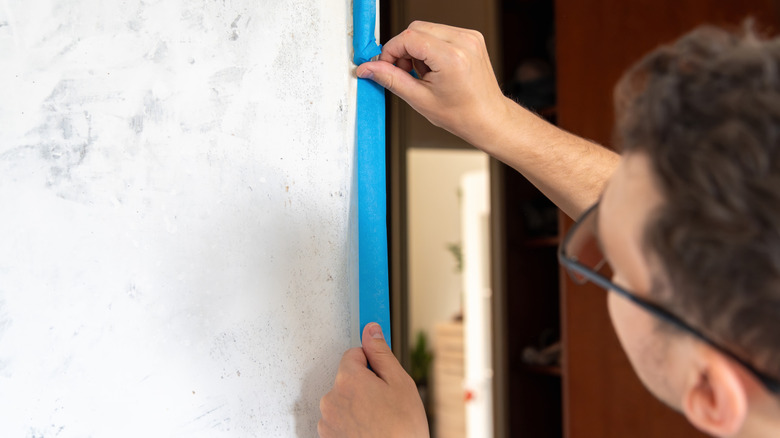
If you're just doing a plain, one-color accent wall, you're going to want to apply your tape along all of the borders — the painted area's sides, the ceiling — as well as any obstacles that you want to keep their original color — outlets, baseboards, trim, et cetera. Take your time doing this, as even slight wobbles in the tape will give you an uneven final product. Try to use long pieces of tape rather than short chunks, and make sure you don't stretch the tape too much as you're applying it. Once everything is down, go over the edges with a putty knife to make sure there aren't any gaps or sections where the tape didn't fully adhere.
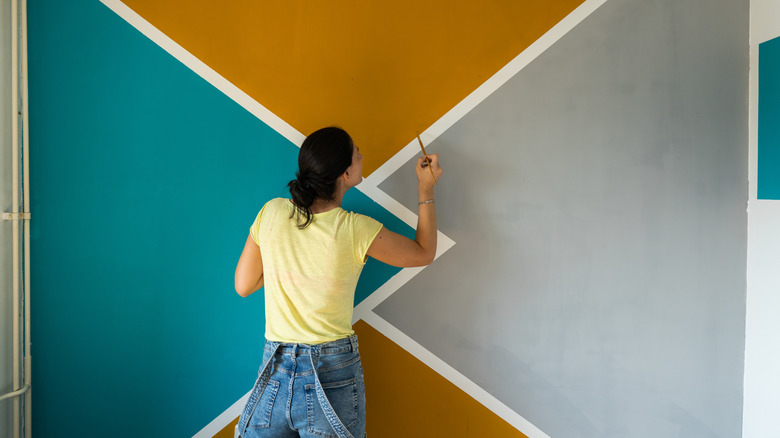
For more complex, patterned walls that feature geometric lines, you'll want to protect the same areas, adding additional tape to create your chosen design. Follow the same tips to make sure that the tape is straight and secure, and if you're painting over a layer that's been applied fairly recently, be sure to use delicate surface tape. Repeating, consistent patterns like stripes require even more precision to get a clean final product — consider using a laser to ensure that your lines are truly straight and make sure to measure and mark before application.
Unfortunately, rounded shapes are a bit trickier. Because painter's tape doesn't bend or curve easily, you'll have to tear small sections of your tape to protect the edges of your design. Of course, there's also the option to freehand — while it feels a bit riskier, the cut-in method can still yield precise results.
Painting the wall and removing the tape
Once you've fulled taped off your accent wall, you're through the most difficult part of the process. From here, all you need to do is go in with your paint color of choice. With your paintbrush, be sure to start at the tape and move the brush away from the edge rather than toward it — this will help to minimize the chances of bleeding. Some painters also recommend painting a layer of your base color over the tape before going in with the accent color to better seal the edges of the paint.
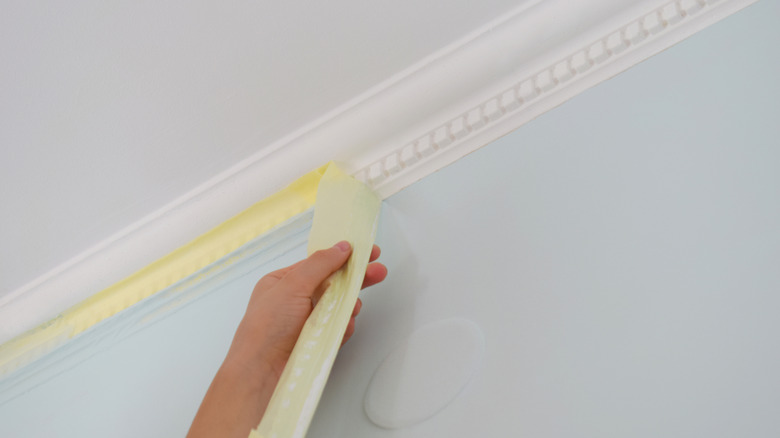
Once you're done painting, give the tape a bit of time to dry before you start peeling. You don't want to wait too long, however — while some tape manufacturers claim that their product can sit on a surface for several days before causing issues, it's best to tackle removal as soon as the paint is dry to minimize the chances of the adhesive forming too strong of a bond to the wall. Lift the edge of your tape until you can get a good hold, and pull gently at a 45-degree angle. It should come off fairly easily and cleanly, revealing a crisp line beneath. If there are any areas where paint bled beneath the tape or peeled up during removal, go in with a small detail brush and some paint to clean up the design and ensure all of your lines are sharp.