10 Genius Tips For Painting Laminate Cabinets
We may receive a commission on purchases made from links.
According to My Domaine, two-toned kitchen cabinets are in. Light, neutral uppers with dark, moody lower cabinets is a trend that's moving its way through Pinterest and into homes. Islands are begging for a pop of color against the typical white, construction-grade kitchen cabinets, and we are so on board.
That's not to say that this is one-and-done, day-long DIY to tackle on a whim. Despite the universal trend of painted cabinets, it's important to remember that not all cabinets are created equal — and therefore, not all cabinets can handle any old coat of paint.
Laminate cabinets, for instance, are one of the most popular choices in new homes. Since they aren't real wood, laminate cabinets are more cost-effective. That also means that they're thinner and harder to work with than the traditional solid wood cabinet, but you can achieve a splash of color in your kitchen with these tips for painting laminate!
1. Clean cabinets with a degreaser
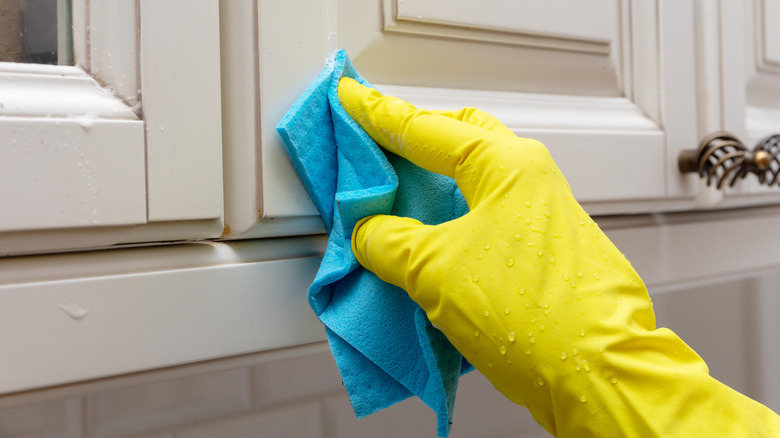
Those late night snack rummages for some Oreos, or the (many) times you attempted to jam another new coffee mug up on the cabinet shelf add up to lots of oil and dirt, even if you regularly clean the kitchen. To that end, in order for paint and primer to fully stick to the laminate, it's crucial that you take the proper steps to prepare before you break out any brushes.
Family Handyman suggests investing in a true laminate cleaner or a degreaser. The blog recommends sticking with a trisodium phosphate or TSP cleaner, which is one of the heaviest duty options available. The Savogran TSP is especially popular among professional painters for its cleaning power, and it's available on Amazon for around $10. Follow the directions on whatever degreaser you pick, and thoroughly wipe away the years of built-up hidden dust on the surface before you paint.
2. Fix any damaged areas with laminate or wood filler
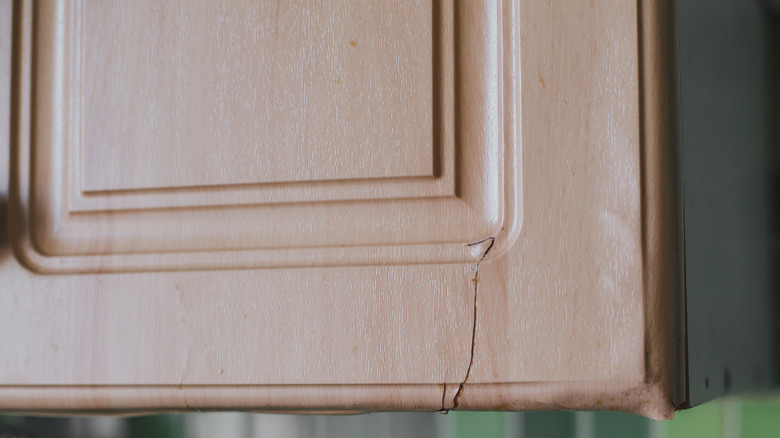
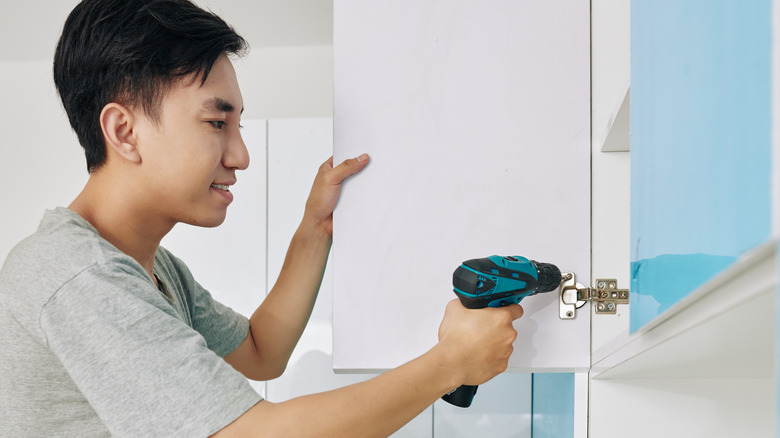
The thing about laminate is that since it's on the thinner side, there's not much you can do in terms of disguising scratches, chips, or dents from the endless wear and tear that comes with, well, life. And if you're upgrading your cabinets, you're likely swapping out the hardware, too, for some sleek knobs and pulls, which will leave you with a few rogue drill holes (and a whole other problem to tackle pre-painting).
Painting over these damaged portions will only make the marks more visible, and it will ultimately make your DIY paint job look very, well, beginner DIY. To avoid this, be sure to fill in any cracks or gauges with wood filler or laminate seam filler, which is what Hunker recommends. Once that's dry, go in with a gentle sand to set yourself up for a smooth and professional looking paint job.
3. Sand with a light hand
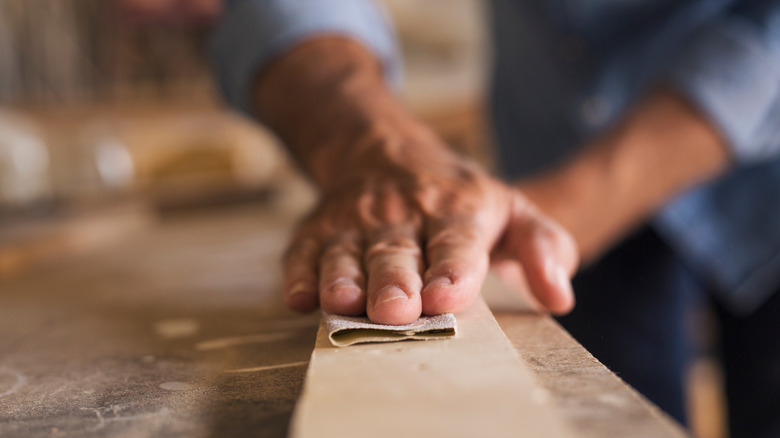
Most laminate cabinets come with a glossy finish that looks fabulous at first, but slowly dulls over time. However, when you go to paint said cabinets, any bit of glossy sheen is sure to set you up for frustration. It's notoriously tricky to get paint to stick to laminate material, since it often doesn't adhere fully and slowly peels away. The key to getting around this? Sanding — but do so gently!
Use some 180-grit sandpaper to remove as much of the finish as possible, but don't use too heavy of a hand. Apply just enough pressure to give the surface some texture, which will allow it to have a better grip when you go in with primer. Family Handyman says that an orbital sander works best for this, so you can retain some control over the amount of pressure used, but be careful not to over sand one single spot — this could wear down the board.
4. Pick the right primer
When it comes to laminate cabinets, you can't use any old primer for the job — as a matter of fact, don't use old primer at all, since it won't bond properly. Instead, make a quick trip to the hardware store for laminate specific primer, which is intended to adhere permanently. This will prevent any future peeling or lifting in the paint.
Tricks of the Trade strongly suggests using an oil-based primer over a water-based primer, since the former is thicker and has a stronger grip on laminate material. Primers like Zinsser Cover-Stain are designed to create a mechanical bond between the cabinet composite material and the paint. They're also easier to sand over than water-based primers, which leads us into our next tip: While you should always sand with a light hand, you're going to want to go in with your sander more than once.
5. Alternate sanding and primer applications
If you thought you were done sanding before, think again. Laminate cabinets require a little bit of extra elbow grease to get the best result, and according to Eat Well 101. And that means alternating between a layer of primer and a pass of sanding.
The blog says that the secret to a smooth surface is using a medium grit sandpaper, going in with a decent coat of primer, then sanding again. This extra effort will really double-down on the benefits of the whole rough-surface thing, meaning that your paint will stick around longer. Just be cautious of how much pressure you're applying, and don't sand away the entire coat of primer. You need a solid coat of primer to be able to properly bond to the paint, and let's be real — it's not cheap.
6. Keep a tack cloth on hand
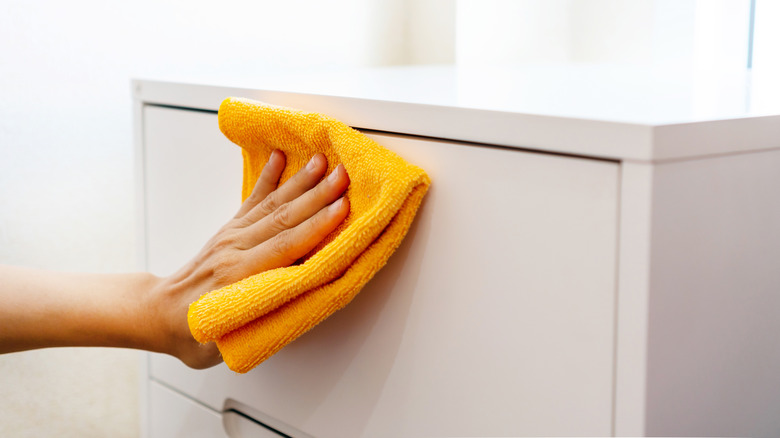
Since the key to a professional paint job is a grippy but clean surface, steer clear of any dust that may get caught on the laminate while painting. You might be tempted to grab any old rag you have laying around, but there are better choices that Simply 2 Moms swears by: a tack cloth and a vacuum with an arm extension.
After each round of sanding, grab the vacuum and go over all of the nooks and crannies of the cabinet doors or drawer edges. Then, take a tack cloth — a specific painter's cloth treated with a sticky material designed to pick up even the tiniest bits of dust and debris — and wipe down the cabinet. The laminate should then be spotless and ready for a coat of paint, which will thankfully stick without a hassle!
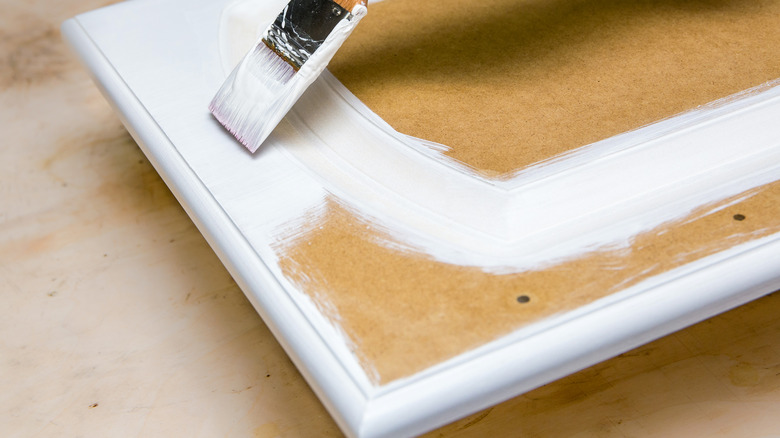
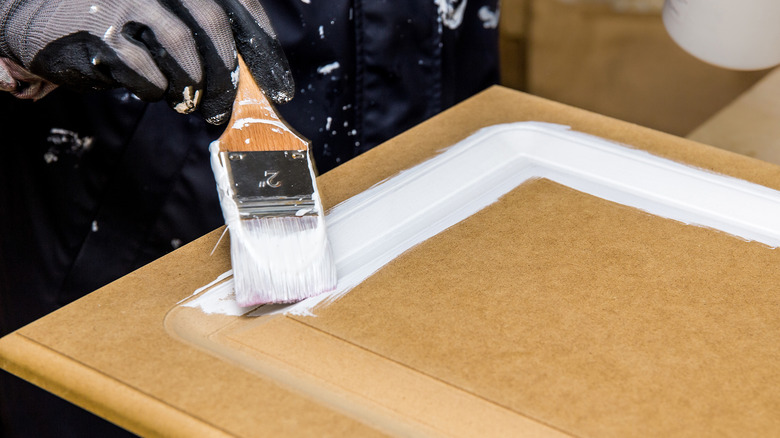
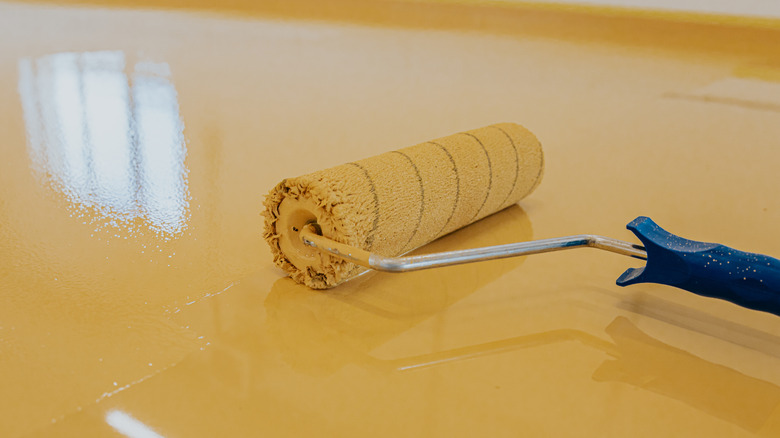
7. Use a roller instead of a brush
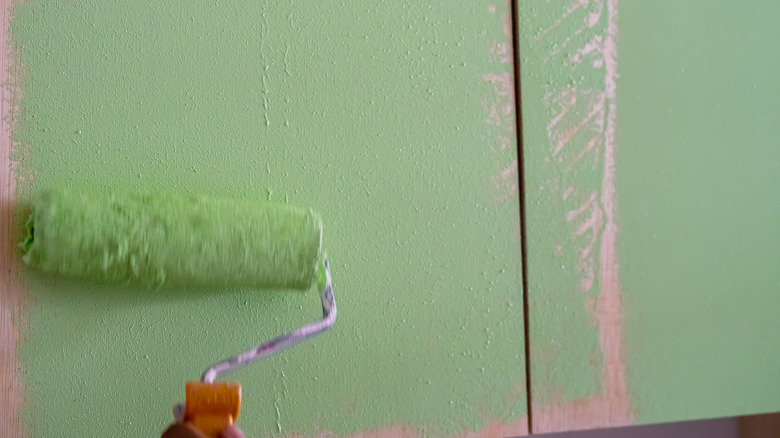
Since laminate is composite, it's completely flat, without any wood grain or small indentations to help the brush blend the paint in. This allows for the paint to sit on the surface and often causes it to look streaky and textured. Instead of a brush, Bob Vila's key to a flawless application is using a small foam roller (or a paint sprayer if you have access to one). This goes for primer and paint — whatever coat you're applying, try to make the application as consistent and streak-free as possible by reserving the brush for emergency sections only.
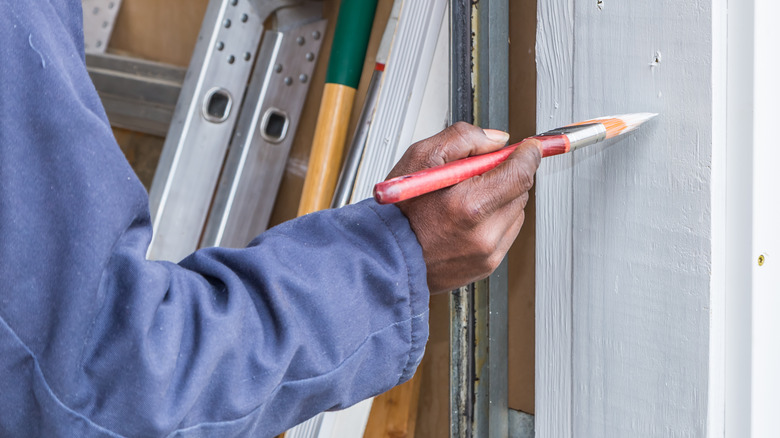
If you do still prefer to use a brush, Tricks of the Trade warns against settling for anything cheap. Instead, buy a new natural bristle or ox hair brush, and you should have a smoother result.
8. Spring for a heavy duty sealer
Painting your kitchen cabinets is a big undertaking, and it's expected to want to cut some corners when you're tackling such a huge project. If you want to get the best result for all that time spent painting, follow up with a decent clear coat to seal the deal. The kitchen is one of the most used areas in the home, and laminate is finicky enough as it is — why risk any damage to your work over time by skipping the top coat?
Many homeowners have found success using finishes like polyurethane, which has a sheen and requires two coats for maximum protection. You can also use a wax top coat, but they aren't as durable, according to Painted Furniture Ideas. If you want your cabinets to withstand family dinner after family dinner, stick with polyurethane to shield against the inevitable wear and tear.
9. Elevate the look with some molding

Now that you know how to nail down the painting process, it's time to start brainstorming how you can level up your laminate beyond just a pop of color. Fortunately, Better Homes & Gardens has the perfect hack for those looking to give their laminate a bit of a refresh: Add molding to mimic the look of paneled or shaker style cabinets.
After you give the cabinets a good sand, attach some molding with wood glue to the faces of your cabinets. You can paint these separately beforehand to make the process go by quicker, but be sure to mimic any paint techniques (like a brush versus a roller), and apply the same final clear coat. No one ever said laminate had to be basic and boring!
10. Always start with a test run
Working with laminate isn't exactly a DIY dream. It's totally possible with the right tips and tricks, but even the best products fail from time to time, thanks to some missed dust or the exact state of the laminate you're redoing. That's why this last tip is so crucial: whatever you do, test it first.
Start with one of the cabinet doors that you don't use as much. You know the tiny, nearly inaccessible ones on the top of the fridge, where everyone hides their old dishware that they can't part with, but will never actually see the light of day? Yeah, those ones.
Go through the entire process on the inside of one cabinet, and make note of how the laminate is holding up, suggests Repurpose and Upcycle. If it seems to be bonding with the products you're using, that's a sign to go full steam ahead and take the rest of the doors off their hinges.