15 Genius Tips For Cleaning Your Kitchen Cabinets
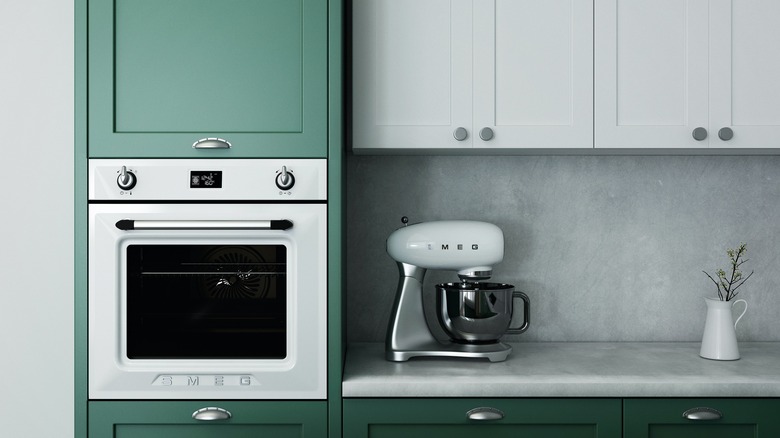
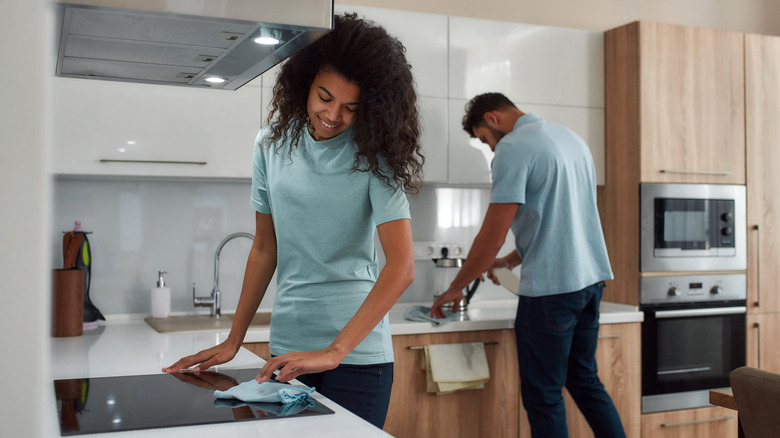
Whether you're a master chef or someone who occasionally pours cereal into a bowl, your kitchen cabinets are bound to get some wear if they're not looked after regularly. Dust and food splatter collect in the most unexpected places, creating a layer of dinginess as time goes on. But it's easy to keep your kitchen shining if you give your cabinets a little love.
First, choose an exterior cleaner based on your cabinet surface. For one, mild dish soap mixed with warm water works on most cabinet surfaces, including metal, plastic laminate, painted wood, and vinyl, per The Spruce. Additionally, This Old House recommends adding a dash of vinegar to the solution to demolish bacteria. And if you have wood cabinets, polish with an oil soap and wipe with the wood grain (via Better Homes & Gardens). Now without further ado, here are 15 genius tips for cleaning your kitchen cabinets.
1. Start high, go low
If you're doing a simple dust-down or a deep scrubbing of your kitchen cabinets, always start at the top and work down so you don't have to reclean anything. Make sure you shut all your drawers and cabinets beforehand so debris doesn't fall into them as you go. Once everything's shut, begin at the highest point of the cabinet and wipe downward.
If the tops of your cabinets are exposed, One Good Thing has just the hack for you: Line the top with wax paper and when it gets dusty, carefully remove it and replace with a fresh piece.
2. Routinely dust for easier deep cleaning
Some experts say to wash your cabinets weekly, but let's be realistic. For many of us, soaping down the entire kitchen from top to bottom is not in the cards. If you can't pull off scrubbing your cabinets on a weekly basis, try giving them a simple dust down once a week.
Before wiping your counters, run a dry cloth over the cabinet surfaces, taking a little extra care around grooves where dust collects. To make the most out of a single cloth, Today recommends folding it in half twice, then flipping or unfolding it after each section begins to collect dust.
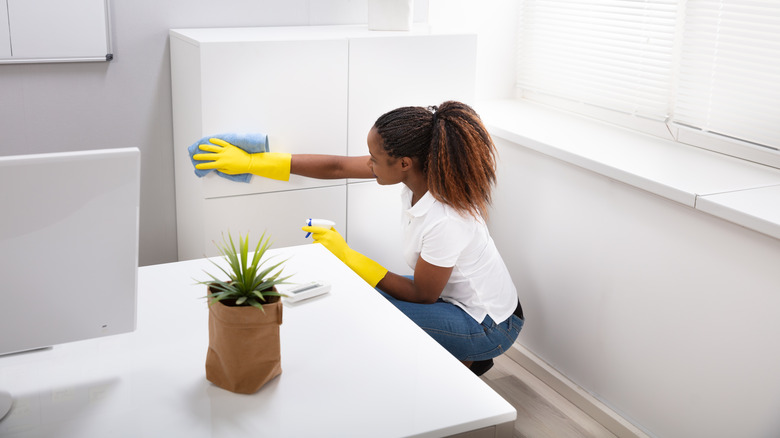
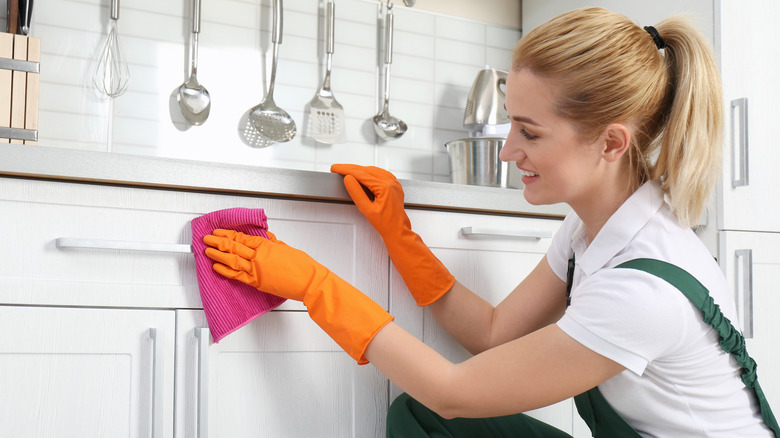
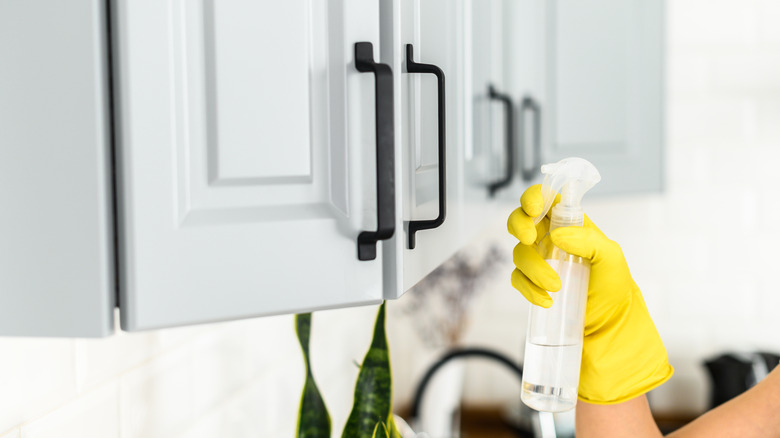
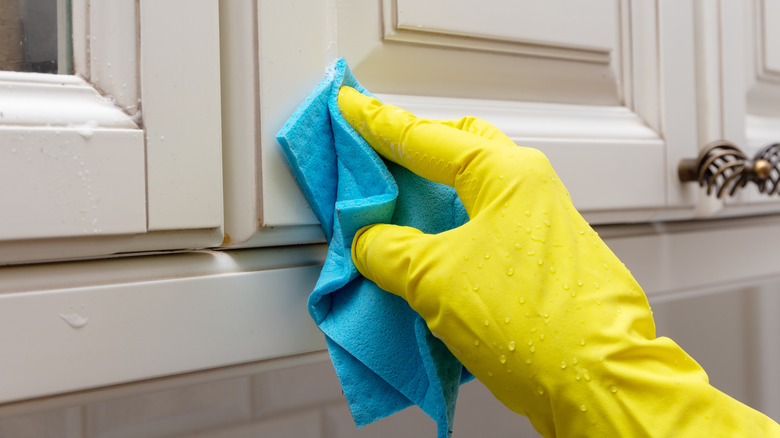
3. Give your cabinet exteriors a serious cleaning
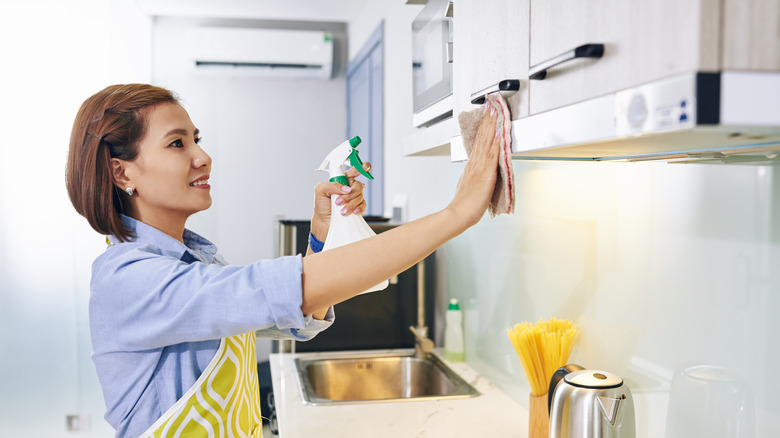
Along with dusting regularly, simply spot cleaning food stains (the sooner the better, especially before they dry) will keep your cabinets looking pretty fresh. But when they're prime for a more thorough scrubbing, grab a microfiber cloth and the cleaning solution that's right for your cabinet finish and get to it.
Starting in those high spots, This Old House recommends that you spray the cloth rather than directly onto the cabinet to avoid saturating the surface, and wipe down from the top. Don't forget to run your cloth along the tops of doors on your lower cabinets, where spills often collect.
4. Avoid soaking your cabinets
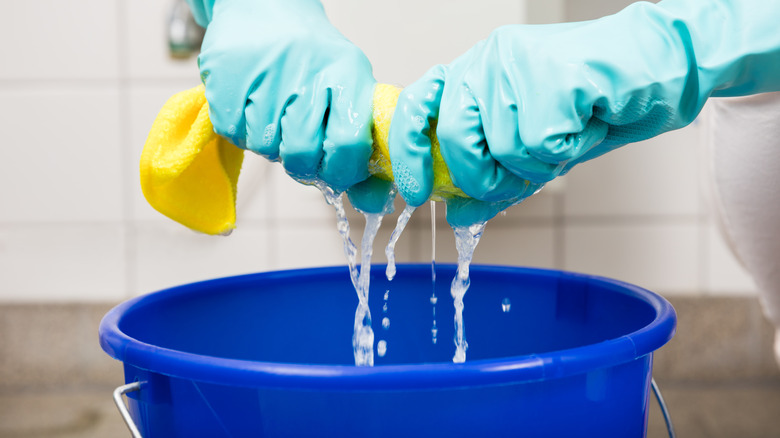
Most cabinet surfaces are not going to like too much liquid. Excess moisture can damage the finish or paint job, and in some cases, start to warp less durable materials. Bob Vila also warns that you should never let water run into the cabinet's hinges, which can cause them to rust (instead, spot clean them). Along with spraying cleaner onto a cloth rather than directly onto cabinets to avoid saturation, wring your cloth or sponge out in the sink if you accidently oversaturate it. When you're finished cleaning, Molly Maid recommends hanging damp towels and washcloths away from wood cabinetry.
5. Get into those grooves
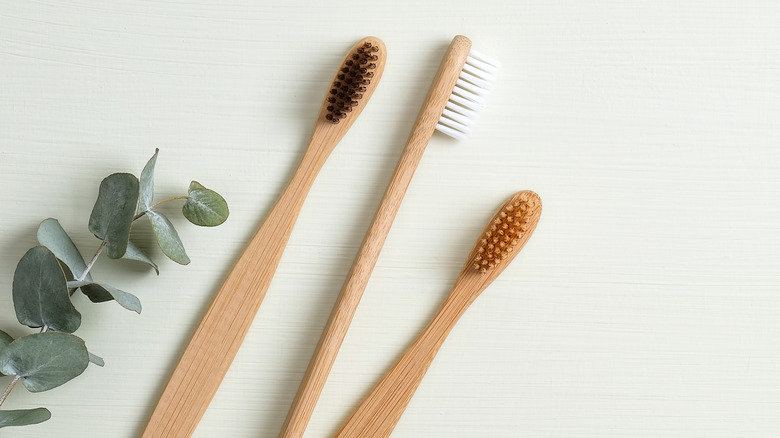
Shaker cabinets and other styles that have grooves create a distinct look, but also require a little extra care. Bob Vila suggests dipping a soft toothbrush into your cleaning solution and rubbing it along the details to help get into the edges and remove the dust and grime that collect there.
Alternately, place a dust cloth on the end of a chopstick to rub inside hard to reach spots, especially if your cabinet has beading or intricate designs.
6. Remove tough grease buildup
Your mild detergent solution should take care of some grease that collects on your cabinets, but for tougher buildup, there are a couple options. Clean My Space swears by a commercial enzyme cleaner to wipe out grease buildup. And for a homemade solution, This Old House recommends creating a mild paste with one part baking soda and two parts water. Let it sit on the affected area for a couple minutes, then wipe it away.
7. Remove dried food
In a perfect world, you'd catch every food dribble that lands on your cabinet in real time. After all, wiping food stains immediately is the best way to make sure they don't penetrate your cabinet's surface, especially if it's constructed from a porous material. If you catch a stain later (or much later), Better Homes & Gardens recommends creating a baking soda paste, letting it sit for a few minutes, then wiping it away with a damp cloth.
8. Remove stains from cabinets
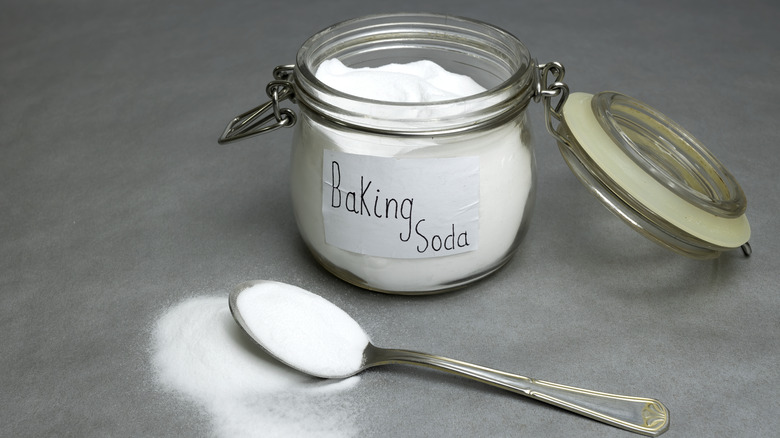
Baking soda also serves as a miracle product when you're dealing with stains on your kitchen cabinet. Per South West Kitchen, mix the simple one part baking soda, two part water solution, and gently rub it in with a soft-bristle toothbrush or damp sponge. Let it sit on the stained area for several minutes before wiping away. Bob Vila also suggests drying the area with a rag once you're done.
9. Clean water marks
White water marks can show up on the surface of kitchen cabinets after cleaning them. Per Hunker, they appear when moisture seeps into the cabinet finish, but luckily there are a few tried and true methods to remove them. They recommend dabbing mayonaise (yup, you read that right!) onto the spot and letting it sit overnight. White toothpastes are also known to work if you gently scrub them over the water mark. If white marks are constantly appearing, Better Homes & Gardens suggests switching from tap to distilled cleaning water to avoid them.
10. Don't forget cabinet windows
Paned doors on your kitchen cabinets need to be cleaned like any other window. Be sure to use a glass cleaner that will be gentle on your cabinet's finish if they come in contact. Thrifty Fun cautions against spraying glass cleaner directly onto the surface to avoid dripping the liquid all over your cabinet. Instead, wet your cloth with the cleaner, wipe it down, and buff it to avoid streaks. And don't forget to open the cabinet door and clean from the inside as well.
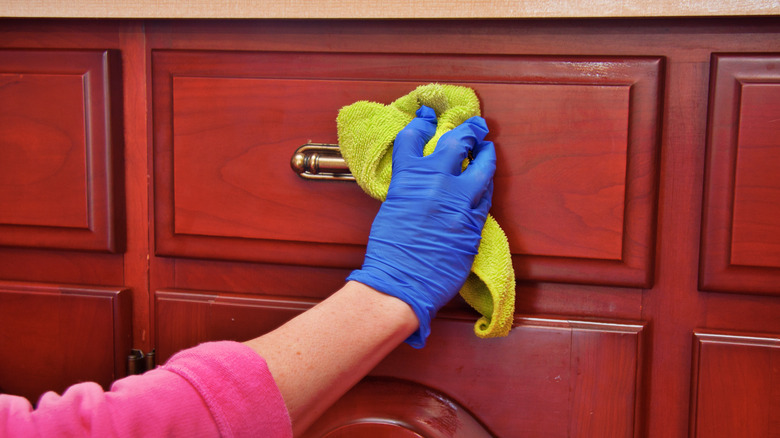
11. Make sure to disinfect fixtures
We're constantly touching cabinet hardware to open and close doors, so disinfecting them regularly is key. You can get the job done by moistening a cloth with a 50-50 vinegar and water spray and rubbing them down, according to Better Homes & Gardens. For a deeper cleaning, Simply Beautiful Kitchens suggests removing your knobs or pulls and dumping them in a bucket of vinegar and water (with a squirt of dish soap). Let them soak for an hour before giving them a good scrubbing. This will work for most durable metal or ceramic fixtures, but double-check if your hardware requires specific cleaning materials.
12. Stay away from products that damage cabinets
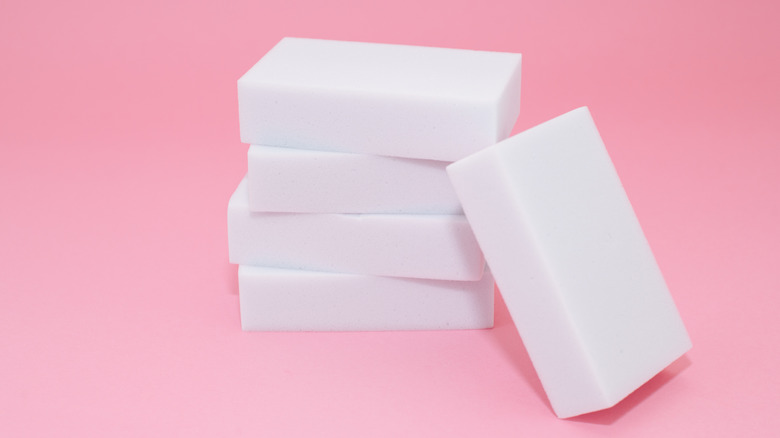
The last thing you want to do when cleaning your kitchen cabinets is damage them. Make sure you test-spot a surface any time you try new cleaning products or tools, preferably in an area that isn't visible. Clean My Space advises against using solvents to clean cabinets because they can dissolve some finishes, and avoid any abrasive sponges, scouring pads, or erasers that can permanently mark up your cabinets.
13. Relocate items that can harm your cabinets
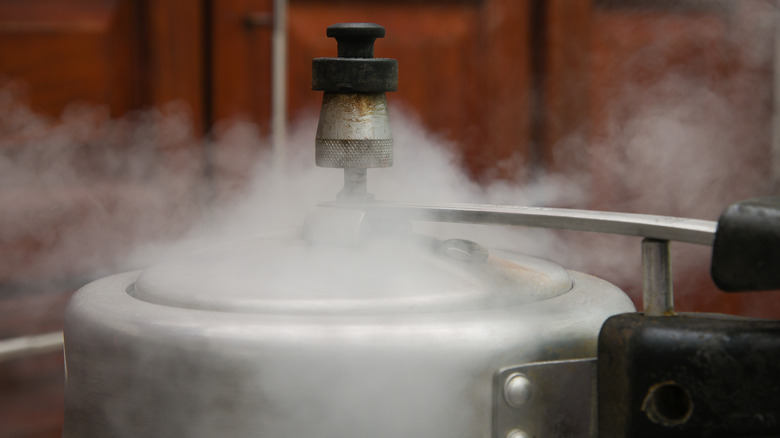
Appliances that emit heat or steam may degrade your cabinets over time, especially if they're made from materials like plywood. Per Kitchen Art Design, be mindful when using steam-inducing items like kettles and pressure cookers, directing the steam away from your cabinetry. If you have a toaster oven or coffee maker sitting directly under your cabinets, consider moving them to a different outlet when they are in use. The Spruce also recommends removing cabinet doors when you self-clean your oven. If you see damage from an appliance you cannot move, consider heat shields.
14. Clean inside cabinets
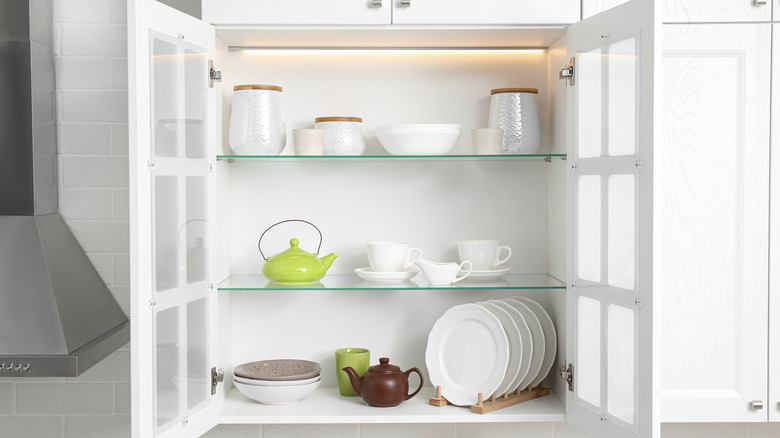
You'd be surprised how quickly dust and debris collects inside cabinets. The Spruce recommends cleaning these interiors as often as monthly. If the idea of removing everything in your cabinets that often sounds nuts, one helpful tip they provide is to wait until your dishwasher is loaded (or your sink is full of dishes) so you have less emptying to manage.
Once a cabinet is bare, brush away crumbs and debris (vacuuming inside will make this go faster), and wipe down with a mild cleaner (Geaux Maids also suggests drying shelves when you're done). And don't forget to dust anything that's been sitting around for ages before putting it back inside your clean cabinet.
15. Add cabinet liners
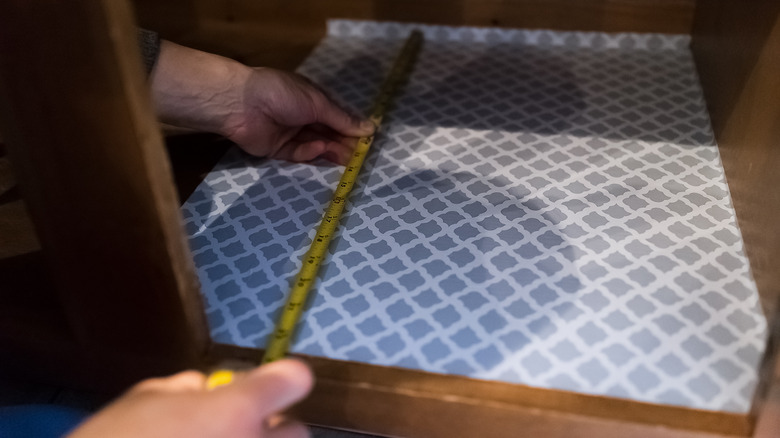
Not only will liners protect your cabinet interiors from moisture, adding removable contact paper also gives you a second chance with sticky spills. While the task of cutting liners to size can be tedious, the payoff will be worth it in the end. Miss Fix It has a simple hack to make the process of lining cabinets go faster: Rather than measure all your cabinet dimensions repeatedly, butt the paper against two sides of the cabinet and mark or fold over the rest, then cut along the folds.