15 Genius Tips For Caulking The Bathtub
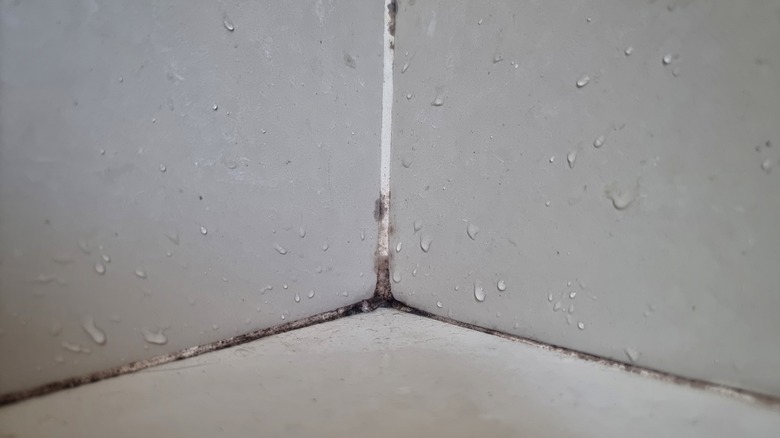
Few features can make a bathroom look outdated and in poor condition like the caulk around your bathtub. According to This Old House, old caulk will look hard and cracked, signaling it's time to replace it. Therefore, if you notice mildew, residue, dark spots, or cracks, your bathtub needs a new caulk job. Fortunately, this repair doesn't require any power tools and is easy to complete.
You'll need a tube of caulk that's specifically made for kitchens, bathrooms, or tile, a caulking gun, a few soft cloths, and a scrub brush. You will also need baking soda or bathroom cleaner for the preparation, a scraping tool with a razor blade to take off the old caulk, and some painter's tape. In addition to the supplies and tools, you'll also need to ensure you have enough time to let the caulk dry and cure, which takes 30 minutes and 24 hours, respectively. Otherwise, it's an easy task!
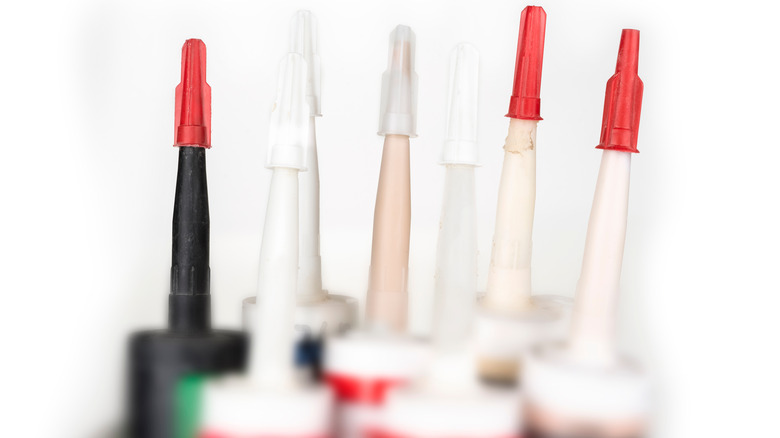
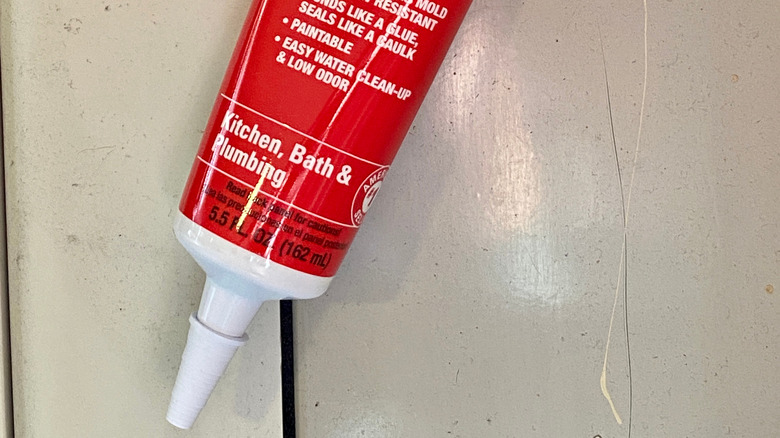
1. Choose the ideal caulk for the bathtub
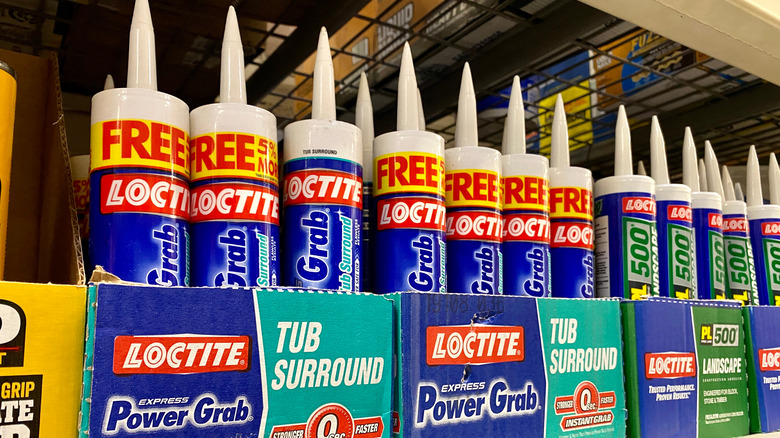
For this project, you'll need caulk that's either designated for the bathroom or one that's classified as ideal for the kitchen. While acrylic latex or silicone compounds prove to be the caulk of choice because of their waterproof qualities, they each have pros and cons. Acrylic latex will need to be replaced sooner than silicone caulk, but it's also easier to apply and requires less cleanup. On the other hand, silicone doesn't need to be replaced as often, but is difficult to smooth and is picky about what it adheres to, as per This Old House.
2. Scrub the edge before caulking the bathtub
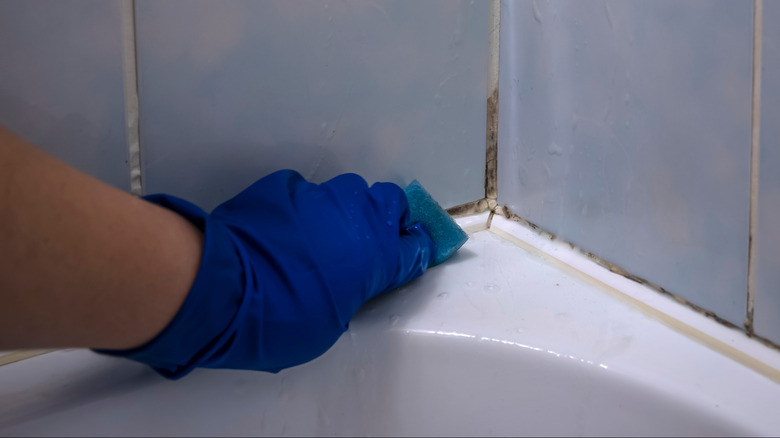
Cleaning the tub's edge helps you avoid grime and residue while caulking the bathtub. Plus, if you're going to use painter's tape as a guide, a clean area guarantees its adhesiveness. Thus, you should scrub and rinse the part of the tub where the tub deck meets the tile. If you're still concerned about mold, you can also use bleach or white vinegar and a lint-free cloth to wipe this area after you've removed the old caulk, as per Apartment Therapy. Once that's complete, allow the seam to dry completely before applying the caulk.
3. Remove film from the tub's edge

Sometimes a residual film will be leftover from the old caulk, but you can easily wash that away. You can use a damp cloth and baking soda to rub off the residue. Afterward, you'll need to wipe the baking soda away with a clean, damp cloth and allow the area to dry completely. According to This Old House, if you're having a hard time cleaning the dust and residue on the tub, you can scrub the area with rubbing alcohol. While completing this step, you'll need to ensure there is adequate air circulation in the room.
4. Choose your ideal removal tool
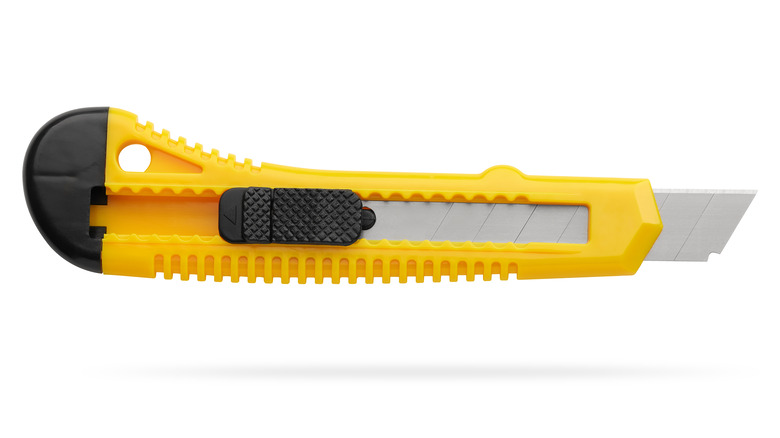
According to This Old House, you should choose a tool that best suits your comfort level and your project. If you're comfortable using a sharp blade, then a scraper with a razor blade serves the purpose. Conversely, if you prefer not to use a sharp instrument, you can find other caulking removal tools at your local hardware store. However, using a blunter tool might prolong the length of the project. The razor works more effectively, but you have to watch the angle of the blade so that you avoid scraping your tub.
5. Cut out the old caulking
According to This Old House, you'll need to take out the old caulk to ensure the new caulk seals properly. To remove the caulk, plug the drain and drape a drop cloth over your tub to catch any debris. Then, use a razor cutting tool such as a box cutter or putty knife to start slicing into the seam area between the tub and tile. As you cut, hold the razor flat to ensure you don't scratch the tub. Making one continuous slice, as opposed to digging it out, removes the caulk more easily.
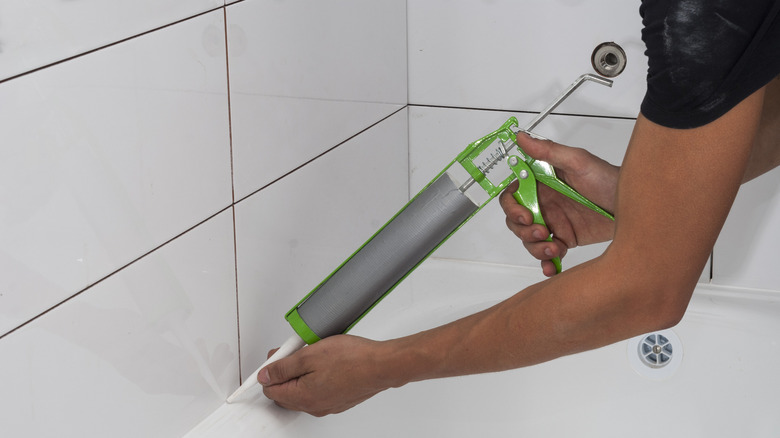
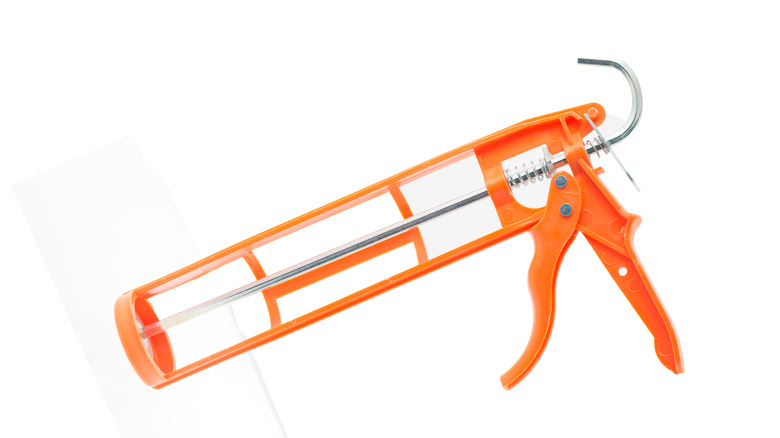
6. Choose a quality caulking gun
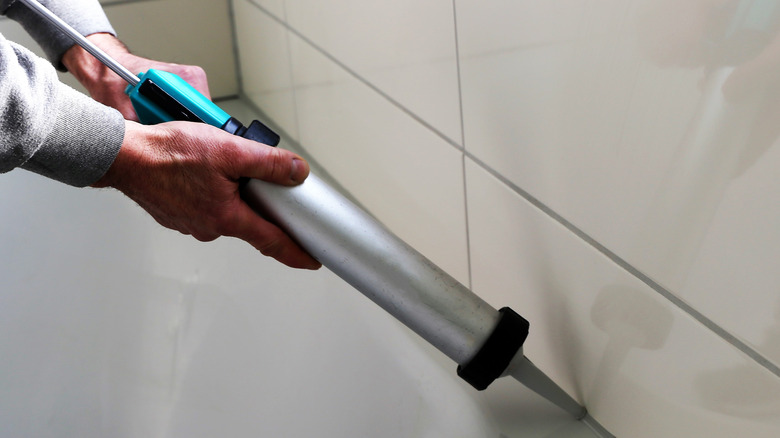
Not all caulking guns are created equally. Bob Vila notes that a quality gun will have features like a smooth rod, a sturdy plunger, and a revolving frame that allows you to caulk inside corners without stopping. You'll also need to check the label for the thrust ratio, which is the correlation between the force you exert on the trigger and the amount of force given off by the plunger. A low thrust ratio works well for light projects, such as caulking the bathtub, while a higher thrust ratio is more suited for bigger projects, like working with concrete.
7. Warm up the caulk
Another easy tip for caulking the bathtub involves applying low-level heat to the tube before applying the caulk. Warm up the tube by allowing it to sit in warm water or by holding it in your hands. Either one of these options will raise the caulk's temperature, which will allow it to flow out of the nozzle more easily, as noted by The Spruce. This will create a neat caulk line.
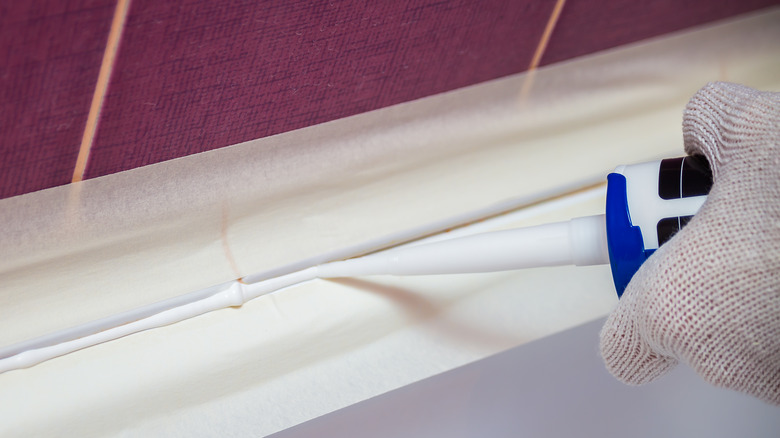
8. Protect edges with painter's tape
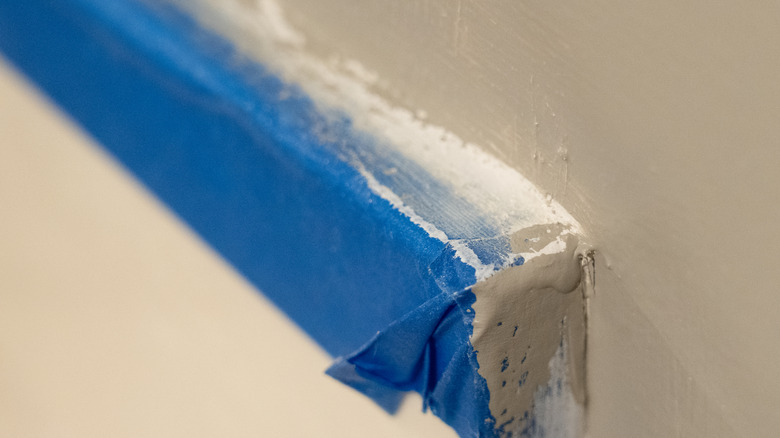
This next tip might seem more labor-intensive, but it will save you time because you won't have to clean off any extra caulk when you're finished. You can use painter's tape to block off the area around the seam that you're going to caulk, limiting the mess caused by the lining. Lifehacker recommends applying one strip along the tiled wall and another strip on the tub just below the seam. Once you've caulked the bathtub, wait a few minutes and then carefully remove the tape.
9. Trim the nozzle correctly
As mentioned in This Old House, you should cut the tip of the nozzle at a 45-degree angle. This slanted opening allows you to get into the small space of the seam while maintaining control of the caulk's flow. Also, you can cut just below the tip of the nozzle to create a slow-moving flow for a tight space. If your seam requires more caulk to fill the gap, you can cut further down the nozzle to create a thicker caulk seam.
10. Keep a stable grip on your caulking gun
According to This Old House, you can control your caulking gun by keeping it level. If you move the handle of your gun, you risk getting more caulk on the tape than on the seam. This controlled action becomes more important when caulking the corners. In fact, corners work best as stopping points for your bead. If you try to continue to the next side, you might accidentally tilt your caulking gun and leave an uneven amount of caulk in the corner or miss it altogether.
11. Don't stop in the middle
Another critical aspect of caulking the bathtub is to make one continuous nonstop line on each side, per This Old House. Ideally, you shouldn't have any bumps or lumps along the sides of your tub. Any soap residue or old caulking should've been removed to avoid having to stop, or worse, go into reverse with your caulking gun. By applying a continuous, smooth bead, you'll have an even line and a completely sealed seam.
12. Use fillers for large gaps
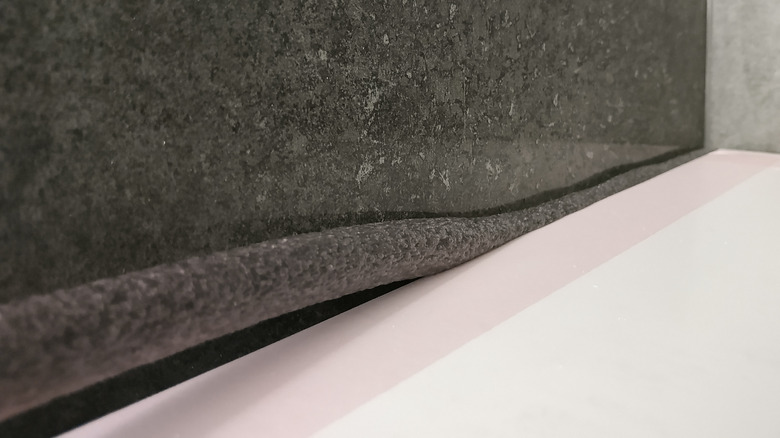
Once in a while, you might run into a larger gap that requires a more substantial filling. Tempting as it may be, you can't use caulk to fill this gap. The caulk would take longer to dry, and that much excess product can't guarantee a solid seam closure. According to Bob Vila, the answer to this dilemma is to stuff a backer rod to fill the space and then caulk over it.
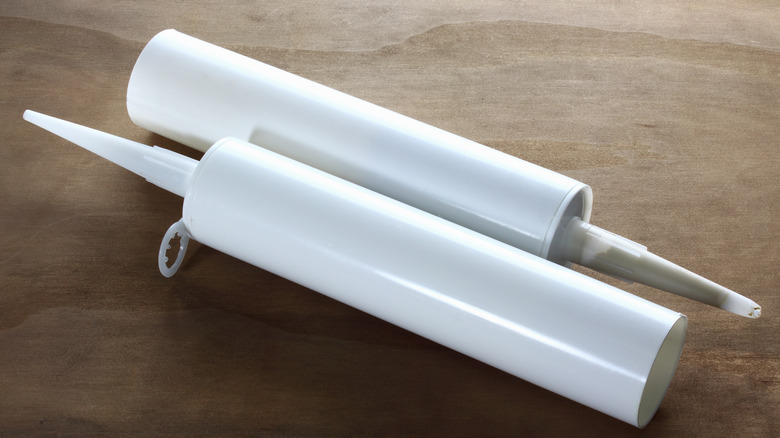
13. Use a squeezable tube for small spaces
What if you have the opposite problem, and the seam is too small? The Spruce recommends using a small squeeze tube for moments like that. The tube's nozzle is shaped similarly to a larger tube of caulk. Thus, cutting close to the tip would give you a thin and easy-to-control caulk line. Just like the other size, you'll also need to maintain steady pressure and apply a smooth, continuous bead.
14. Observe proper drying and curing time
Out of all of the tips, this one proves to be vital. The caulk has to thoroughly dry before anyone uses the tub. In most cases, the caulk has to dry for 30 minutes, as mentioned in This Old House. While some folks might feel secure using the shower after that allotted drying time, you might want to consider waiting longer. Caulk requires a whole 24 hours to cure completely, so it's better to wait a full day before exposing the area to moisture.
15. Fill the tub with water while curing
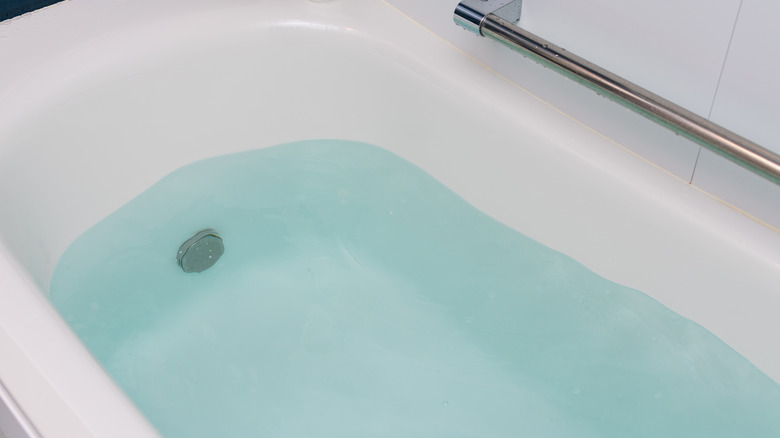
This next tip sounds odd, but it works well. Once you've caulked the bathtub, Bob Vila recommends filling it with water and letting it sit for 24 hours while the caulk cures. Basically, you're adding weight to the structure, which causes the caulk to stretch, keeping it from shifting.
Ultimately, this project will take part of a weekend due to its curing time. However, the end result is a clean finish that brightens up your bathroom. Just wait until you see the difference once the job is complete.