15 Genius Tips For Installing Brick Floors
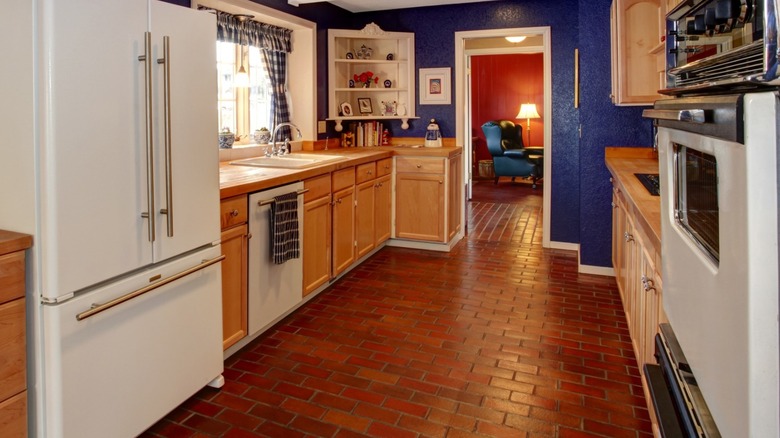
While tiled and hardwood floors remain a hugely popular choice for homeowners, brick floors are making something of a comeback. As Living etc notes, brick floors bring rustic warmth and character to modern living spaces. Not only that, but brick floors are much cheaper than hardwood and just as durable as their ceramic or porcelain tile counterparts.
If you are looking to refinish a floor in your kitchen, mudroom, or hallway, then brick has several advantages. As Bob Vila explains, brick tiles are made from sustainable materials, they are naturally slip-proof even when wet, and they are also highly durable and virtually maintenance-free.
So just how easy is it to install a brick floor? Does it require professional help or is it something you can do yourself? Fortunately, with the right tools and materials, it needn't be a difficult job. Here are 15 helpful tips to install a beautiful brick floor in your home.
1. Prepare the room
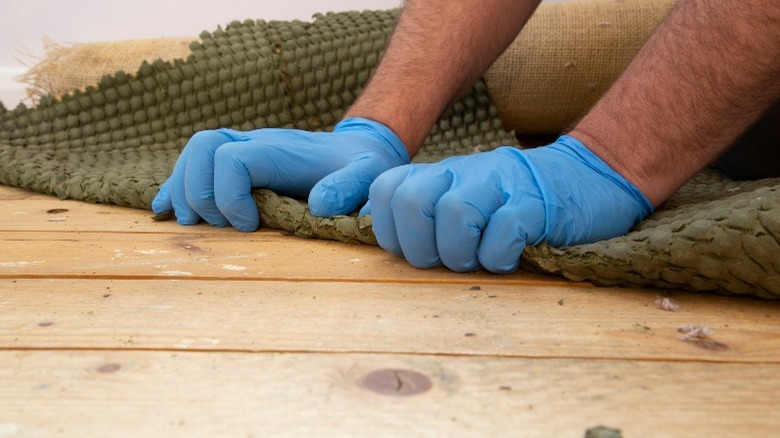
Initially, you will need to clear the room of any furniture, rugs, and decorative items and remove the existing floor covering. Any internal doors that open into the room should be removed along with the baseboards.
If you are installing the brick floor in a kitchen then Frey Construction notes that it isn't strictly necessary to remove the cabinets. Rather, you can simply remove the plinths from the base of the cabinets and make sure there is enough clearance for the cabinet doors to open once the bricks have been laid.
2. Measure the area

It is essential to accurately measure your floor area to ensure you purchase sufficient bricks to complete the job. Home Advisor explains the best way to do this is to measure the length and width of the room, multiply these figures, and round up to the nearest meter. Then you should add 10 to 20% to the total to account for cuts and wastage.
If your room isn't square, it can help to divide it into areas and measure these sections separately.
3. Choose the bricks
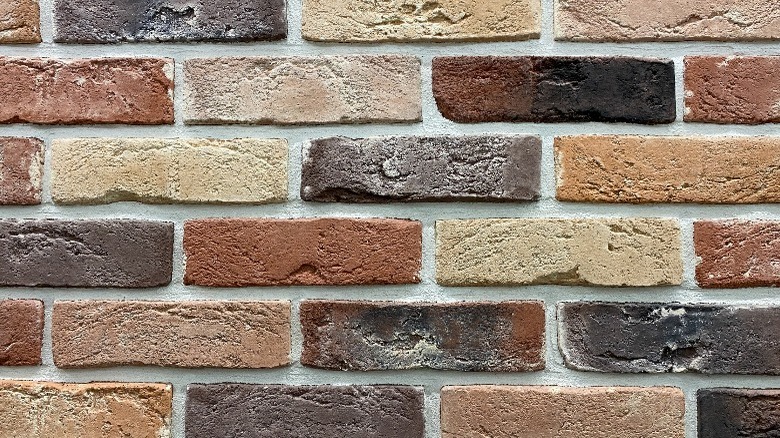
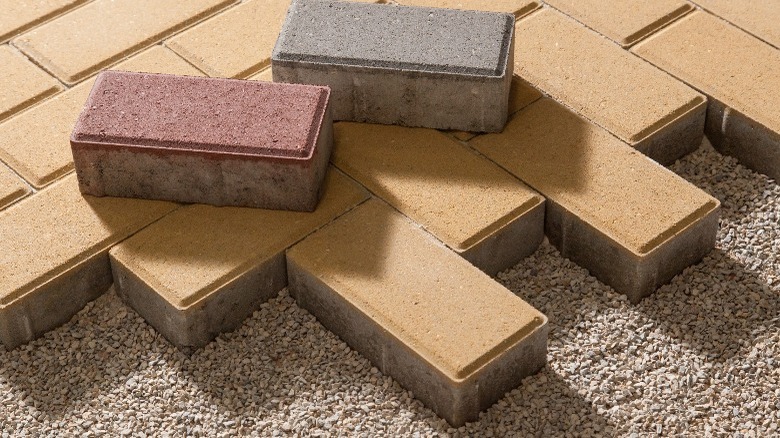
Now comes the fun part of actually choosing the type of bricks you want. There are many online outlets that stock a range of designs, but visiting a physical store will allow you to touch and feel the bricks, giving you a better idea of how the finished project will look.
There are two main types of brick floor coverings to choose from: The first is genuine kiln-fired clay bricks, which look authentic. However, as The White Buffalo Styling Co. points out, these have a rough surface and may be uncomfortable to walk on barefoot. A good alternative is to choose a ceramic or porcelain floor tile with a brick pattern design.
4. Prepare the subfloor
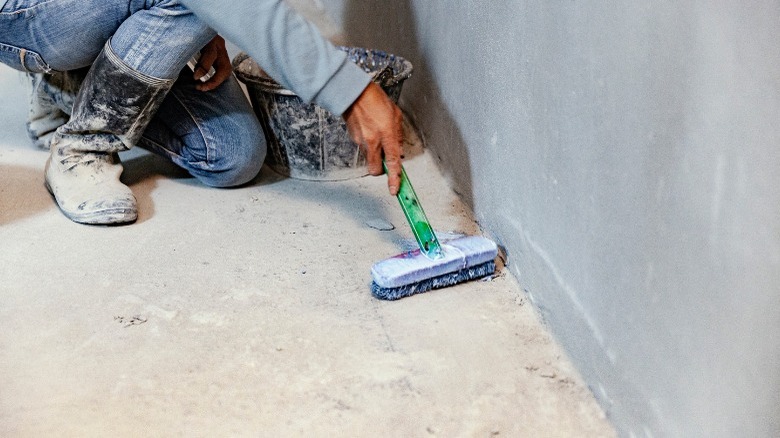
There are two primary types of subfloor: wood and concrete. As Good Guy Flooring explains, correct preparation of the subfloor is the most important step. Concrete floors should be dry and free from any loose debris like old adhesive. Wooden floors must be completely covered with either cement backer boards or marine-grade plywood, which prevent any future movement-related cracking of the tiles or grout lines.
Once these steps have been done, the whole floor needs to be sealed. Stone Superstore recommends using a high-quality primer to ensure there is a good key for the adhesive to stick to.
5. Decide on your layout
When deciding the layout of the bricks, you should first determine where the focal point of the room is as this will be your starting point. For square rooms, this is generally the center. The Good Guys suggests laying a few bricks out on the floor to check how they look first.
The most popular layouts for brick floors are staggered, like a brick wall, or herringbone. If you decide to use porcelain or ceramic tiles rather than bricks, these are usually installed square or diagonally.
6. Use the right adhesive
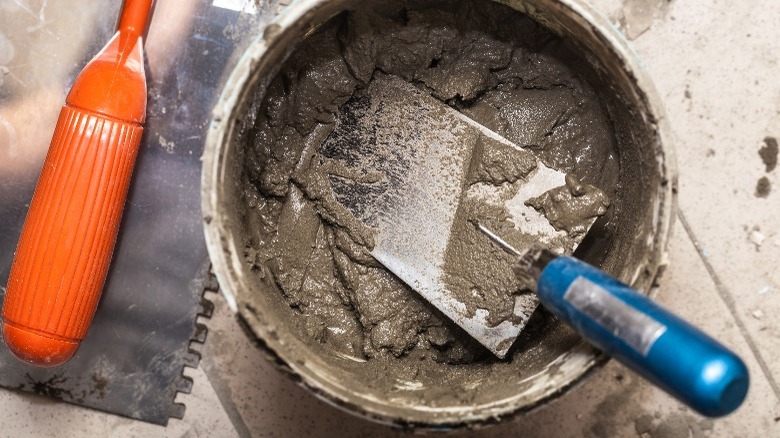
Different types of adhesives are needed depending on the material of the bricks or tiles and the type of subfloor. The Spruce warns that using the wrong kind of adhesive can result in cracked grout lines or lifting and peeling of the bricks.
According to Bal Adhesives, most wooden floors have a certain amount of movement, therefore they highly recommend using a flexible adhesive that allows for the natural movement of the wood.
7. Decide on grout line thickness
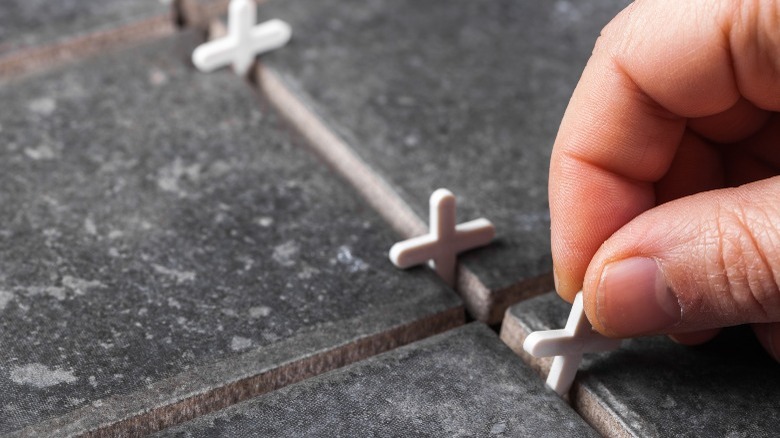
The final consideration before starting to install the brick floor is the grout line thickness. While this depends on personal preference, there are a few things to think about. Tile Lines points out that larger tiles require more room for expansion and contraction.
Additionally, depending on the look you are trying to achieve, wider grout lines work well with bricks that have an uneven edge and help to create a farmhouse or vintage aesthetic. Handy tile spacers ranging from 1 millimeter up to 10 millimeters are readily available and help provide consistency.
8. Lay the bricks
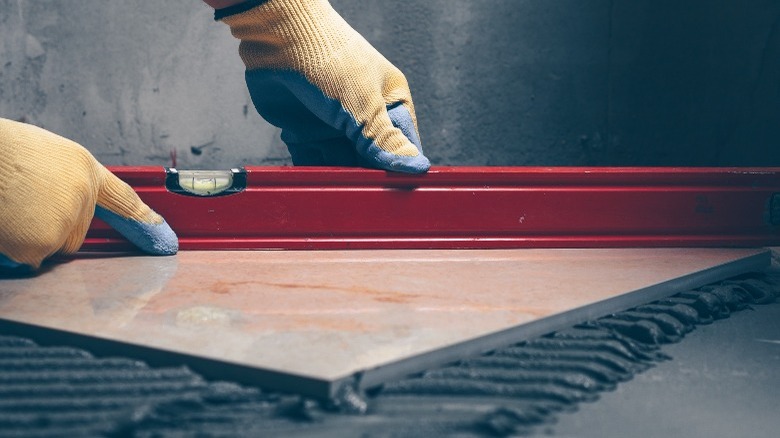
Now for the all-important process of actually laying the bricks. Starting in the center of the room, or in the main focal area, the bricks need to be stuck to the floor using the correct adhesive.
Royal Thin Brick suggests using a ⅜-inch notched trowel to spread a layer of adhesive on the floor. Working in one small area at a time, firmly twist and press the bricks into the adhesive. The underside of the brick must be fully covered with adhesive to prevent cracking in the future. As you work across the room, use a spirit level to make sure the floor is plumb and there are no high or low points.
9. Make accurate cuts
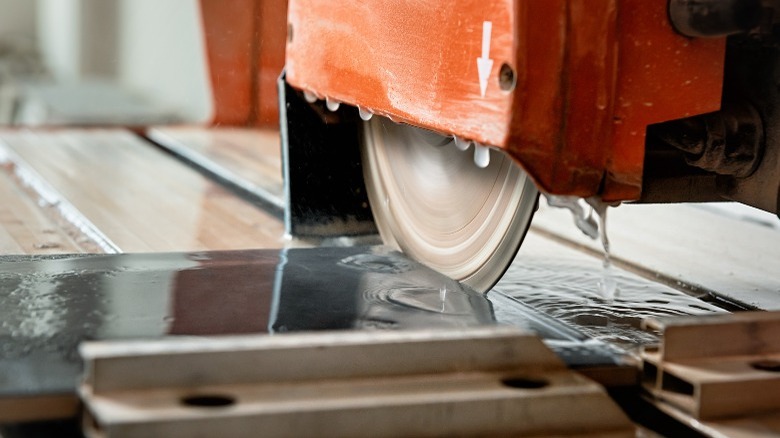
Around the edges of the room and under the cabinets, some of the bricks or tiles will likely need cutting. The type of tile cutter needed will depend on the size and thickness of the bricks.
For example, Tile Mountain writes that a manual tile cutter is sufficient for straight cuts on large ceramic and porcelain tiles. However, since floor bricks are much thicker you may need an electric wet saw, which uses a high-speed diamond blade to make accurate cuts in dense materials.
10. Allow time to harden

Once the room is fully tiled, the adhesive needs time to thoroughly dry and harden. Home Advisor warns that proper drying time is vital to a successful brick floor installation. Although some adhesive companies only require you to wait 12 hours before walking on your new floor, SFGate notes that drying times may be considerably longer, and therefore strongly recommends waiting between 24 and 48 hours for the adhesive to fully cure.
11. Seal the bricks
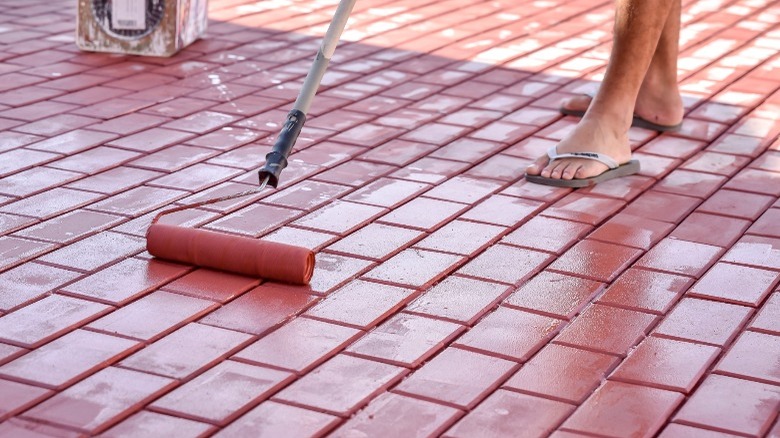
This is a step that can often be forgotten until it's too late! As The Spruce writes, natural bricks are porous and if left untreated they will absorb dirt, water, and oils. This will result in your new floor looking dirty and worn out quite quickly, especially in high traffic areas such as a kitchen.
Wiki How recommends cleaning the bricks with a mild detergent first, then applying two layers of water-based acrylic film-forming sealer with a paint roller, which can protect the floor for up to 10 years.
12. Choose the right grout

Similar to the adhesive, it is important to select the right kind of grout. Style Curator states that grout choice is just as important as the brick choice to achieve a great finish.
Choosing a grout that is a similar color to the bricks will create a uniform look, whereas a contrasting color will make the shape of the bricks stand out. Additionally, epoxy-based grouts have the benefit of being stain-proof, which makes them a good choice for kitchen floors.
13. Perfect the grouting
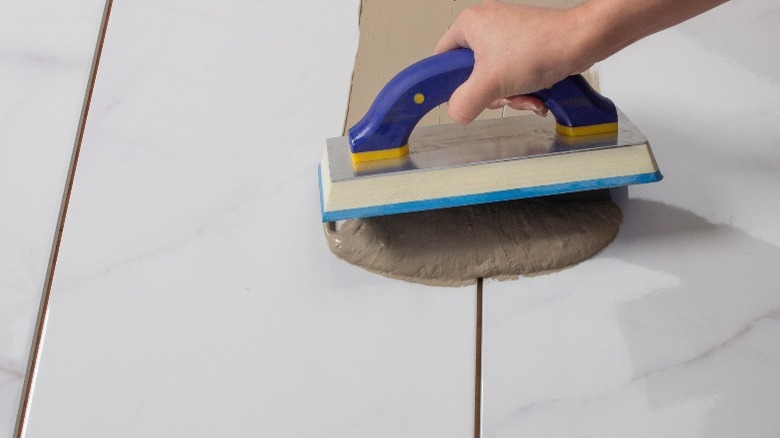
As the final stage of installing a brick floor, the quality of the grouting can drastically impact the look of the finished project. According to Batchelder & Collins, the best way to ensure that the grout is fully pushed into all the gaps is to use a rubber grouting float. Allow the grout to dry for about 20 minutes before wiping away any excess grout with a damp sponge. Be extra careful not to dig any of the grout out of the lines!
14. Refit the hardware
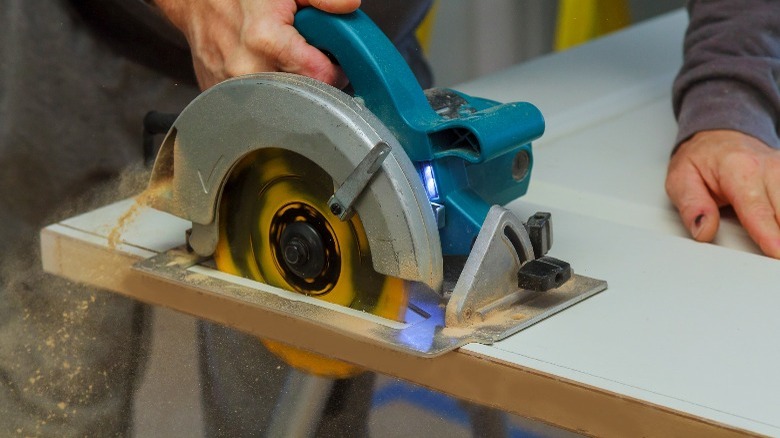
Depending on how you prepared the subfloor and the thickness of the bricks, your new floor could be up to an inch thicker than it was previously. This means that your internal doors and plinths will need to be trimmed before being reinstalled.
Family Handyman recommends marking the cut line with a pencil and scoring it first with a utility knife, then using a circular saw with a sharp blade to avoid splintering the wood or damaging the finish.
15. Add the finishing touches
Now that your new brick floor is fully installed you can think about the finishing touches. You could reinstall your existing baseboards, but as Hunker points out, a far more decorative option is to use the same brick or tile as a custom baseboard. Just remember to factor this into your measurements when purchasing the bricks.
If you installed the brick floor in a kitchen and want to continue the look, MSI Surfaces suggests that you could also consider using the bricks to form a backsplash above your countertops to create a unique, bold aesthetic.