50 Tips For DIY Car Detailing
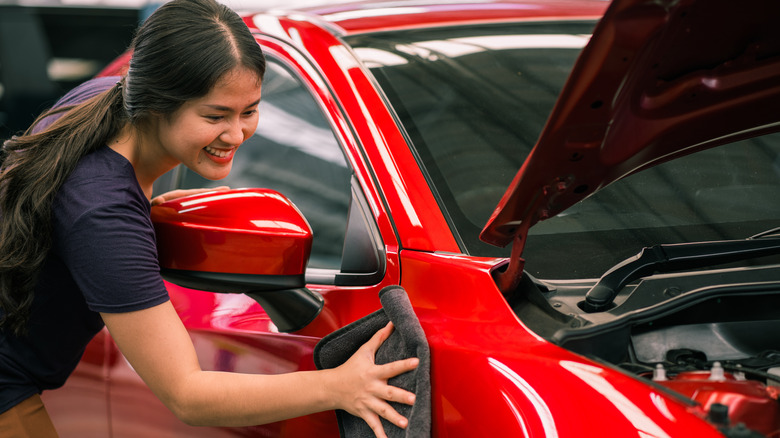
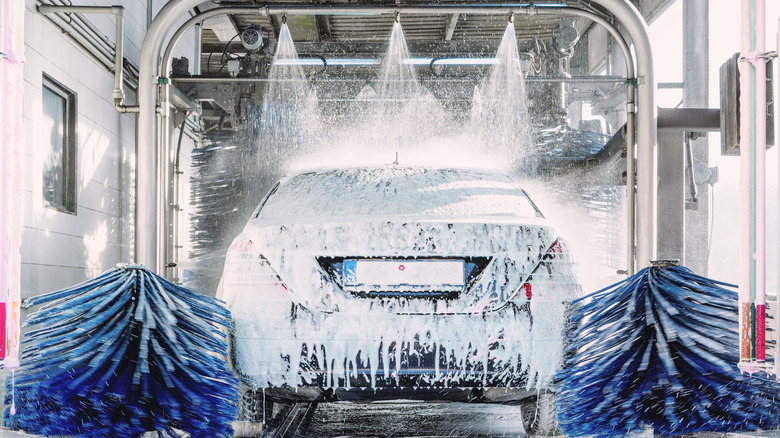
Contrary to what you might think, a routine trip to the car wash is not going to maintain the specs of a new car. However, that is why car detailing exists. Car detailing is a form of maintenance that is done manually by car experts, which includes thorough interior and exterior care of your vehicle.
According to Mobile Techrx, thorough auto detailing protects your car or truck against wear and tear. While it costs a chunk of money, you will end up saving cash in the long run, as it maintains the resale value of your car. And while most car owners believe car detailing has to be professionally done, Ceramic Pro claims that with the right instructions, it can be a DIY project. Here, we have selected 50 proven DIY car detailing tips.
Quick tip: interior car detailing has a lot to do with car carpets, so you should check out our previous post on cleaning rugs for helpful information.
1. Get an interior detailing brush; be meticulous
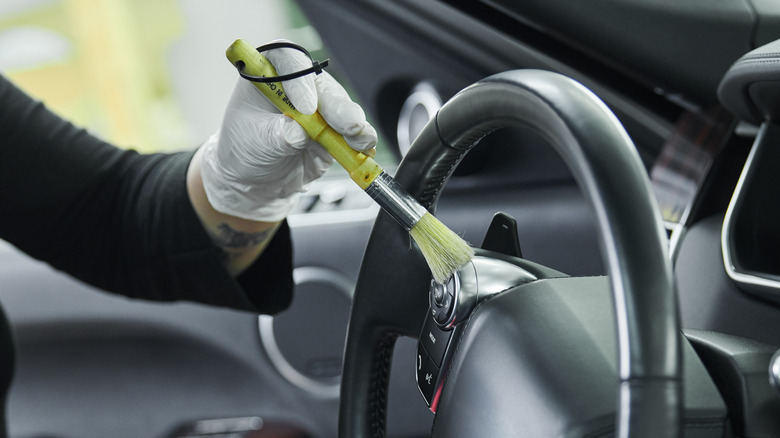
The only thing that sets car detailing apart from car washing is the attention to detail. Thus, investing in a good interior detailing brush to get into those stubborn corners is your first step. According to Detail King, these brushes look like make-up brushes, but they work well for cleaning buttons and edges.
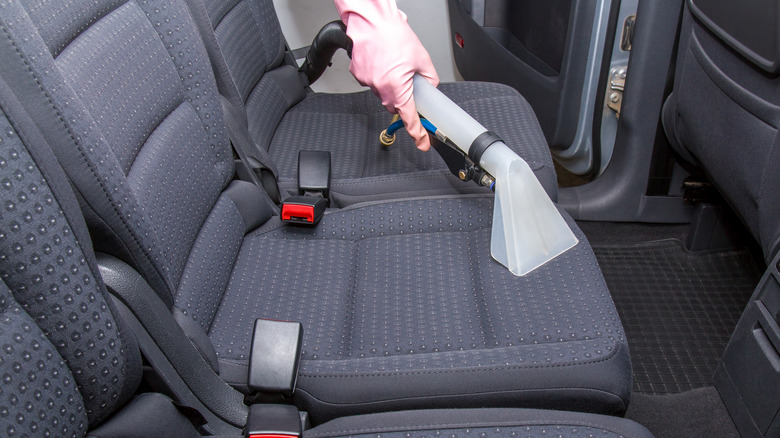
2. Invest in a good carpet extractor
Here is the deal: Your brushes, no matter how hard, will never lift stubborn dirt and stains out of the carpet as a good carpet extractor will. According to EBP Supply, carpet extractors cost an average price of $500.
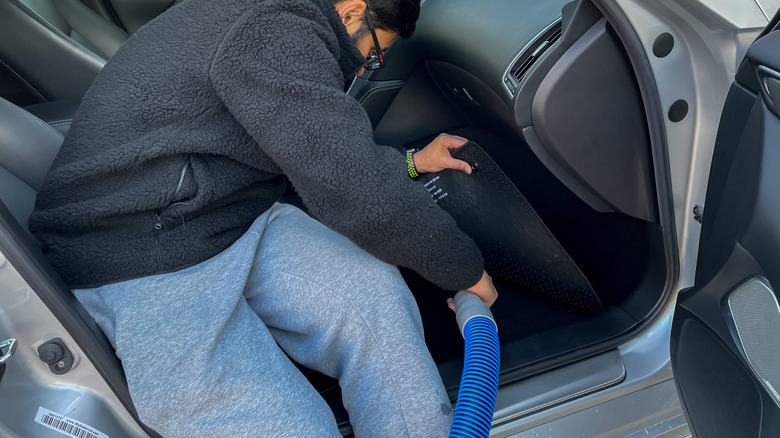
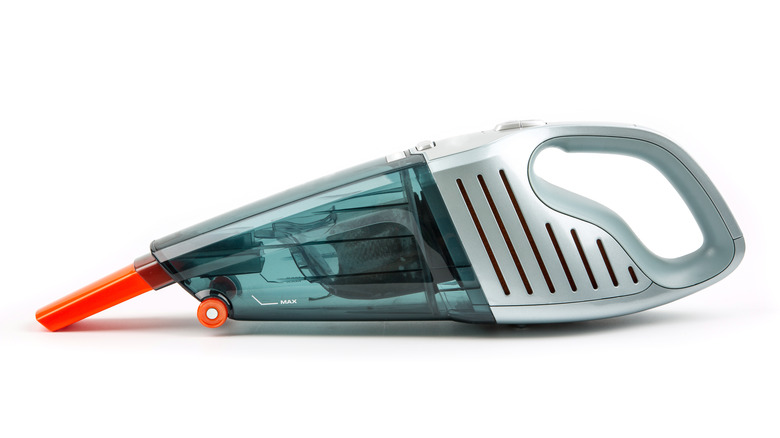
3. Vacuum the entire car for the start and the grand finish
Before getting into the meticulous stuff, it's advisable to do a general cleaning of the entire vehicle interior, says Ceramic Pro. The deal is that it gets a bulk of the general dust out at first, before going to the specifics. Lastly, do a final vacuuming for settled dust.
4. Employ compressed air for the crevices

Yes, vacuuming is good, and using a detailing brush works fine, but they are somewhat time-consuming. This is where a good blow gun comes into play, writes Car Wash. A good whiff of compressed air will adequately blow out the hidden dust in cupholders, dashes, and consoles, making for a neater finish.
5. Do not overlook in between the seams
We know you are likely tempted to, but Wash Tec warns that more dirt and debris than you think have gotten in there. If you have leather seats, just open them up and employ a much larger brush to clean out the dust and debris.
6. Dust out the seats and corners with a towel
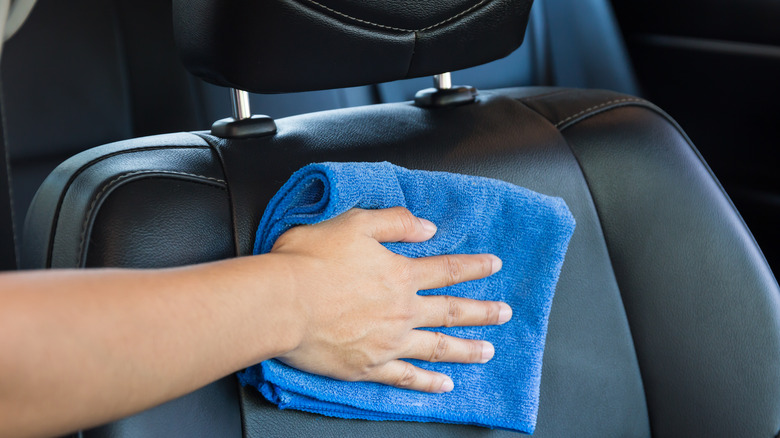
Chances are you've just loaned out your car vacuum to a friend and can't get it back now that you need it. In this case, to get the job done faster, dust your car seats with a towel, especially if they are fabric car seats, suggests Good Housekeeping.
7. Take out all the mats and slam them against the wall
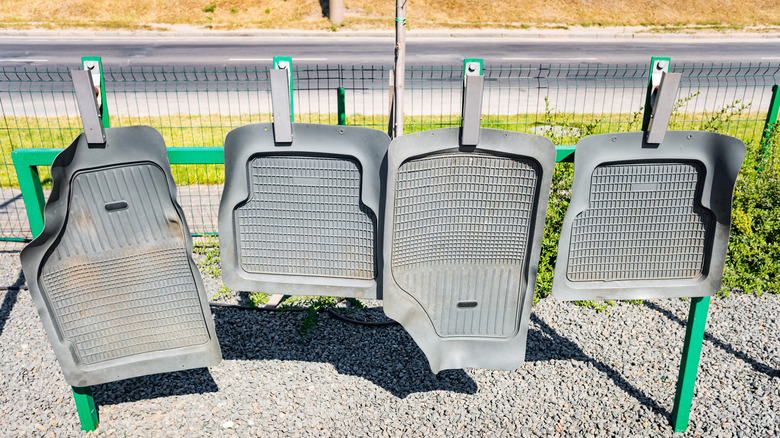
Car Wash recommends this because it gives you a clearer view of the car interior so you can reach a bulk of the settled dirt on the floorboards and underneath the seats.
8. Choose the right vacuum hose
Vacuuming is effective when you choose the right hose attachment. The brush attachments are great for removing particles like glass from your carpets. The crevice tools are said by Car Roar to be excellent in between seat cleaners. While these tools do not come with the regular car vacuum, you can purchase them separately.
9. Remove sand with silly putty or tape
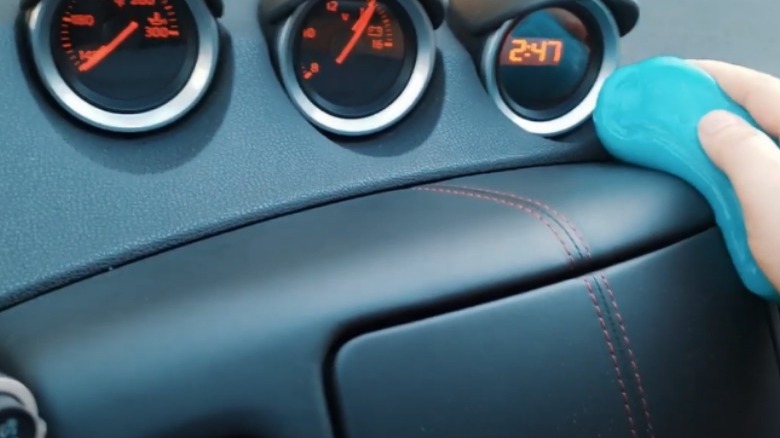
If the vacuum and brush do not get sand out (and we kid you not, they may not), wrap a couple pieces of tape around your hand with the sticky side up to lift out sand particles, writes Car Wash Country. You may also use a car detailing putty for this.
10. Carpet and drill brushes are super effective
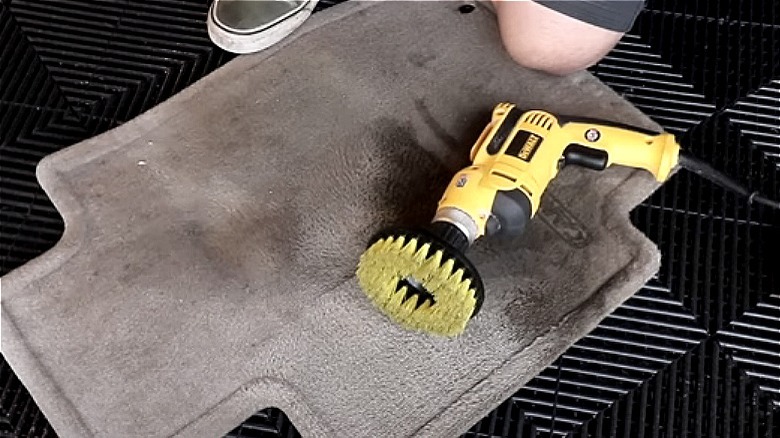
Another one of these not-so-common secrets detailers use is a drill brush, says Practical Perfection. This is a brush attachment kit for your standard drill that helps to remove dirt and particles that are lodged deep in carpet fibers and it's great for reaching tight spaces.
11. Ditch soap and water, and use a vinyl protectant
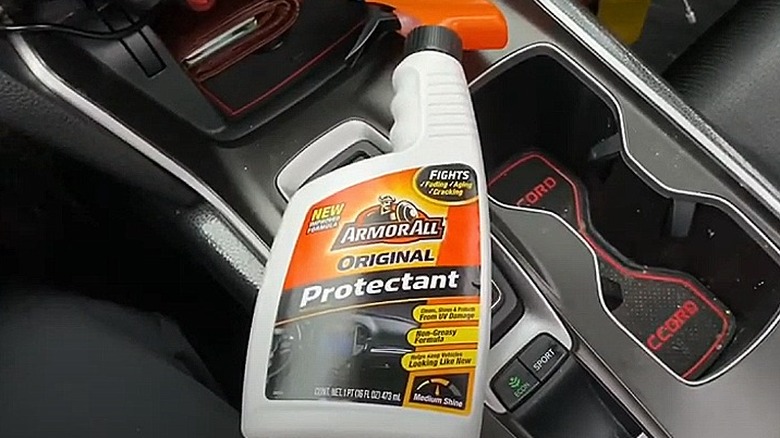
When it comes to interior surfaces, we are primarily talking about the dashboard and consoles. Using a vinyl protectant ensures that the colors do not fade, unlike regular soap. Also, since this is the area most affected by the sun, it protects against cracks too, says Guide To Detailing.
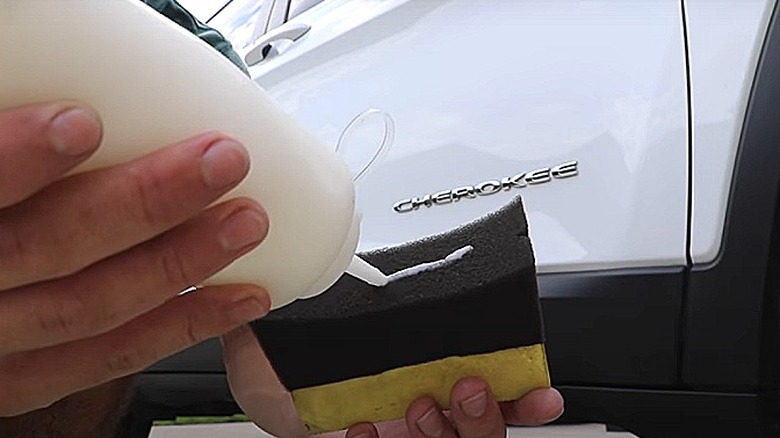
12. Apply products with a foam
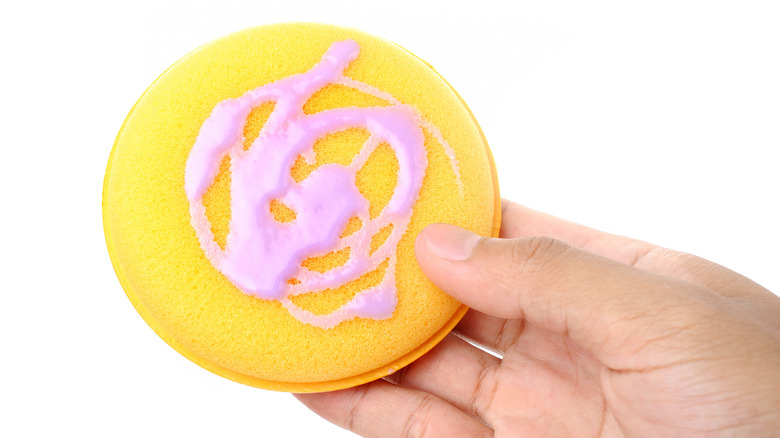
Instead of pouring your product directly onto the surface of your console or dashboard (or any other surface), purchase a foam applicator pad, add your product, and dab away to prevent spillage and wastage.
13. Test for product compatibility
Before using any new wash or vinyl product, you have to be sure it works for your car, beyond what the reviews and ads tell you. Guide to Detailing says that you can do this by first applying the product in an inconspicuous part of your car to see how things will turn out.
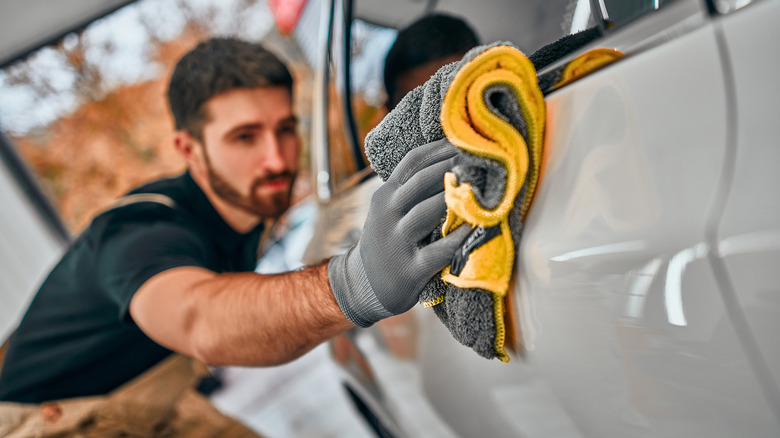
14. Revamp leather seats with a microfiber detailing towel
If you have leather seats, a product you want to invest in is a microfiber detailing towel, which is not a regular towel. Most pro detailers use this to revamp leather seats to look as though they just came from the factory, says Auto Training Center.
15. Make a home remedy stain remover
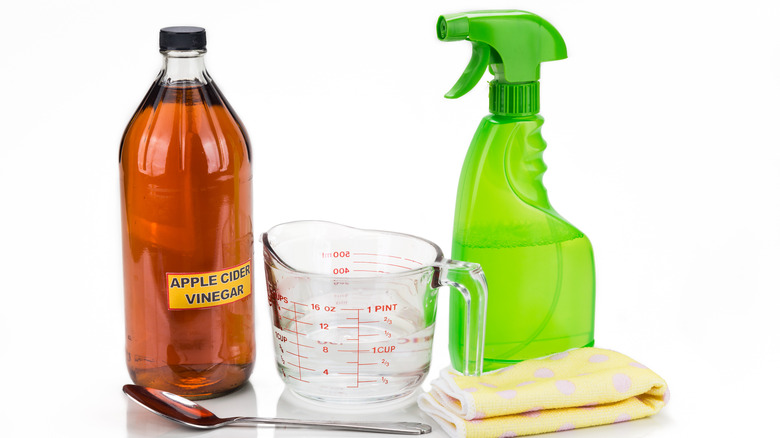
Another great DIY tip for interior surface detailing is to mix vinegar with a decent amount of dish soap for a makeshift stain remover. Mix them up, apply, and let it rest for 15 minutes before you wash off, writes Family Handyman.
16. Clean the exteriors first
DetailXPerts says that washing your car's exterior first before the interior ensures that your windows do not wind up with dirt and grime collected from the seats, carpets, seams, and cup holders. We at House Digest suggest washing your windows separately with a new batch of cleaning products and foam applicator.
17. Your car does not need vitamin D
One thing you should avoid doing is washing or detailing a car under direct sunlight. According to Good Housekeeping, direct sunlight causes windows to dry too quickly, so you may wind up with ugly smears. Besides, the UV radiation from direct sunlight damages cars in several ways (via Ultimate Window Tinting).
18. Stick to one motion per side when wiping
Wipe your windows in one motion on one side and a different motion on another side. This is important because if streaks do form, you will be able to tell easily which side has the smear, says Good Housekeeping. The preferable pattern is horizontally on one side and vertically on the other.
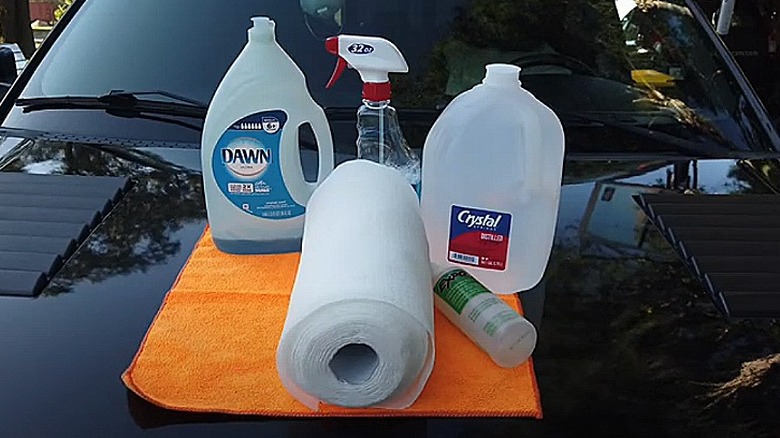
19. Clean windows with a mixture of distilled water and alcohol
You can use a homemade product to clean your windscreen and windows. All you have to do is to mix one part alcohol with one part distilled water. Alternatively, you could buy pre-made products. For recommendations, Auto Guide's top pick for 2022 is the Stoner Invisible Premium Glass Cleaner.
20. Replace old towels promptly
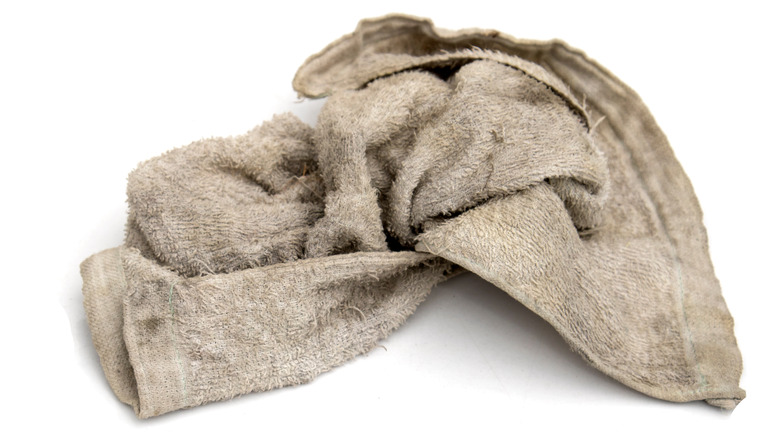
The difference between people who have spotless glass and those who do not is that the spotless windows clique uses microfiber towels, which are highly absorbent. Replace them promptly before they become overly inefficient, says Renewal by Anderson.
21. Never skip the inner side of the window
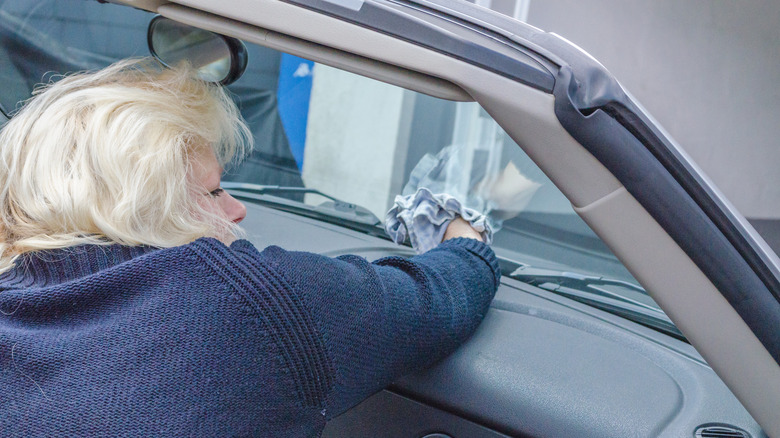
That side of the window is so easy to ignore, but it's crucial to clean both the outer and inner side. This is because part of the car's interior can emit gas that causes film build-up on the inner side of the window, says Glass Doctor.
22. Give the tinted windows a dash of preferential treatment
According to DetailXPerts, pH-neutral and ammonia-free cleaners are highly recommended for tinted glass because these are gentle on the tint film, yet strong enough to remove stubborn dirt. For your regular windows, a good ammonia cleaner would do the trick.
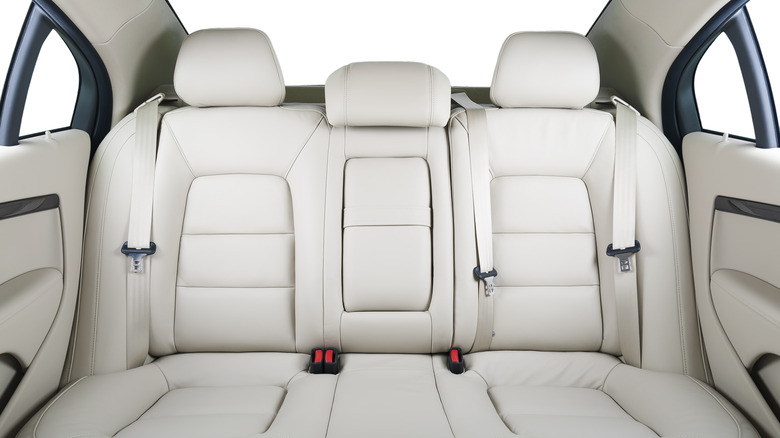
23. Always prep leather seats with a crevice vacuum tool
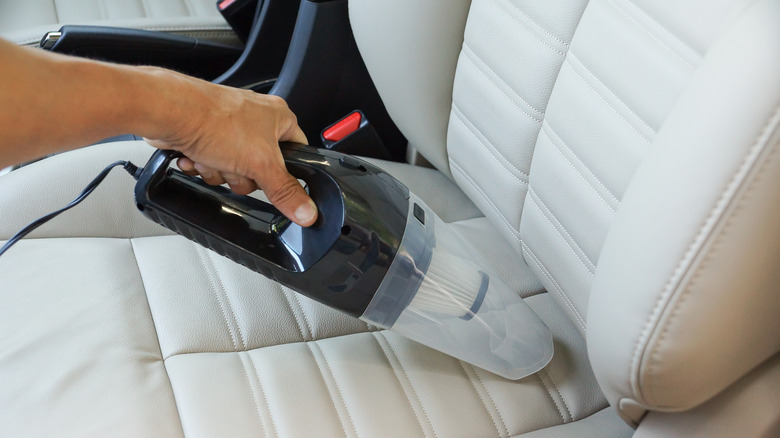
Leather seats are exquisite and when properly taken care of you are in for luxury. Technically, you want to start by vacuuming dust off leather seats. According to True Car Adviser, a vacuum crevice tool helps suck elusive dust from tight corners and areas adjoining leather seats.
24. Invest in a high-quality cleaner
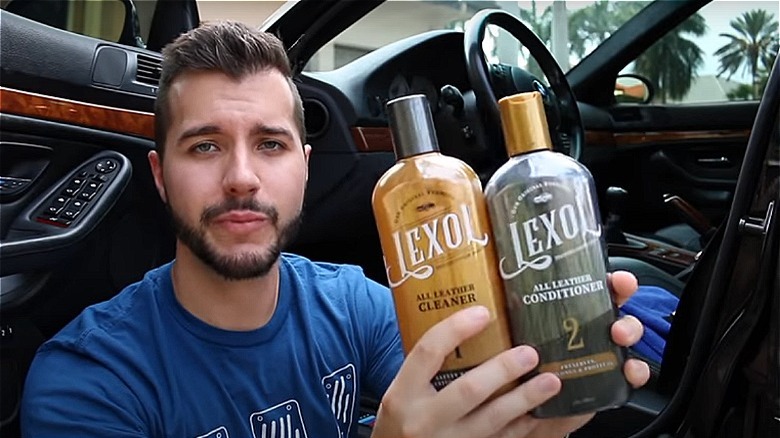
We recommend being luxurious about your choice of leather cleaner, especially if you prioritize retaining the shine of those seats. Roadshow recommends Leather Honey and Lexol Conditioner and cleaner kit. FYI, we do not recommend leather cleaners that have petroleum jelly as those make a dust magnet out of your seats.
25. Purchase a high-quality leather conditioner for a finish
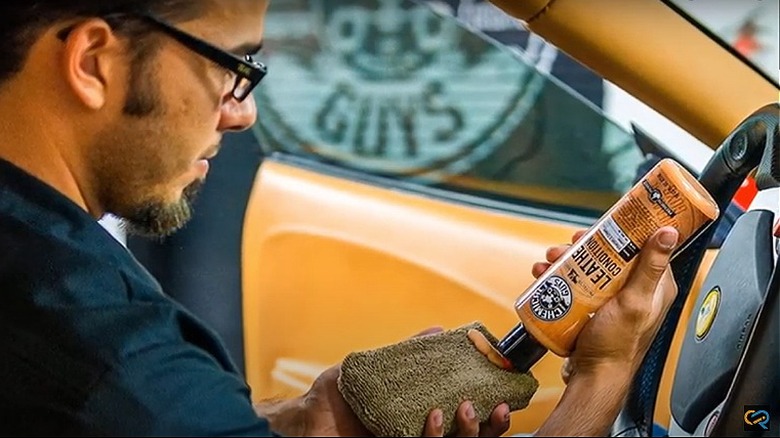
After washing and drying leather seats the right way, apply a high-quality conditioner to them. In doing this, you are preventing tears and cracks from plaguing your leather, says Car Covers. FYI, when applying the conditioner, ensure that it is evenly spread out.
26. Lift seat covering with an upholstery brush when vacuuming
This way, you get to get rid of all the dust and not just the stuff on the surface superficially, says The Spruce.
27. Pre-treat heavy stains before diving in
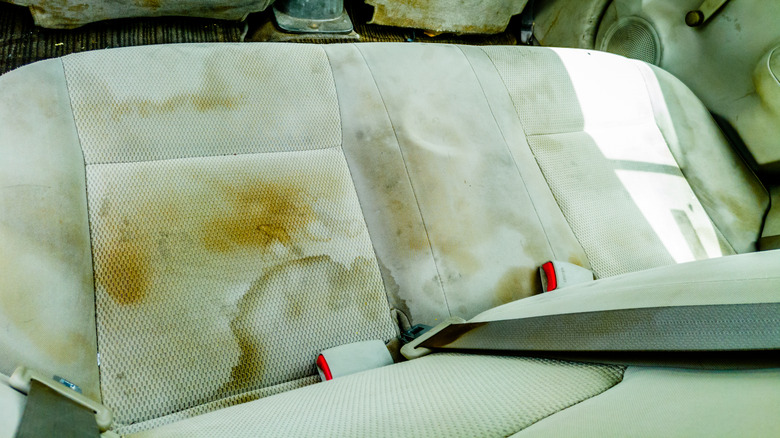
Whenever you come across heavily-stained spots before cleaning your car, give those stains a special pre-treat. Soak them in a solution for about 15 to 20 minutes before you scrub them. After that, you can proceed to scrub the rest of the vehicle.
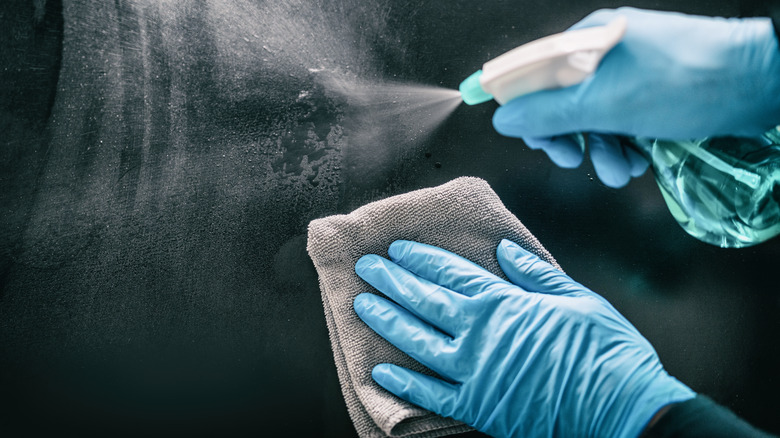
28. Don't drench your upholstery, get a spray bottle
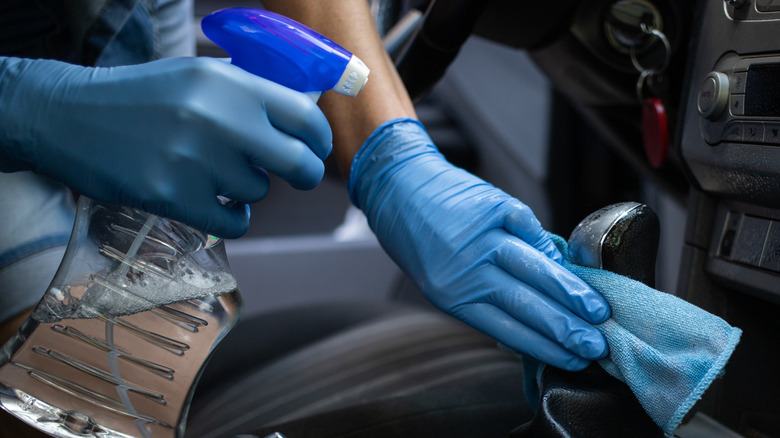
For the application of water or washing solutions on upholstery, get a bottle of spray to ensure that you do not get the seats soaked. If you do, you may have a hard time getting the seat to dry out and this may cause your car to have an odor, writes Consumer Reports.
29. Bring out the air tubes
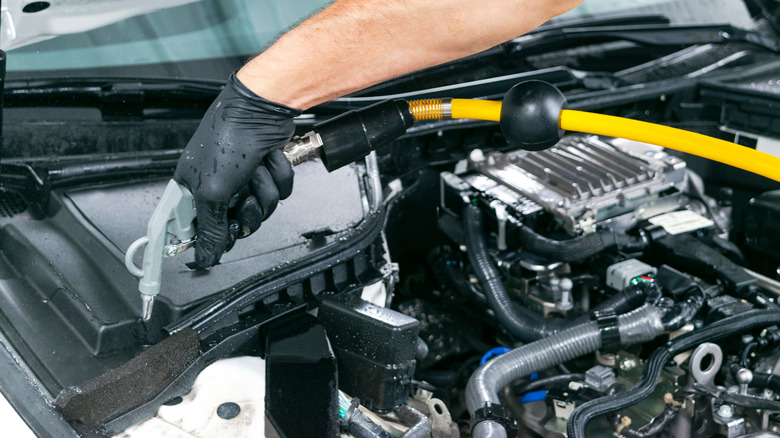
Use a can of compressed air as an alternative to water, as this works just as well and prevents the presence of excess water. While this is an optional step, we and Wash N' Go recommend it.
30. The grand finish to your fabric seats is a fabric coat
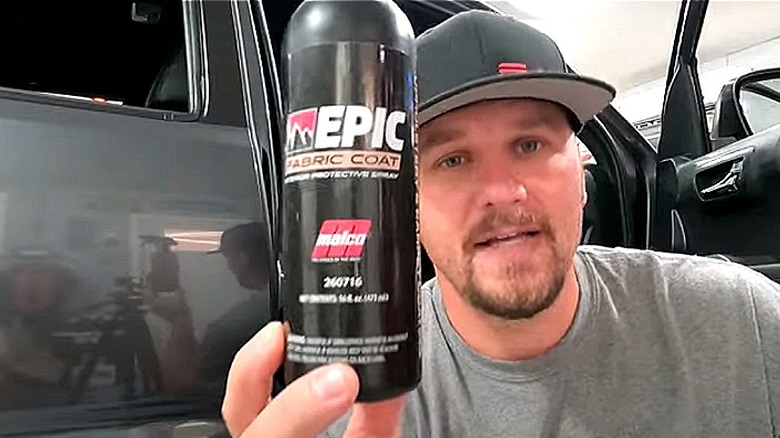
Coat your car's seats in a trusted fabric coat for the finishing. According to The Spruce, this helps prevent the accumulation of dust and makes cleaning easier next time.
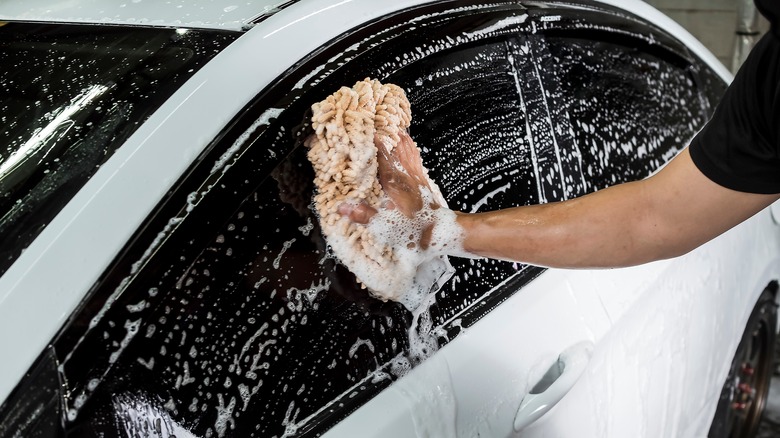
31. Wash your car every two weeks – your hair won't get jealous
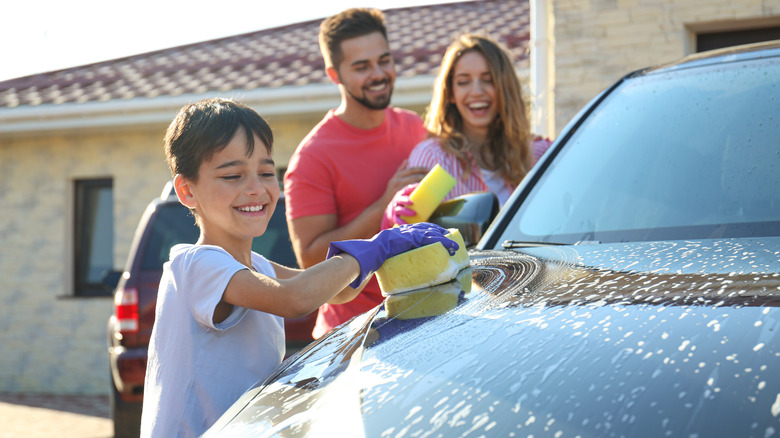
If you are looking to retain the new car paint shine for as long as you can, an excellent detailing tip is to develop a habit of shampooing your car every two weeks (via Holts).
32. Instead of a random cloth, choose chamois
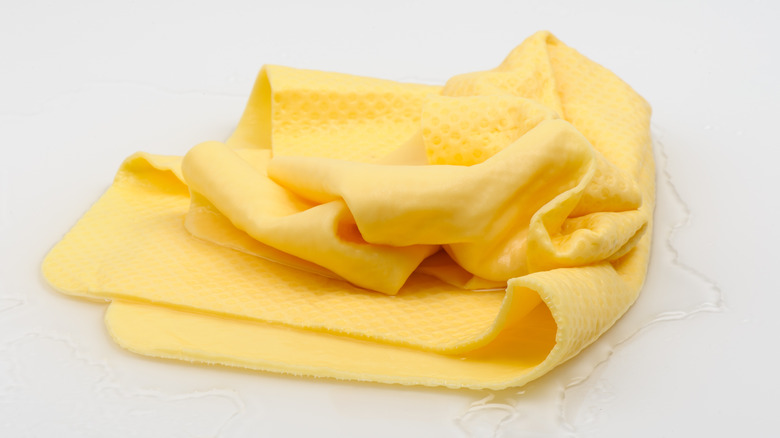
If you decide to let all the water dry on its own, your car will be susceptible to watermarks. This is why experts at Holts recommend using chamois or a microfiber towel to dab all the water by working from the top down.
33. Let your power buffer be the first call for wax and not the last one
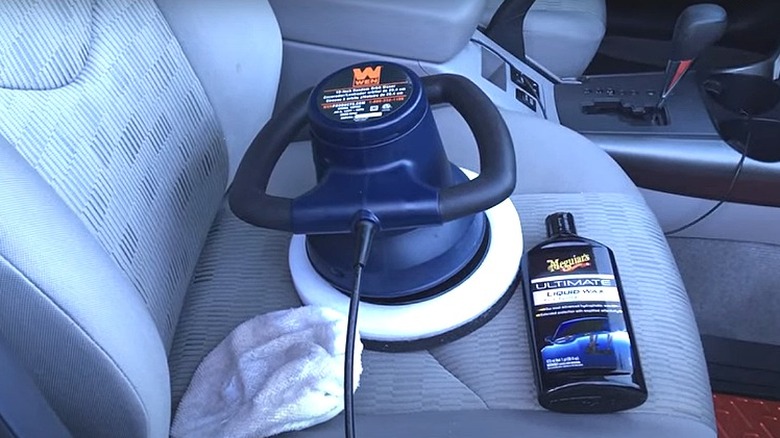
Professional auto detailers figured out that the traditional method of removing excess wax with a power buffer is ineffective. Thus, experts at Holt recommend using a soft cloth to wipe off excess wax after using a power buffer to spread the wax.
34. Treat swirl marks with polish, your car paint will thank you
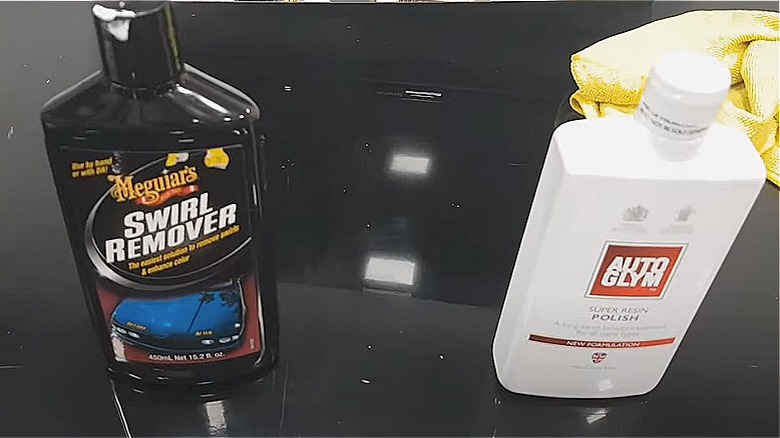
Swirl marks are mild scratches in spiderweb patterns that appear each time you wipe your car coat with the wrong cloth, says Car Wise. To get rid of this, apply a small amount of scratch remover onto the marks in either horizontal or vertical lines.
35. Compressed air can help restore that new car smell

If your car has lost that brand new car smell, you probably neglected the vents. According to Holts, passing a huge whiff of compressed air in the car vents will help restore the much beloved new car smell.
36. Wash your cloth or sponge mid-cleaning
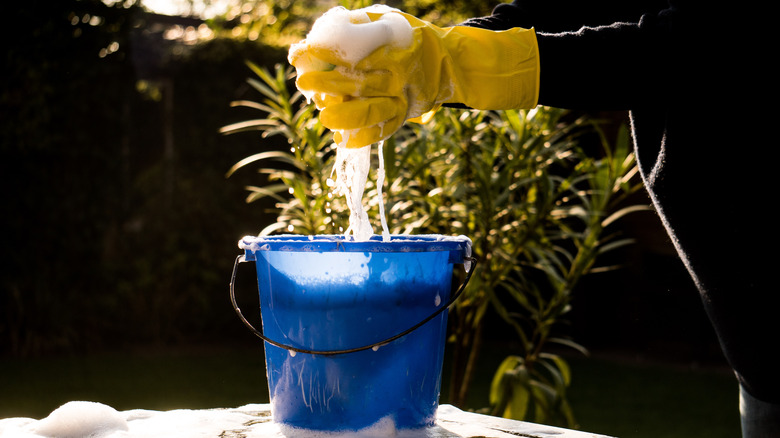
Professionals clean their washing sponge in a separate bucket from time to time. This technique ensures that the dirt on the cloth or sponge does not cause swirl marks to the car paint, writes Mobile Wash.
37. Remove the wheels for best results
While you could always wash your wheels without popping them out of place, experts at Autopia Car Care recommend that you detach them from the car to access and remove all of the grime in the wheels, clean the tires properly, and apply products in every crack and crevice of the wheel as needed.
38. Start with the tires, always
We recommend starting your exterior car detailing with the tires. This is because Autogeek explained that washing the tires first prevents dirt and grime from splashing onto the already clean panels.
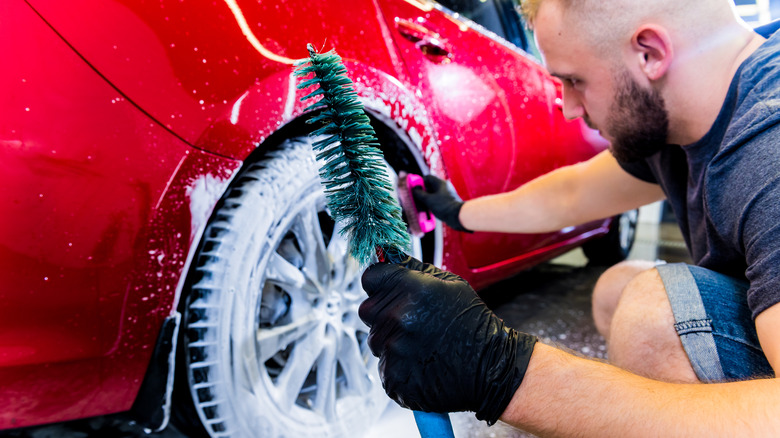
39. Get a feathered bristle brush for the wheels
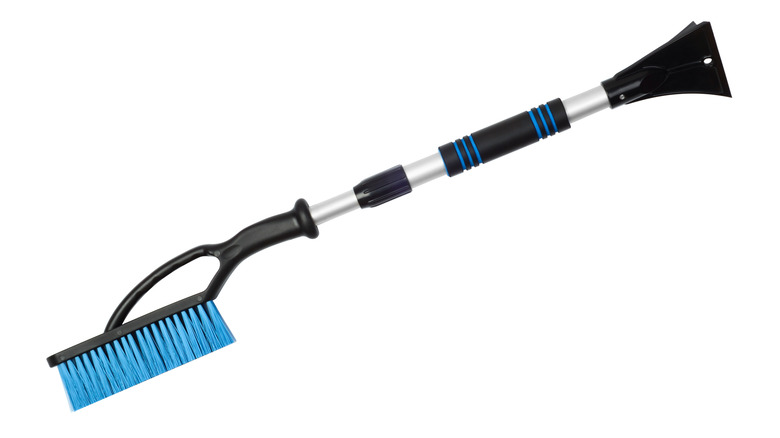
These brushes were made exclusively for car wheels. This is why Auto Guide included them in their top five wheel cleaning brushes. These heavy-duty brushes scrub the tires and wheels effectively, yet they do not cause swirl marks.
40. Clean the wheels one at a time
According to Autogeek, applying products to all of your wheels at once could leave marks on them. For pristine clean wheels, whether you are popping the tires open or not, wash and rinse the tires one at a time.
41. Invest in a good wheel wash product

For your DIY detailing, Roadshow recommends washing your wheels with Sonax Wheel Cleaner Plus.
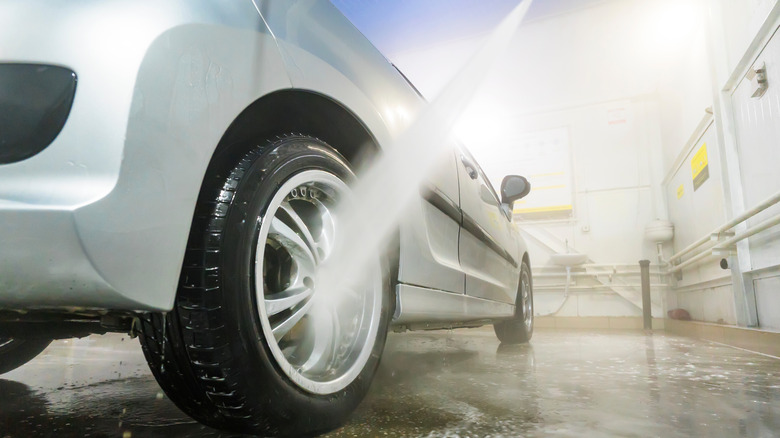
42. Water jets get all the dirt out
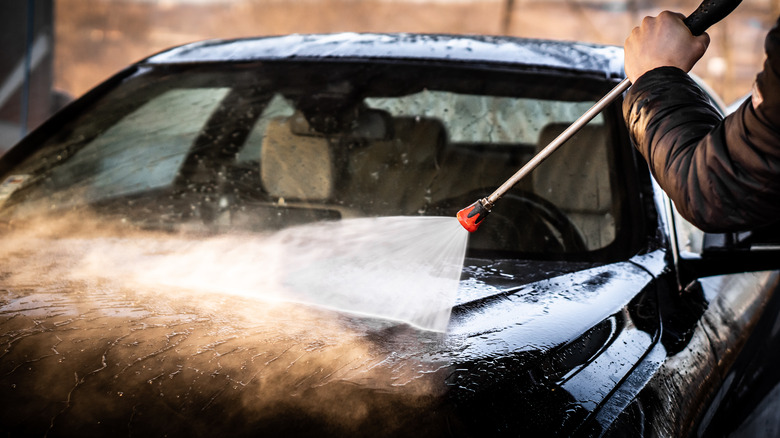
After scrubbing your vehicle, Autogeek recommends that you rinse it with jet streams of water, ideally from a pressure washer. This force will ensure that all the dirt in the crevices of the wheels is lifted out.
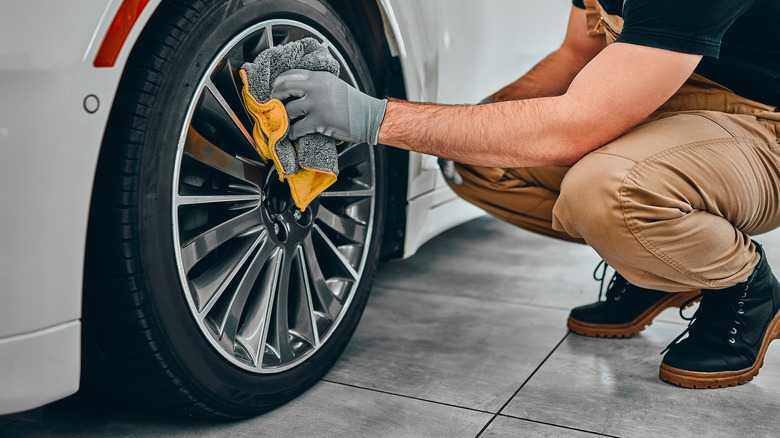
43. Dry your wheels intentionally
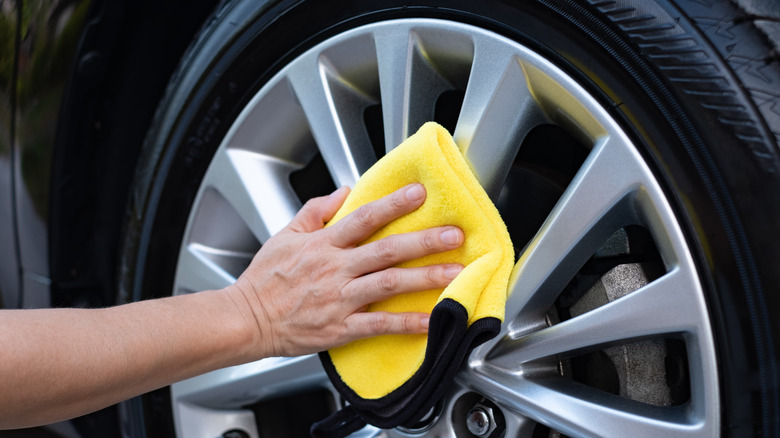
Leaving the wheels to air out on their own could cause rust over time. Conversely, taking matters into your own hands by drying them with a microfiber cloth helps to prevent that. You can also inspect your wheels for cracks, dirt, or stains (via Autopia Car Care).
44. Wax your wheels systematically
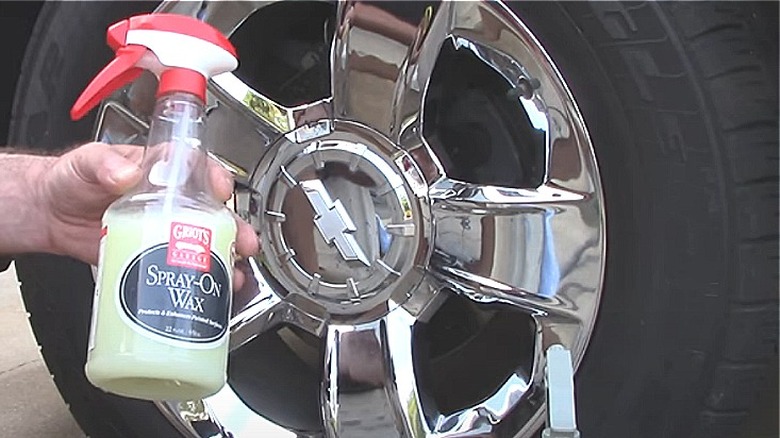
Start working from the center to the edges with a power buffer while checking to see if there are cracks. According to Meguiar's Online, waxing is an important wheel detailing tip because doing so helps improve the appearance of the wheels and maintain the overall look of the wheels.
45. Go tougher on the tires
Scrub the rubber of your tires with a much tougher brush and a powerful automotive shampoo. They will not deteriorate but become cleaner and last longer, The Art of Cleanliness writes.
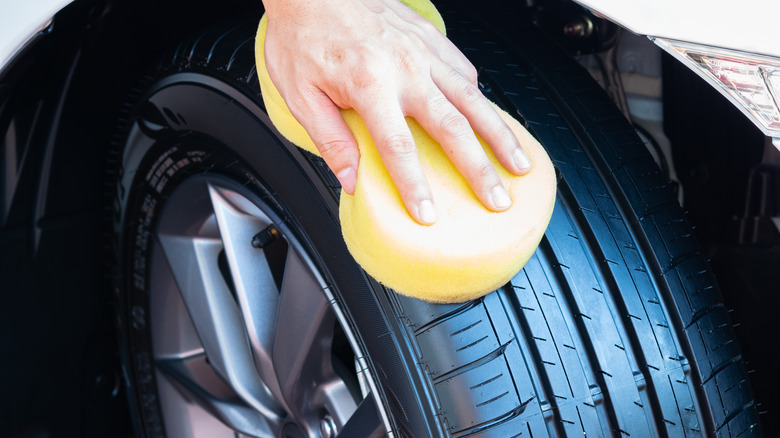
46. Apply a high-quality tire coating and give it time to dry
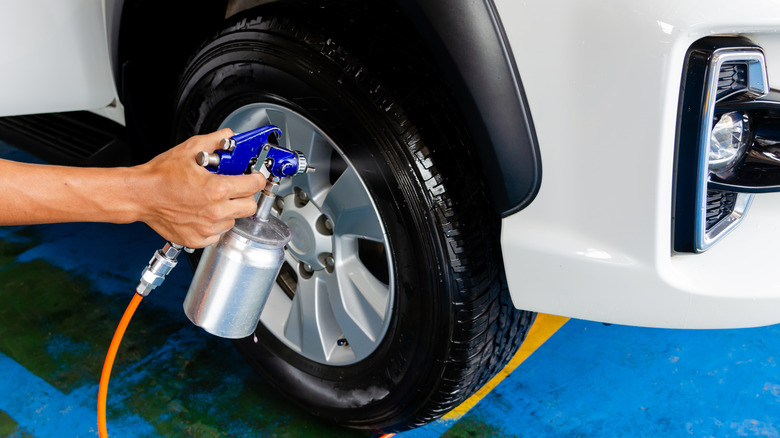
Before popping the tires back on, apply a tire coating that will help strengthen the rubber of your tire. Make sure to coat the entire thing, leaving no part in neglect. Once you are done, pop your tire back in.
47. Treat car trim
Most car trim happen to be made of plastic. This is a different material from the other parts of the car's exterior. For the best trim detailing results, Detail King recommends products that restores faded black parts like Trim Kote. Afterward, you can apply the polish to the trim, but never before.
48. Do not neglect your seatbelts
Seatbelts are one of the most handled parts of the car. For effective detailing, what you want do is to apply your products on both sides of the seatbelt, then scrub them down afterwards. Clean them twice with two different microfiber cloths, as recommended by Charm City Calculator.
49. Towel dry and bring out the blow drier
The deal with leather seats is that you cannot afford to leave water on them for extended periods. As soon as you are done scrubbing and rinsing with the microfiber, TrueCar recommends that you towel dry the seats ASAP. For the crevices and corners, use compressed air to suck out the water.
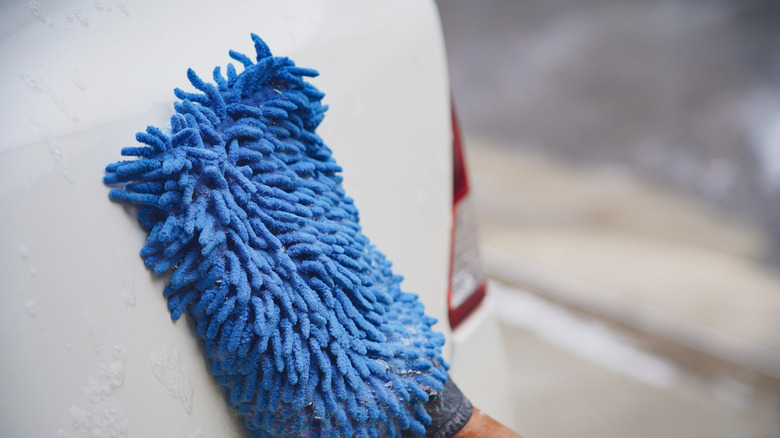
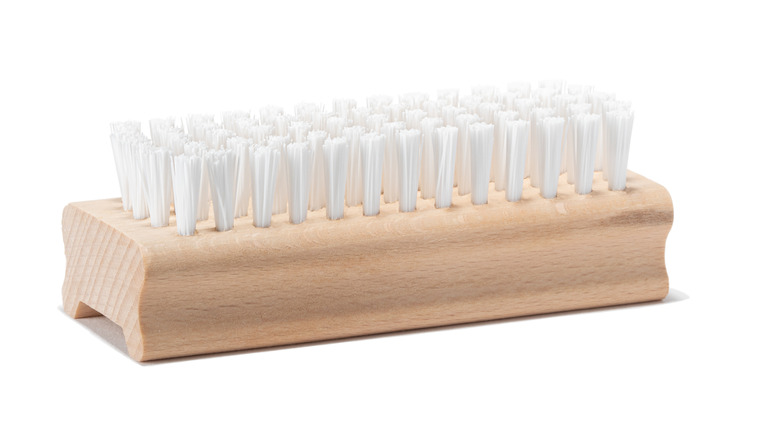
50. Avoid the hard bristles

Hard bristle brushes scratch your car (via Shiny Car Project). On the other hand, microfiber is the top dog in the care detailing trade. For your scrubbing, simply apply your choice of cleaner to the microfiber and scrub every part.