How To Successfully Care For Elephant Ear Plants
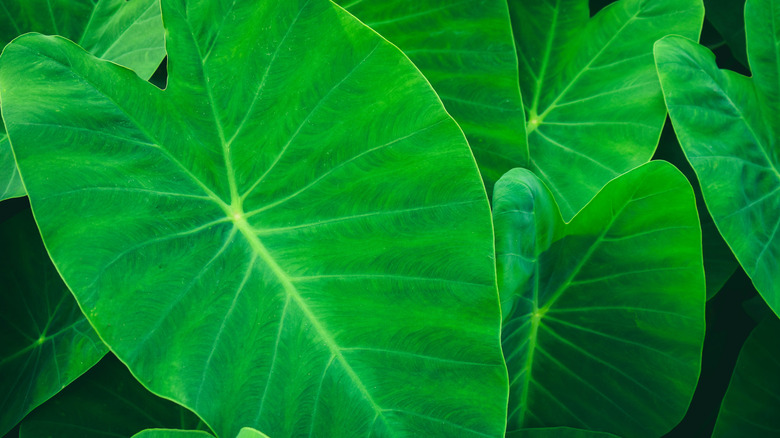
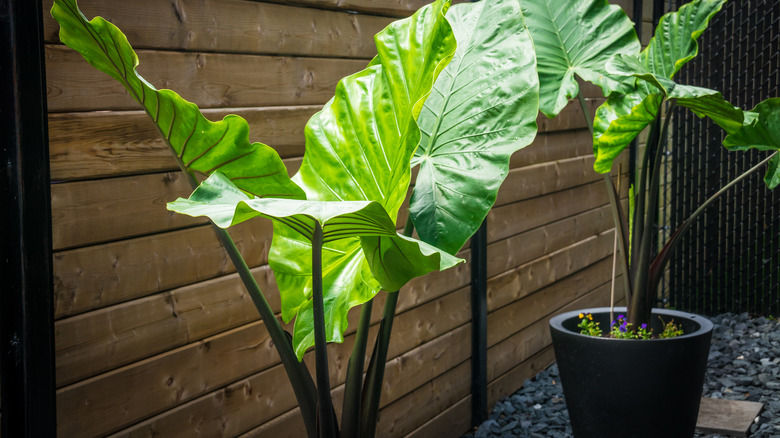
Colocasia esculenta, more commonly known as the elephant ear plant, can be easily identified by its large, flat leaves, which look very similar to an ear on an elephant. These plants are most commonly seen in tropical settings and come in various colors, sizes, and shapes. They most commonly take on a lush green color and range between 6 inches to 3 feet tall and around 2 feet wide, per Garden Design.
Wisconsin Horticulture mentions that this unique plant originated around the southeastern portions of Asia, as well as Indonesia, Malaysia, New Guinea, and parts of Australia and the Pacific Islands. They were commonly grown for their edible feature, which became an important food source throughout the regions where the plant originated. Now, the plant is seen growing worldwide, thriving particularly well in various tropical and subtropical environments. So, if you're looking to add something tropic and unique to your garden, the elephant ear plant might be the right choice for you.
How to use elephant ear plants in the garden
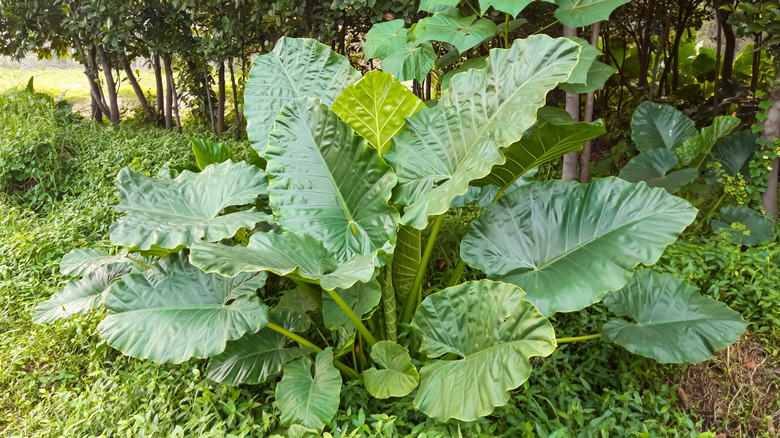
Regardless of the existing plants in your garden, Garden Design states that an elephant ear plant brings an exotic look to your backyard and acts as a perfect focal point. The large, green leaves can easily gain attraction while also being a comfortable resting place for your eyes and the variety of plants in the garden. Elephant ear's size, color, and shape can also make a majestic background flora. They look exceptionally well when surrounding ponds, walkways, and even patios, Gardening Know How notes.
These plants are fully hardy, growing best in zones 10 to 11. They will only flourish in warmer settings with humid conditions, with 70°F to 85°F daytime temperatures and nights no lower than 60°F. They can be grown in cooler climates, but they must be replanted annually. Garden Design also mentions that elephant ear plants thrive in potted environments as well. Potted plants can make a perfect centerpiece within your home or add color and variety to your patio and outdoor sitting area.
How to grow elephant ear plants
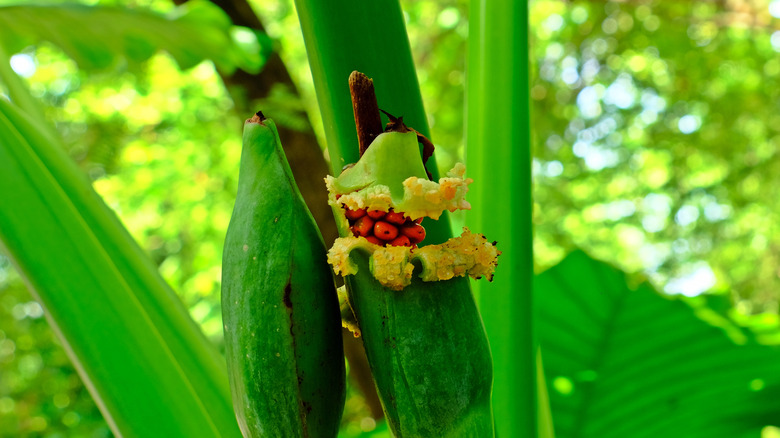
Gardening Know How mentions you can propagate the elephant ear from shoots that develop at its base or from its seeds that are gathered together in pods underneath the plant's leaves. Keep in mind, though: When growing elephant ear from its seeds, it's important not to remove the pod from the plant until the seeds are dry and mature. Once the seeds are removed from the pod, rinse them with fresh water. Next, plant the seeds on the surface of a seed starting tray that is filled with rich, moist soil.
You can also add peat moss to the soil to add extra nutrients, then lightly cover the seeds with more soil, and keep them lightly moist as they germinate and sprout into small plants. Be patient throughout this process because some elephant ear seeds take months to sprout. Once they do offshoot, move them to a position with indirect bright light and allow them to continue growing until they are strong enough to be planted outside. When propagating the elephant ear plant from one of its shoots, simply cut one from the base of the plant and place it inside a cup of water until roots begin to develop. Then, plant the shoot into a container filled with rich and moist soil. Let the new plant continue growing until it's at least one year old before introducing it to your garden.
How to care for elephant ear plants
Before deciding to plant and grow an elephant ear plant, it's important to evaluate your outdoor environment and the conditions you live in throughout the year. If your environment tends to hit temperatures around and below freezing, it's better to consider permanently planting your elephant ear plant in a pot rather than in your garden. This way, you can transfer the plant indoors when it's cold, avoiding damage to the warm weather plant (per Gardening Know How). When it comes to taking care of your elephant ear plant, The Spruce recommends ensuring your plant receives a decent amount of sun. Most elephant ear plant varieties prefer partial sun to shady positions, but some breeds require more sun to bring out their foliage colors.
You should also give water to the plant in plentiful amounts; it should always remain moist. These plants can resist a good bit of flooding but never allow the soil to run completely dry before rewatering. Likewise, the soil where the elephant ear plant is planted should also remain rich with plenty of nutrients. If you feel your elephant ear plant is suffering due to not receiving enough nutrients, fertilizer can help increase the minerals your plant receives and revive your plant back to a healthy status. Ensure, however, that the fertilizer is water-soluble, contains a high level of nitrogen, and is applied every two to three weeks for the best results.
Varieties of elephant ear plants
There are two main groups of elephant ear plants. These two groups are called the alocasias and colocasias groups. Longfield Gardens states that the alocasias group of elephant ear plants hold the tip of their leaves up toward the sky and prefer shady positions and well-draining soil. The colocasisa group, on the other hand, holds the tip of their leaves down toward the ground and prefers full sun and consistent moisture. Both of these groups have a variety of species, some of which we will mention below.
- Odora (Alocasia macrorrhiza) — This variety is known for its giant upward-facing leaves and ability to thrive within a potted environment inside or outside a home.
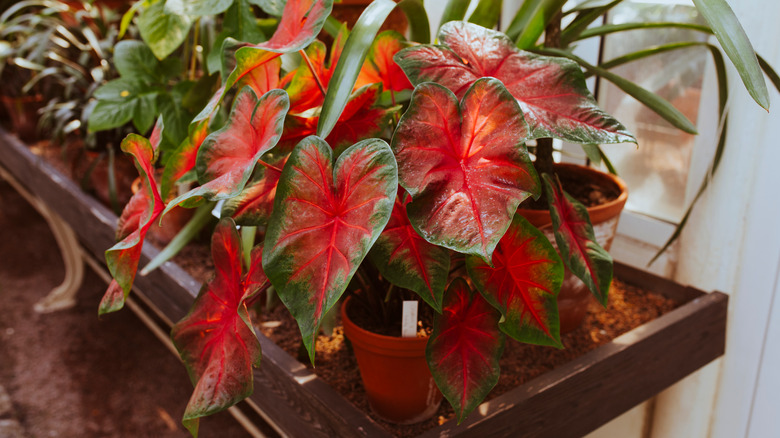
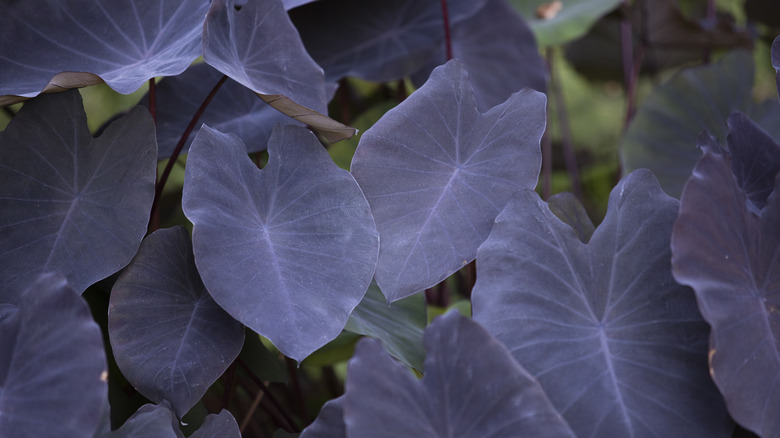
- Black Magic (Colocasia esculenta) — This plant has dark purple leaves that effortlessly attract attention to your garden or wherever you may grow it.
- Hawaiian Punch (Colocasia esculenta) — This species needs very warm soil and plenty of moisture to survive, but in return, it boasts vibrant light green leaves that sprout from reddish-pink shoots.
- Teacup (Colocasia esculenta) — This plant has vibrant light-green leaves that indent in the center and collect water as if it were a teacup.
- Mojito (Colocasia esculenta) — This elephant ear species have unusual yet beautiful bright green leaves that are splattered with a darker green-grey color over the upper surface of each leaf.
Are elephant ear plants toxic?
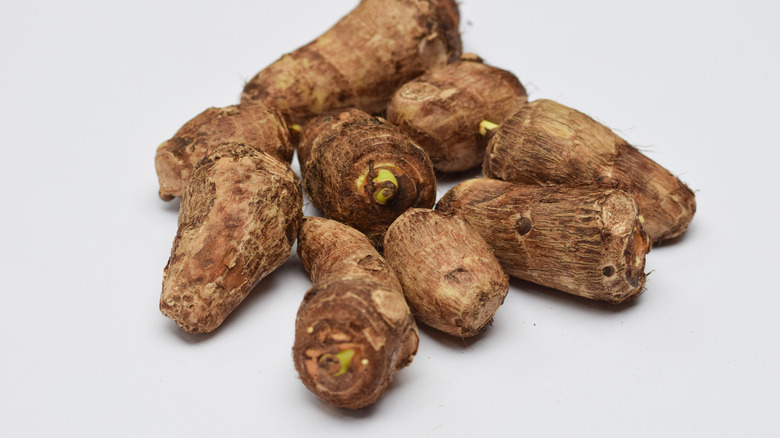
When the elephant ear plant first emerged in the Southern Asia and Australia areas, it was commonly harvested for its corms, which became an important food source in these regions, Wisconsin Horticulture notes. Despite the important product that comes from these plants, they still need to be handled with care due to the toxins they contain. The elephant ear plant has traces of oxalic acid in its leaves and stems, which in large amounts can cause serious illness and sometimes even death. Although these plants' traces of this toxin are not as extreme as they may be in other flora, it still needs to be handled with precautions.
Gardening Channel explains that this slightly toxic plant only became a major food source because its tubers are always cooked. Also, varieties of elephant ear plants can have different toxicity levels, making some safe enough to eat. When planting an elephant ear plant in your garden or adding it to your potted plant collection, ensure you are careful when letting children and pets around the plant. If you think a child has ingested the plant, contact poison control immediately and keep an eye out for swelling in the lips and mouth. Similarly, contact your vet if you suspect your pet has ingested part of the plant.
How to repot elephant ear plants
Fortunately, elephant ear plants do not need to be repotted often, but when the plant is ready to move to a bigger container, ensure the new pot is no bigger than 3 to 5 inches larger than its current pot. If your elephant ear species require a higher drainage level, you can add a layer of pebbles at the pot's base, but otherwise, the bottom of the container can simply be lined with soil.
When the pot has been prepared, tree2mydoor.com recommends removing the plant from its current pot by loosening its base before sliding it out. Once the elephant ear is out of its enclosure, gently loosen its roots with your fingers or a small gardening rake. From there, center the plant into the new pot and adjust its height to exactly how it was in its old container. When the plant is in position, fill in the gaps with soil and pat it down firmly. Finish by thoroughly watering the elephant ear and keeping it consistently moist as it adapts to its new potted environment.
Common diseases of elephant ear plants
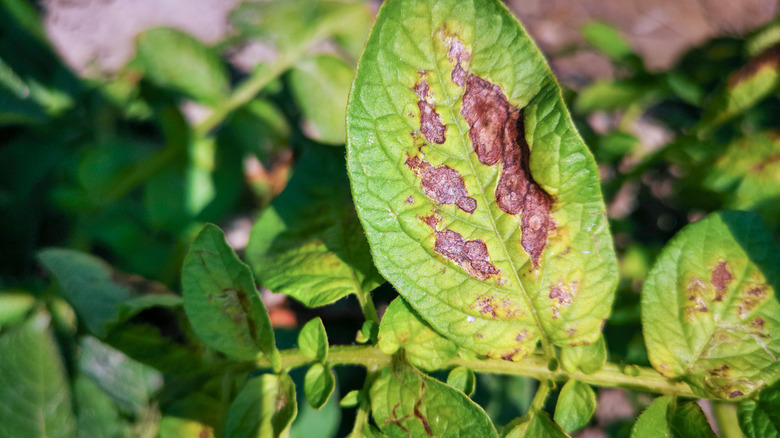
The elephant ear plant is known for growing in warm, humid tropical environments, which means their most common problems derive from funguses that thrive in moisture. Gardening Know How mentions that fungal leaf blight is one of the most common diseases to affect an elephant ear. This disease can be spotted by the purple liquid that spills out of the diseased plant's leaves. When the leaves eventually drop, the disease spreads to the rest of the plant, causing even more damage. Phyllosticta leaf spot and Pythium rot are also common diseases that can cause extensive damage to the elephant ear.
To avoid fungal diseases, start by strategically watering your plants. Fungal diseases are attracted by moisture; therefore, giving your plants to drink closer to their base can prevent moisture from building up in their foliage. Fungicides can also be regularly added to the plant to ward off and cure existing diseases. Along with these techniques, always ensure your elephant ear plant is healthy and receiving the right amount of water and nutrients; that's because a healthy plant can fight and prevent diseases a lot better than a malnourished plant.