Inexpensive Ways To Cover A Concrete Patio
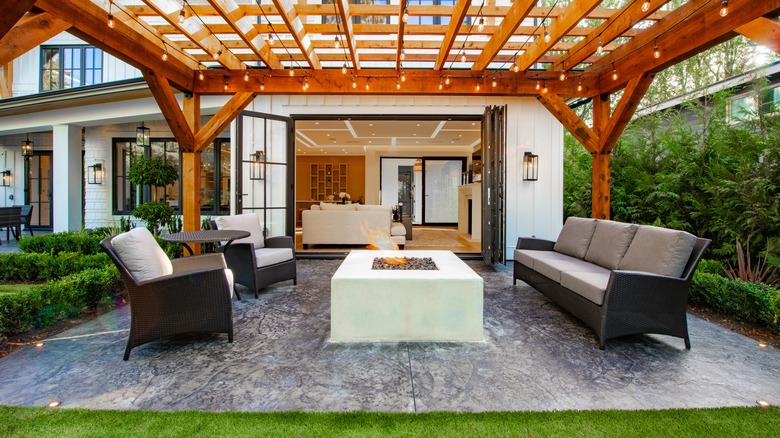
That ugly concrete pad in the yard, ugh. Every year, season after season, that concrete patio begs for attention. Updating this outdoor area does not have to be expensive or complicated. You can dress it up with a fire pit, plants, or soft sofas. Better, we have lots of budget-friendly and fun projects to give your concrete patio a facelift. From projects that bring the family together to others that require some planning, here are a few creative ways to transform your concrete into a centerpiece.
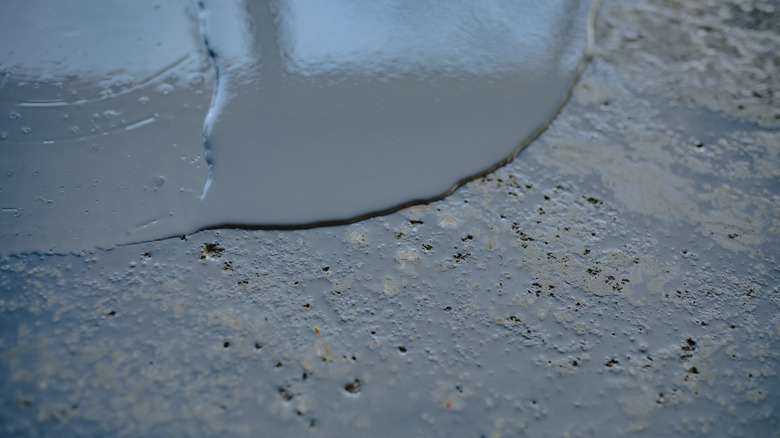
Before revitalizing concrete, it's essential to get your patio ready. According to Guardian Garage, it's best to remove the furniture, then scrub the concrete with a mild bleach solution and a nylon brush. Once you clean concrete and dry it, complete a careful assessment. If there are cracks under 1/4 inch wide, use concrete caulk, filler, or patching compound (via The Spruce). Before it sets, make sure to texture the top to match the rest of the patio. Once that repair is dried and cured, sweep the area clean, then seal the entire space. After you prepare your surface, it's time for the creative part. Here are some affordable ways to take your concrete patio from eyesore to eye-catching.
Play with a palette of paint
From medallions and geometric patterns to florals and faux stones, outdoor paints are one of the most budget-conscious ways to customize your concrete. With tintable bases from Lowe's, your family of artists can get nearly any color. Michaels has around 20 different accent colors, including bright blue, hot pink, and yellow. Maybe start by covering the entire patio with one base color or a roll-on textured concrete paint. Then, accent a few areas with custom painting. Consider using stencils or cutting your own from cardboard for a repeatable, reliable design.
Usually used on walls, large flagstone stencils are available at most large hardware stores. With some brown, beige, and gray (for the fake grout lines) paints, create an elegant surface for pennies per foot. According to Stencil Revolution, stenciling works best on smooth surfaces, where the stencil can sit right on the surface. Make sure to firmly attach your stencil to the concrete with painter's tape for crisp edges. With a simple cardboard box, create a contrasting diamond pattern or paint a checkerboard, add some gigantic checkers from Walmart, and transform your concrete into a game board. Concrete paint lasts about five years and covers around 200-square-feet (via MyMove).
Put a rug on it
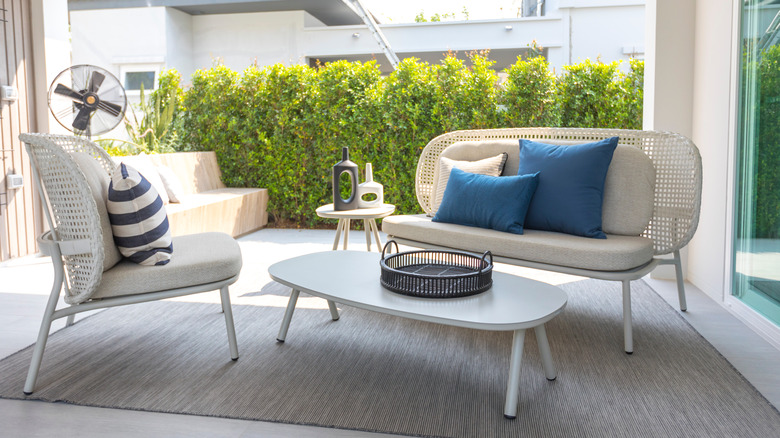
The fastest way to give a new look to an old patio is with a rug (or two or three). If there's a party, choose a stylish, durable, and easy-to-clean patio rug for the occasion. Outdoor rugs are made from different substances and weaves than their indoor counterparts, allowing them to withstand the elements. Best bets for outdoor rug materials include strong polyester and polypropylene. Often made with recycled plastics, these rugs will last for years. According to Porch Daydreamer, natural components like jute and sisal sound like satisfactory rug materials, but they are hard to clean, shed, and don't do well when they get wet.
Just like for indoor rugs, size matters. Choose colors and patterns that don't compete with your plants and landscape. When buying multiple rugs, look for bright, natural designs like this orange and blue rug from Wayfair. When using a rug to anchor an area, select a rug large enough to hold all your furniture. It's ideal to have all the pieces on the outdoor rug and make sure at least the front legs of the furnishings are set on the floor covering (via Better Homes & Gardens). Outdoor rugs typically last about three years (via Dream Outdoor Living).
Breeze blocks make decorating a breeze
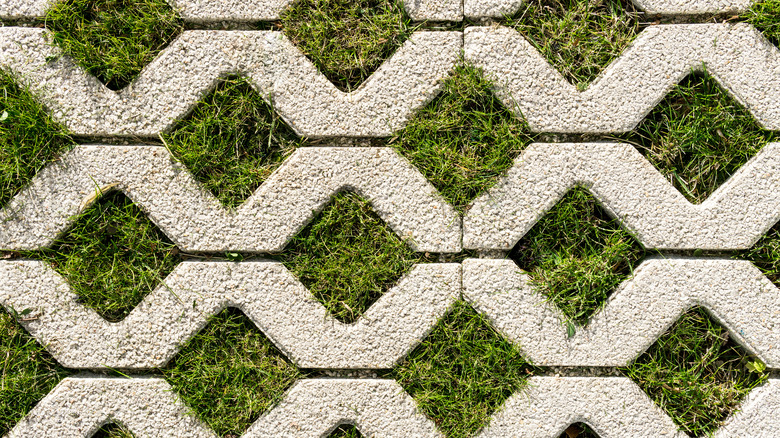
Breeze blocks, also called cinder and concrete blocks, create stunning patios. When you're looking for a way to elevate your backyard, concrete blocks may not rise to the top of the list, but they should. According to the Frank Lloyd Wright Foundation, this mid-century modern staple gained notoriety when innovative architect Frank Lloyd Wright used them. He stacked them and built with them. When laid on their side, they make a unique patio surface that can support a living lawn. To use them for your backyard, layout the design on graph paper to figure out all the supplies required (via Hunker). These strong, uniform blocks are easy to stack upon each other to make a taller patio if desired. Then mark the area with twine and stakes, leaving 8 inches around the edges for all the footings. Set up the edging, then add the layer of sand, level, and begin setting the breeze blocks.
Plain blocks like this traditional 8-inch by 8-inch by 16-inch from Lowe's are an inexpensive option. If your budget has some wiggle room, go with decorative or custom breeze blocks. Originally used to construct concrete screens and windbreaks, if the budget allows, combine them. Use them both on your patio and for their intended purpose, for an impressive outdoor scene.
Coat it with colored concrete
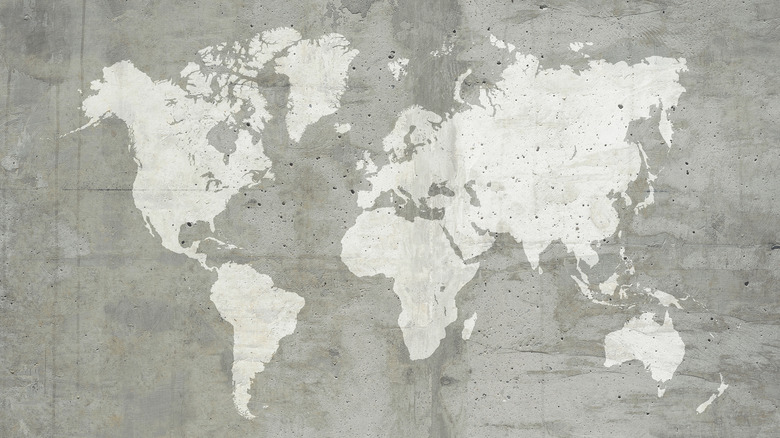
Nothing pairs better with concrete than more concrete. Freshening up old concrete has never been easier. New products offer homeowners lots of colors and finish to create a custom patio. When in doubt about color, take a cue from the style of your home and existing landscaping. Use warm tan and brown tones to blend with the rich colors of Spanish and Italian-style homes, while gray and charcoal hues go well with ranch and modern-style homes. Use bright pigment powders in rose gold and metallic jade from Hemway and let your imagination run wild. There are also blue and white photoluminescent rock additives from places like Expressions-LTD so you can make your concrete glow in the dark.
Like the other projects, the patio needs to be in good shape with cracks filled. Then, according to Concrete Network, thoroughly clean the existing space and rough up the surface to ensure the new concrete holds well. Clean it again and let it dry. Following directions on the concrete, adding color and grit, start to spread the cement layer on the top of your existing patio. Let it cure according to the directions and seal the new concrete patio cover. This coat of concrete should last about 50 years.
Dress it up with flowers and fruits
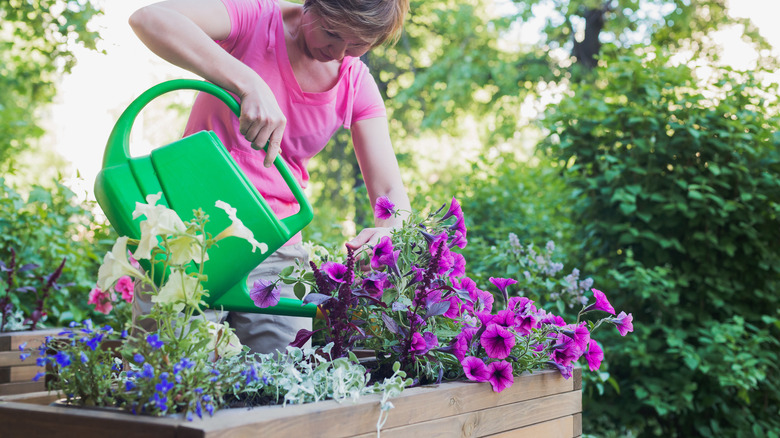
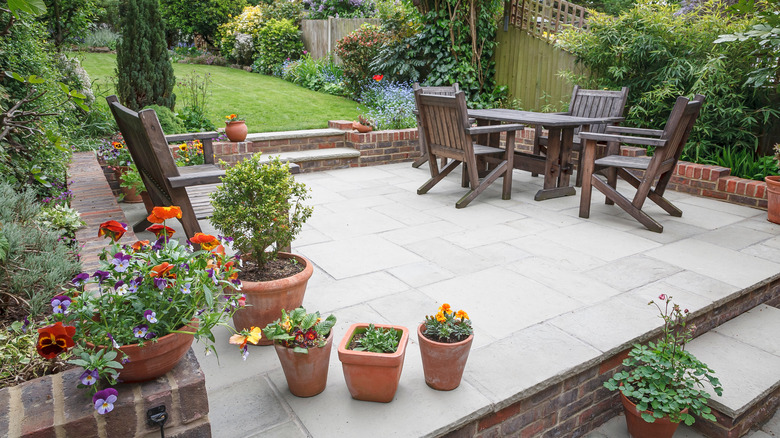
Imagine yourself relaxing surrounded by clusters of palms and tropical flowers grouped in brightly colored, glazed pots. Perhaps some wooden planters blooming with seasonal veggies could add life to your concrete patio, especially when combined with other treatments. Maybe you can first paint the concrete, add a rug, and then decorate with plants and seating to complete the look. Start by standing back and looking at your outdoor space. Then, choose a few places to cluster plants. According to P. Allen Smith, it's nice to group odd numbers of three, five, and seven containers. He cautions against grouping too many colors and textures of plants. Instead, he suggests repeating the same colors and plants, carrying one color scheme throughout.
When planting, ensure the pots have adequate drainage and fresh potting soil. Group your plants by combining a thriller, a filler, and a spiller (via Better Homes & Gardens). Start with the bright, attention-grabbing thriller (or something on a trellis) in the center of the planter, then add some fillers, low-growing and mounding plants with flowers or foliage. Along the edge, add trailing plants, the spillers, around the sides of the pot. This planting formula works in pots, raised beds, and even galvanized steel tubs. Add chairs, lounges, or benches near the flora and foliage. For wood planters and seating, look for long-lasting teak or cedar, like these at Westminster Teak.
Go with epoxy
Epoxy coating is on our list, although professional products, equipment, and installation can be pricey. However, homeowners can apply this specialty finish for a fraction of the cost. These resin-based finishes are tough and durable, lasting up to 20 years. While there are three types of epoxy, homeowners should only use the water-based epoxy as it's easy to use and doesn't give off harmful fumes. According to Better Homes & Gardens, only professionals should handle solid and solvent-based epoxies. The professional application runs between $3 and $12 per square foot (via Home Advisor). Epoxy surfaces range in price depending on additives, but a gallon of epoxy starts at about $100, which covers 300 to 600 feet (via Concrete Exchange).
When rolling on two-part epoxy paint, you'll need gardening tools like a hose, shovel, brush, squeegee, and watering can. From the garage, you'll need a degreaser, rubber gloves, drill with a stirring bit, shop vacuum, power scrubber with a long brush, paint brushes, roller, duct tape, plastic bags, respirator, and 32 percent muriatic acid (via Better Homes & Gardens). Clean any oil or grease stains on the concrete with the degreaser and brush. Then spray with a hose, power scrub, and remove extra water with the squeegee and shop vac. Grab the respirator and get ready to etch and power scrub before mixing and rolling on the epoxy coats, allowing it to cure.
Cover it with bricks
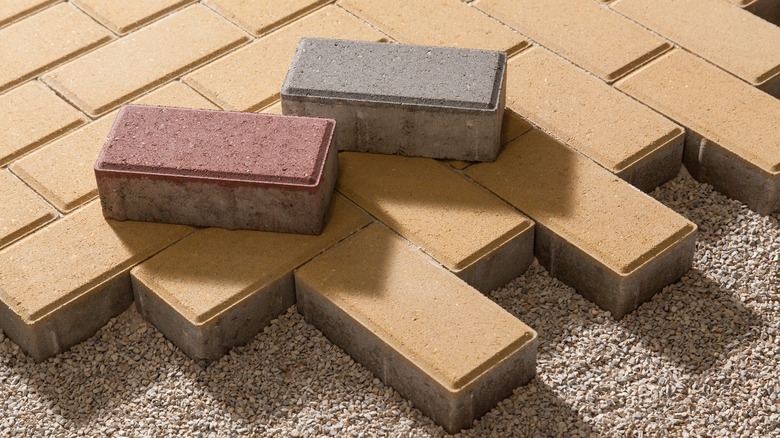
Brick projects can be as complex and intricate as desired. Homeowners can build planter boxes, pizza ovens, fire pits, and seating for backyard projects. Finding budget bricks is key to keeping costs down. On average, reports HomeGuide, bricks are $0.35 and $0.90 a brick, so a 400 to 525 brick pallet would run between $140 and $470 plus delivery. Thin engineered bricks are also a great option, available in tons of colors, starting at about seven dollars a square foot. Reclaimed bricks are costlier since they are more expensive to make and hard to find (via ACE Reclamation). To save money and time, lay your patio covering bricks in a substrate of well-drained sand, not mortar.
This project is moderate in difficulty and cost (via Family Handyman). Bricks can also go right onto the existing patio. Aside from renting the plate compactor, most items needed you probably have on hand like a chalk line kit, caulking gun and polyurethane adhesive, sturdy gloves, shovel, scrub brush, tape measure, and utility knife. The hardware or landscaping store should have bricks, wheelbarrow, sand, concrete cleaner, and screed pipe (to keep things level). The perimeter pavers are then glued to the concrete around the edge while the center bricks sit on the sand substrate.
Use exposed aggregate
Did you know that your patio has exposed aggregate just waiting to emerge? The bumpy surface of exposed aggregate blends with other landscaping features, making it a popular choice for poolsides, driveways, walkways, and patios. Those little pebbles feel great underneath the toes while keeping the surface slip-resistant. According to Everything About Concrete, contractors usually spray and brush off the top layer of cement to reveal durable, attractive little rocks for new concrete projects. Instead, we will add this layer to the top of the concrete pad. Additionally, cement and concrete are not the same things. Cement is one of the ingredients in concrete, as concrete mixes cement and aggregate.
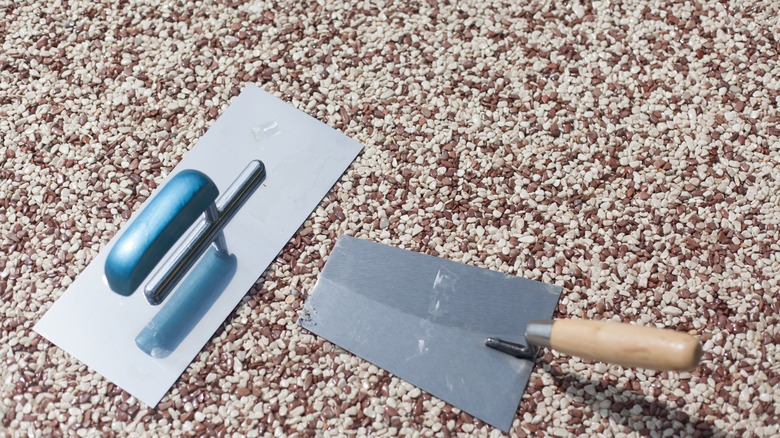
To coat an existing concrete patio, apply an overlay of aggregates. Once you're ready to start, pressure wash and patch the concrete and apply a primer (via Concrete Craft). There are many different types, colors, shapes, and sizes, including this Spread Rock from Home Depot. Apply the aggregates with a trowel or squeegee. Once you spread the pebbles, wait 24 hours before applying the sealer. Keep the aggregate patio clean by regularly spraying and re-sealing each year.
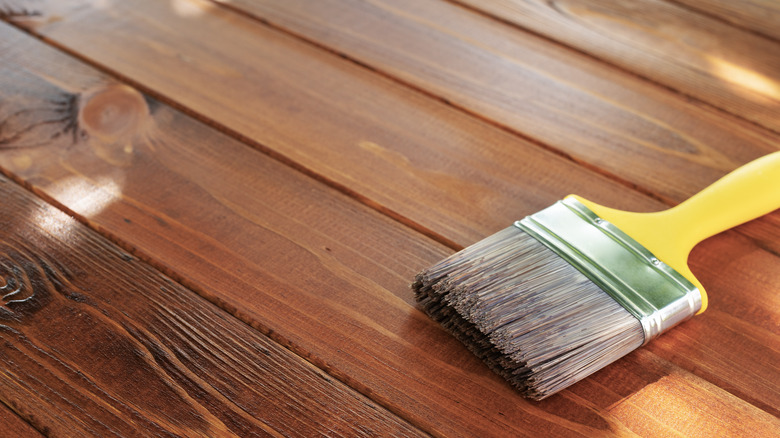
Stain or etch it
Another way to spruce up your outdoor space is by applying water-based concrete stain. The hardest part of staining your patio may be choosing your color or color palette. According to Lowe's, one gallon of exterior concrete stain costs about $35 and covers 75 square feet. Unlike most other coatings, stains add a semi-transparent layer to the concrete, allowing the texture of your patio to be visible underneath. Instead of staining the whole space one color, use a diamond blade to cut kerfs — those small lines — into the concrete to form a geometric pattern (via Family Handyman). Use two different tones on the patio to elevate the entertainment area.
Applying a stain is as simple as wetting the concrete and spraying. That's it. If the first coat does not darken the concrete as desired, you can apply another layer. Acid staining, also known as etching, is one of the oldest ways to color concrete. Since each concrete batch is different, the etching will create different colors when sprayed on the concrete (via Direct Colors). Be sure to check a small area before coating the concrete. When finished, thoroughly rinse the area before letting it dry. After 24 hours, apply the sealant, let it dry, and start enjoying your pad.
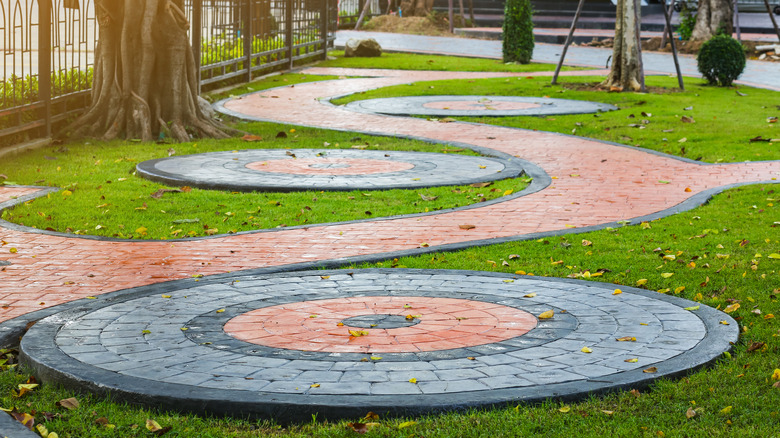
Opt for concrete stamps
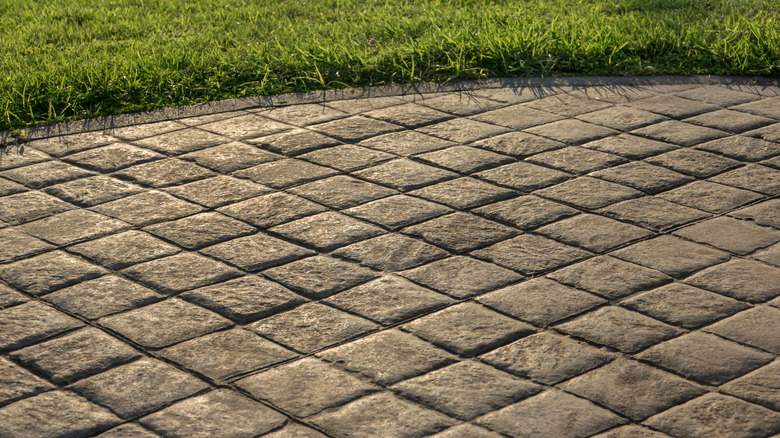
To achieve the look of tile, brick, and stone for pennies on the dollar, create an elegant faux finish with concrete stamps. Stamping is a popular concrete upgrade made of sturdy polyurethane. While stamping concrete isn't difficult, this project is for the confident Do-It-Yourselfer. Once the top layer of concrete is poured and smoothed, stamp the concrete before it sets. According to wikiHow, timing the stamping is essential and should be completed promptly. Lay at least ¼-inch and up to ¾-inch of concrete for stamping, depending on your stamp or stamps (via Hunker).
Now, the stamps are the most expensive part of this project. Just one can work for repeating patterns like brick and herringbone. Replicating flagstone, slate, or rock finishes is more successful and looks more professional when using a set of stamps. Available at contractor and concrete supply stores, they are usually 2 to 3 feet wide. Starting at about $200 each, you can purchase them in sets of coordinating sizes and shapes, like these from GlobMarble, which also sells stamp sets. Some places like Sealant Depot let you rent concrete stamps.
Make concrete tiles
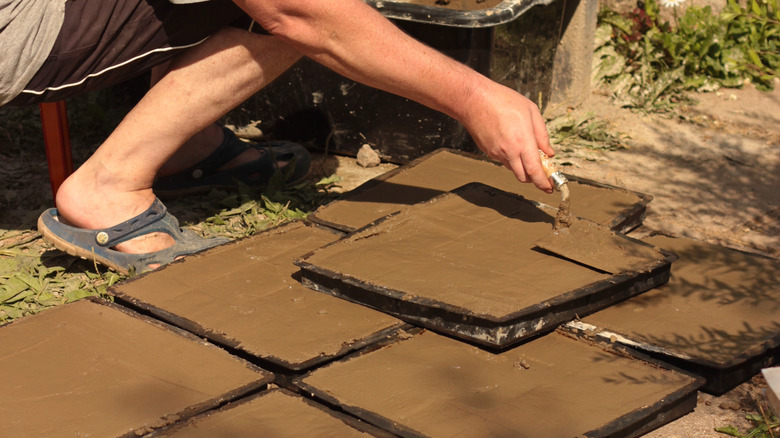
The ultimate DIY project could start with pouring rubber forms for making concrete tiles, as reported by SFGate. However, silicon and plastic tile molds are easy to find at most big box or home improvement stores. Household items like baking sheets, square and rectangular cake pans, and even rectangular plant saucers make quality tile molds. A trip to your thrift or second-hand store can provide tile inspiration. No matter the type of mold, use a release agent to make the tile easy to remove (via Concrete Construction). Depending on the mold material, oils from petroleum, lanolin, vegetable oil, and paraffin help keep the concrete from sticking.
Create your tiles by covering the area with a tarp and laying out your molds (via HomeSteady). Of course, using more molds means you will need to make multiple tiles. Following the directions on the concrete, mix the dry concrete and water in a 5-gallon bucket with a shovel, hand shovel, or wooden spoon. After thoroughly mixing, pour the concrete into the mold and tap it to remove any air bubbles. Let it dry at least overnight or as the instructions advise. Then, flip the bricks onto the tarp and marvel at your handiwork. Arrange the concrete tiles on the patio before mounting them. Glue these homemade works of art onto the pad, set them in the sand, or secure them in mortar.
Grow some (artificial) grass
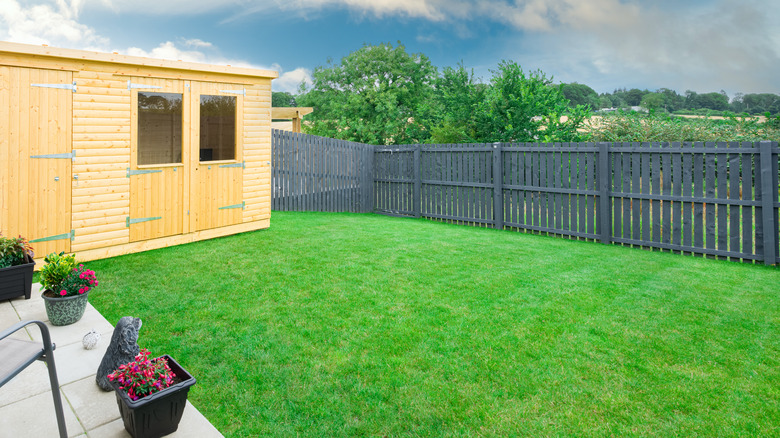
With no maintenance, mowing, or watering required, artificial grass is one of the most budget-friendly options on our list. According to LawnStarter, an artificial lawn costs between $5.50 and $18.75 per square foot, while installation averages $12.33 for every square foot. Artificial grass is an ideal covering for a concrete patio (via ArtificialGreens). To avoid installing a layer of foam, choose a plush rubber grass like this one from Rubber Flooring, costing about $3.00 for a square foot.
The only tools required for installation are a hose, broom, sharp knife, and accessory for spreading the turf adhesive. Gather the artificial grass, underlayment if you're using it, grass glue, and artificial turf joining tape. Scrub clean and let your patio dry completely. If installing foam, unroll it, cut it to fit, and use masking tape to hold it together. Mix the glue and apply 2 to 3 mm to the joints and perimeter of the concrete. Follow this process for installing the faux lawn. Just think! It's the last time you will have to cut this lawn. Let the glue dry a few hours before walking on it. Then sprinkle in some sand to add weight. Finally, brush out the grass to lift the fibers.
Install a deck
Decking? Maybe inexpensive and decking don't always go together, but covering a patio is much cheaper than constructing a deck from scratch. This project is affordable and perfect for the DIY-er with gumption who is confident using power tools. Before you build a deck, choose between wood and composite decking. While wood is cheaper, it is prone to aging and damage. Composite decking is more expensive but will last longer. According to Family Handyman, treated deck lumber runs about $1.50 per square foot, and composite wood products can run more than $10 per square foot.
While you can install decks directly into the concrete, wood decks need support underneath. Adding some lift ensures proper drainage and brings some attention to your latest project. Put in boards called sleepers under wooden decks and keep them no more than 12 inches apart (via All-Pro Decks & Patios). Then attach them to the concrete by drilling holes and putting in plastic anchors to hold the concrete bolts.
Create a pet-friendly patio
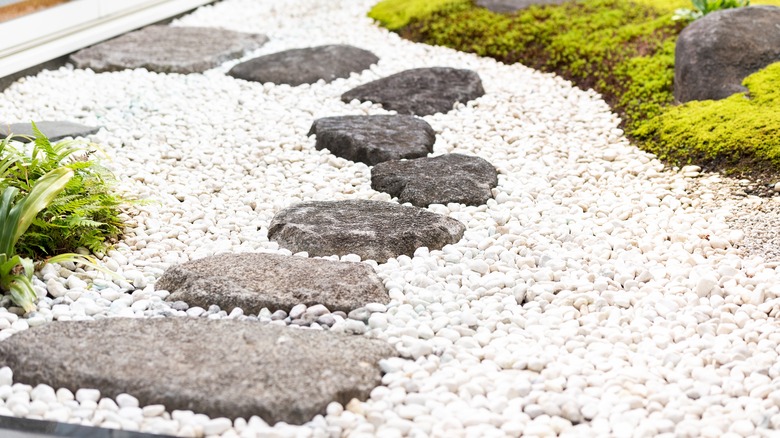
No one wants those yellow spots on the lawn from King or Bailey. Rather than using a pad or a mat, create an attractive rock and stepping stone pet area on your concrete patio. Designing a pet-relief patio allows you to use a few patio upgrades to create a modern look. Concrete stepping stones, made in round plastic plant saucers or aluminum kitchen pans, make it easy to incorporate several sizes of circles into this design. Use concrete tiles, concrete border pieces from Lowe's, or aluminum edging from Wayfair if adding artificial turf into your design. The first step is to sketch and plan your project. Don't be concerned about your pup in a cement bathroom. According to Wag!, it's not too difficult to teach your dog to pee on concrete.
Use pea gravel between stepping stones (via Mi Dog Guide). These small pea-size pebbles are gentle on your pup's paws and easy to cool with a spray from the garden hose. Speaking of the garden hose, use a hose to help envision and design the path for the decorative stones (via Lowe's). When ready, layer the patio with sand. Then, place and insert the stepping areas flush with the sand. Use different sizes of smooth stones for visual interest. Dress up the patio with potted plants before introducing your dog to his new digs.