DIY Weed Killer That's As Good As The Store Brands
Weeds most definitely spoil the look of any well-kept garden. Depending on the time of year, weeds can become rampant, and keeping on top of them can feel like a full-time job. Unsurprisingly, many homeowners do not like the idea of using harsh or unknown chemicals in their garden, especially if they have children or pets to consider. Alternatively, a homemade remedy can be both kinder to the environment and safer for your family.
There are plenty of cheaper, easier, and safer DIY alternatives that you can make at home, which are just as good, if not better, than their chemical-packed counterparts. Hello Gardening pointed out that the great thing about making your own weed killer is that you know exactly what ingredients it contains, ensuring peace of mind if you have little ones playing in your garden.
The Spruce had a warning though: Some homemade weed killers can change the composition of your soil and will kill whatever they touch, so be careful around lawns and plants you intend to keep.
Boiling water

This is undoubtedly the cheapest and easiest method, as it requires no mixing of ingredients and it won't alter the composition of your soil. It is also environmentally friendly and unlikely to cause any kind of permanent damage.
It really is as simple as boiling your kettle and pouring the hot water directly onto your unwanted weeds. Be sure to saturate the area so that the boiling water goes all the way down to the taproot, said Peppers Home and Garden. Also, be sure to wear long sleeves and trousers and keep your feel well covered to prevent burning yourself.
For the best results, try to cut as much of the foliage away as possible first, so you can target the boiling water straight to the roots. It may require multiple applications over several days to completely kill the weed; therefore, if you have a large area that needs treating this might not be the best method for you. However, if you only have a few weeds this method is very effective.
Salt and vinegar
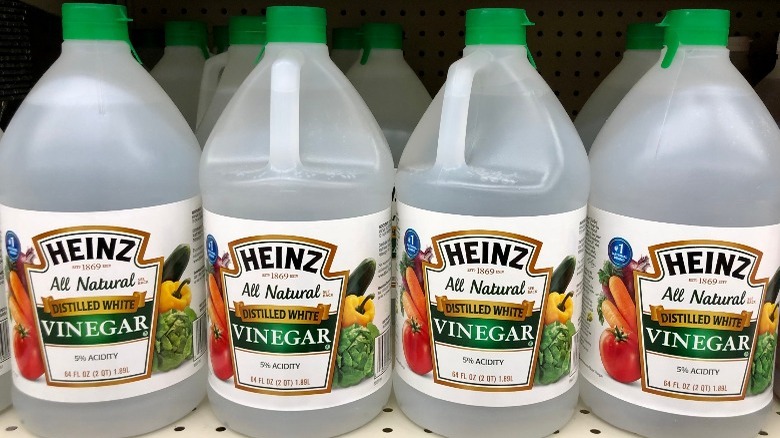
For this method, you ideally need 5% white vinegar. Be sure not to use anything over 30% as this can be dangerous and may cause chemical burns to the skin and eyes, notes The Spruce. Plus, it can ruin your soil, so do take care to read the label when purchasing the vinegar.
You will need 1 liter of 5%white vinegar, 3 tablespoons of salt, 3 tablespoons of dish soap, and a spray bottle. Measure the vinegar and salt into the spray bottle and shake it well until all the salt has dissolved into the vinegar. Then add the dish soap, shake again and it's ready to use. Hello Gardening suggests that to get the best out of this method, apply the weed killer on a dry day before the sun gets too hot. They also note that this weed killer is very strong and may affect any surrounding plants that it touches. Additionally, it will turn your soil a little acidic for a short time, so be extra vigilant with your application.
Lemon juice
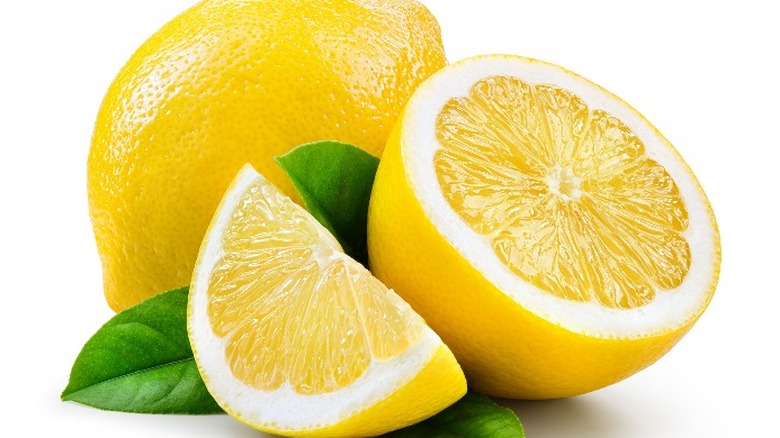
For this method, you only need undiluted lemon juice, either freshly squeezed or from a bottle. Citric acid is great for shriveling small weeds and this option is perfect for the edges of pavements or between paving slabs. Pour the juice into a spray bottle and squirt generously onto the leaves and roots, enough to saturate them.
Happy DIY Home pointed out that sunlight reacts with citric acid and speeds up the process, so it's best to wait for a hot, dry day and apply the lemon juice when the sun is high in the sky. It should take a couple of days for the weeds to shrivel up and die off. Like the other methods though, lemon juice will also damage nearby plants, so remember to be careful when applying it.
If you find that lemon juice alone doesn't seem to be fully working on some of the weeds, you probably need something a little stronger. Mix the lemon juice with the same quantity of white vinegar and that should be strong enough to tackle any hardier weeds.
Essential oils

Certain essential oils, such as clove, nutmeg, or cinnamon oil make excellent weed killers due to their high content of eugenol. Soulful Sister had a useful suggestion for killing weeds using essential oils: Combine 2 liters of water, a tablespoon of dish soap, 15 drops of clove oil, and 15 drops of peppermint essential oil in a spray bottle. Shake vigorously to mix all the ingredients together, and remember to keep it well agitated while you use it, otherwise the ingredients will separate and the oils will float to the surface.
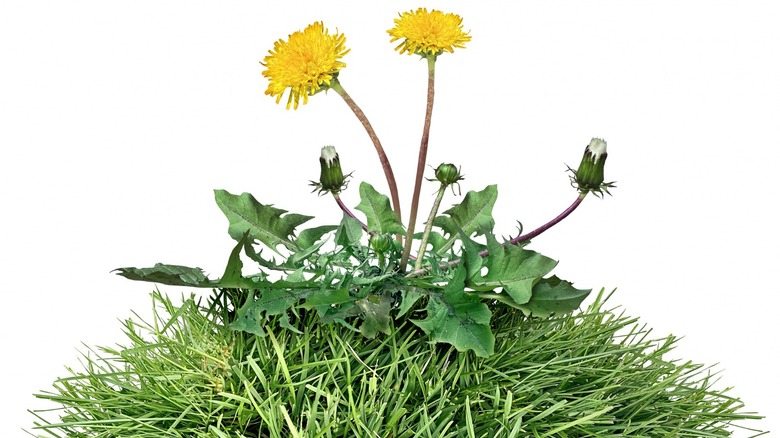
Cut down the bigger leaves and foliage first, so the mixture can penetrate the roots more effectively, then spray the oil mixture all over the weeds. You should see the smaller weeds shrivel up in a couple of hours, while bigger, hardier weeds like dandelions will more likely take a couple of days. This solution will linger in the soil for some time after application and may kill any neighboring plants, so take care when spraying it around your garden.
Prevention is better than a cure
Another practical option is to suppress weed growth altogether. If you have a problem with weeds coming through under gravel, decks, or decorative chippings, or you have large areas of weeds that need to be removed, then one effective solution is to deprive the area of sunlight, which prevents the weeds from being able to grow.
One of the best ways to do this is to lay tarpaulin down. SFGate states that using black tarpaulin has a 100% success rate at killing all weeds. Using tarpaulin under gravel and chippings will most definitely stop pesky weeds from poking through, and laying large sheets over areas full of weeds and weighing the edges down will kill all the weeds underneath if left down long enough.
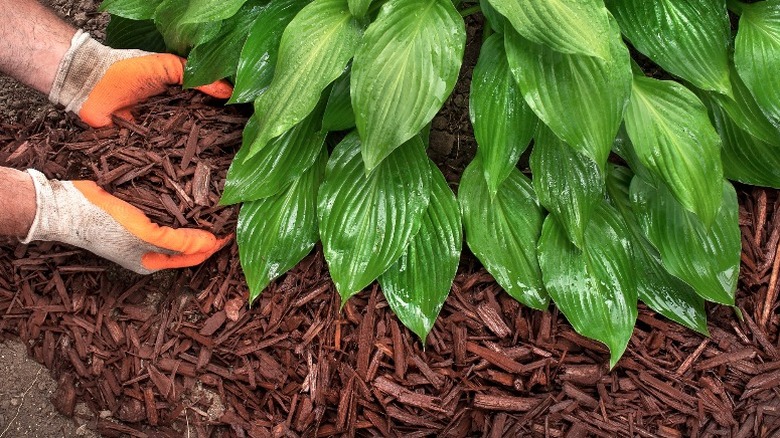
Fine Gardening suggested that in some areas, another good option would be to use mulch. Make sure it's at least 2 inches thick to prevent sunlight from getting through to the soil. Mulch also has the added benefit of being home to certain insects that eat weed seeds, so any seeds that happen to blow into your garden or are dropped by birds should be quickly taken care of. If you do find the odd weed growing in the mulch, be sure to pull it out quickly before it can take proper anchor in the soil underneath.