How To Install Subway Tile Backsplash
When designing or renovating your kitchen or bathroom, you'll likely be faced with the somewhat daunting task of choosing and installing a new backsplash tile. While a great way to make a visual statement, backsplashes are also an incredibly functionally important aspect of kitchen and bathroom design. According to The Spruce, a backsplash prevents the walls in your kitchen from being damaged by splashing water, knives, and other shuffling objects, and is important for your bathroom if you have a sink against a wall that could be damaged.
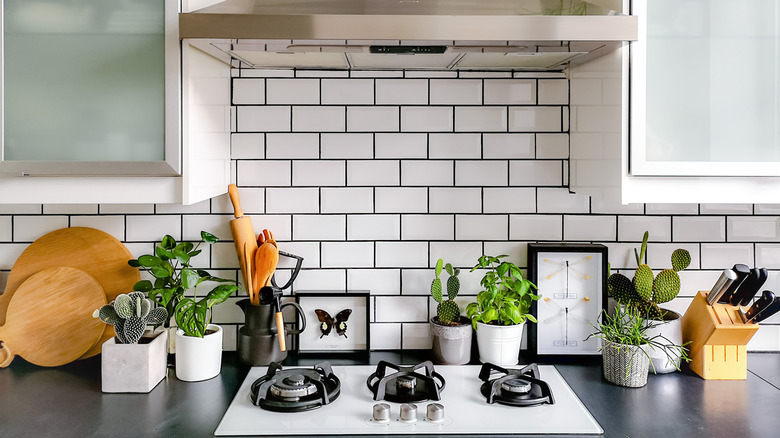
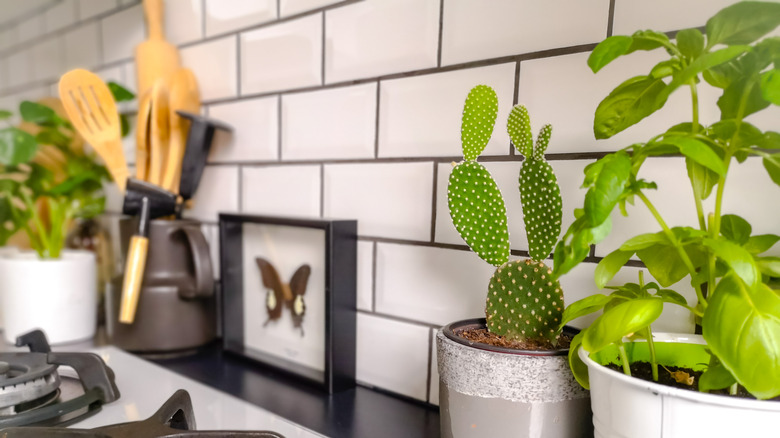
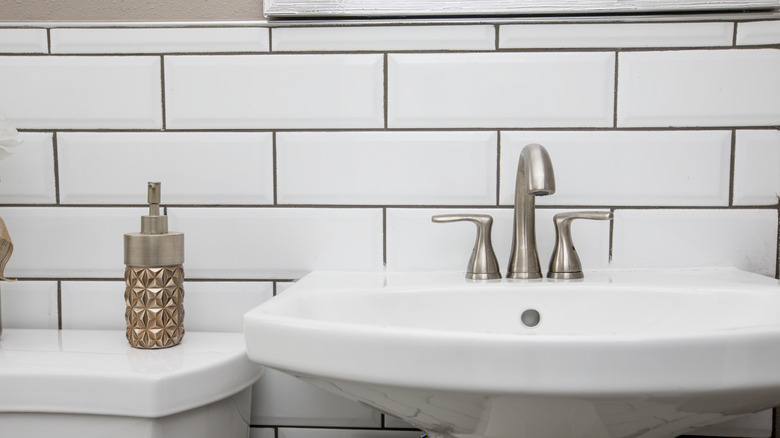
One style of backsplash that's equal parts classic, timeless, and trendy is subway tile. Authentic subway tiles are often found in historic homes. My Domaine notes that they started being introduced in homes during the Victorian era, also seeing popularity spikes in the Art Nouveau and Art Deco movements.
So, what are subway tiles? They're often 3-inch by 6-inch rectangular tiles stacked in alternating patterns, most commonly in white with white or black grouting. They are readily found at hardware stores, and while you can outsource someone to install them during your next kitchen or bathroom remodel, they are just as easy to install yourself.
1. Decide what kind of tile to install
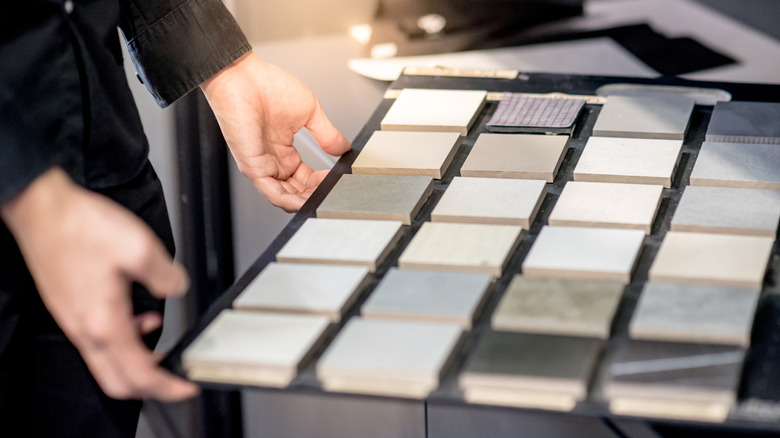
Subway tiles tend to have a uniform and universal look, but there are still many decisions to be made while shopping for them. The first thing to decide is what color to use in your space. While white is traditional, it isn't the only option. However, colored or patterned tiles typically cost more money. You should also start considering grout colors. A dark grout will look nice, it may prove more difficult than light-colored grout because, as the Family Handyman warns, a high contrast grout will make installation imperfections more obvious.
Next, consider the material. According to Remodelista, traditional subway tiles are made of thin, glazed ceramic. However, you can also find them in porcelain, stone, glass, marble, and many other materials. Finally, decide if you want to install individual tiles or mosaic sheets. Individual tiles are cheaper, costing around $1 per square foot at Home Depot, but leave more room for error with installation. Meanwhile, mosaic sheets are much easier to install, but more expensive, at around $5 per square foot at Home Depot.
2. Prepare the tiling area

Now that you know what kind of tile style, color, and application process you're planning to use, it's time to prep your walls. Family Handyman warns that whether you plan to use permanent tile or mosaic, the wall behind your subway tile needs to be waterproof to prevent moisture and water damage. Therefore, installing a tile backer board made of either cement, fiber, or glass mat gypsum is recommended. Alternatively, water-resistant drywall works as well, per Family Handyman.
Once you've ensured your wall is water-resistant, it's time to prepare it for the tiling. If you're applying your tile to drywall, make sure the drywall is smooth and repair any holes, advises Love & Renovations. Make sure to thoroughly clean your walls as well to prevent any installation difficulties. Remove any outlet or light switch covers. Finally, tape off the areas you don't want tile adhesive to get on with painter's tape.
3. Plan out tile placements
Whether you're using individual subway tiles or mosaic sheets, it is generally a bad idea to start randomly placing tiles without first planning it out. Crafted Workshop recommends using aluminum Schluter strips to plan out your tile placement. This product is beneficial, as it will give you a three-dimensional visual of where to start and stop tile placements, as well as give a nice edge finish to the final product.
If you don't want this look, make sure to measure your wall and do some calculations to figure out how much of your tile or mosaic you can fit and what needs to be cut. Painter's tape can also help you map it out; just make sure you don't install tile over the tape.
For mosaic tile sheets, dry-fitting is also recommended, in which you tape the mosaic to the wall. This will help give you a visual idea of how to space your tiles, as well as help you see what and where you'll need to cut to fit around outlets, sockets, etc.
4. Install the tiles
The last step is to install the tiles. To do this, you'll need your tiles, tile adhesive, and a tiling trowel, explains Love & Renovations. There are a few different types of tile adhesive, but the consensus seems to be that pre-mixed adhesive or thinset is much easier to work with, even though it's pricier than other options.
Using the tiling trowel, evenly but generously apply the tile adhesive in small sections, about 3 to 5 feet at a time to avoid it drying out. Once your adhesive is applied, use the notched side of your trowel to create ridges, which will help the tile stick better.
Then, simply lay your tile. For mosaic sheets, just lay them down and press firmly, cleaning up excess adhesive as you go, advises Crafted Workshop. They also recommend leaving a small gap between the counter and wall for caulking. In between tiles or sheets, use tile spacers for a more even appearance, removing them once finished. Once finished laying the tiles and removing the spacers, apply grout over the sheets or tiles, following the instructions for that particular type of grout. Finally, use silicone caulk to fill in the gap between the counter and tiles, replace outlet and socket covers, and you have a trendy new subway tile backsplash.