How To Deep Clean Your Baking Trays
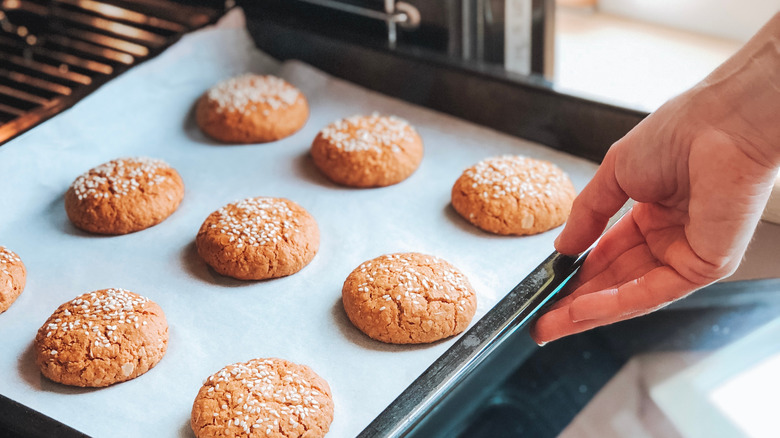
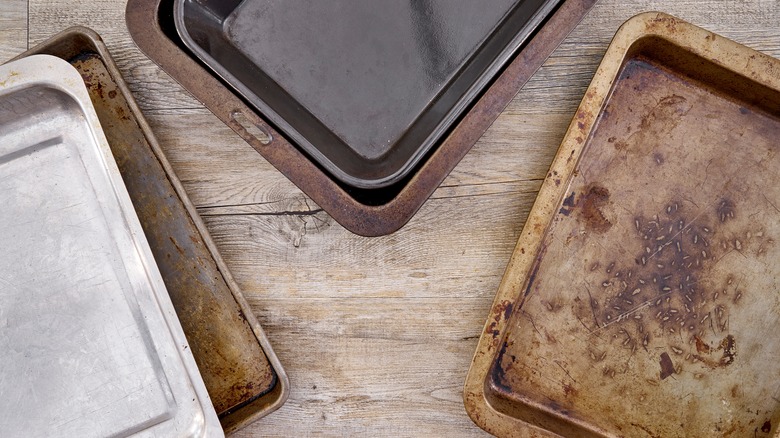
Baking trays are the workhorses of the kitchen. Whether you're baking chicken, roasting vegetables, or making a late-night batch of cookies, baking trays can do it all. Food Network shared more than 50 recipes you can make on a baking tray, and that's not even a fraction of the possibilities. With all of their use, it is no surprise that baking trays often look worn out, grimy, and–frankly –- a little gross.
If you wash your baking trays after every use, but they still seem to look dirty, you're not alone. Baking trays, while extremely useful, are notoriously difficult to clean. If you're someone who appreciates the look of wear and patina and prides yourself in bakeware showing its use, then keep doing you. But if you are someone who scrubs your trays until your hands start to prune to no avail, then keep reading. We have compiled some tips and tricks to help you clean even the most challenging stains, and you probably have some of the products in your kitchen already.
Why do they get so dirty?
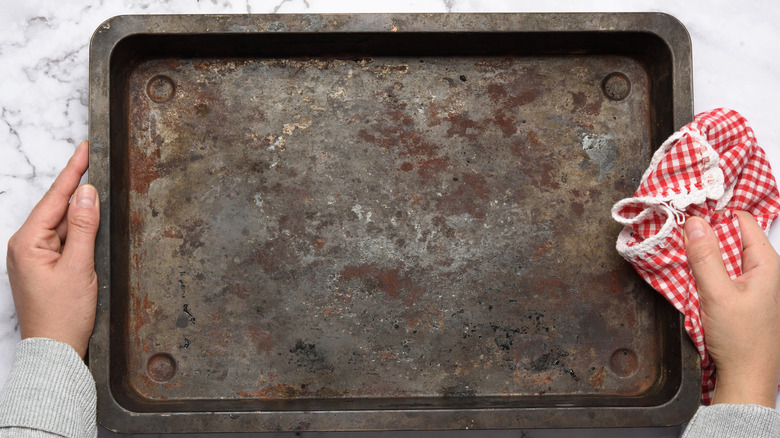
No matter how often you wash them -– or how careful you try to be -– baking trays always seem to look dirty. Besides the fact that they are used with almost every recipe, baking trays stain so easily because of what we are cooking combined with a little bit of chemistry.
Taste of Home says its recipe for roasted vegetables will result in "flavorful, crisp, and healthy" vegetables that will be a great addition to your meal. The recipe doesn't, however, say that it will also result in dark, greasy, impossible-to-clean stains on your trusty baking tray. This is because two pillars of vegetable roasting are the use of oil (usually olive oil) and cooking the vegetables at high heat to get a tasty char. The experts at the North American Olive Oil Association explain that the smoke point for olive oil is 350 to 410 degrees Fahrenheit. And while cooking within the range of olive oil's smoke point won't make you sick or damage your body, we can't say the same for your baking trays. If the residue from olive oil cooked at a high temperature isn't cleaned thoroughly after use, it will smoke and bake on again the next time you use it, and so on. It's a vicious cycle that usually ends up with your baking tray in the trash.
Are the stains dangerous?

Short answer: no. The stains that cover baking trays are only cosmetic and won't hurt you. There are questions, however, about the safety of the baking tray itself. In an attempt to avoid the need to scrape off bits and pieces leftover on your baking tray, many opt to purchase nonstick cookware. However, the chemical that makes the product nonstick is a bit controversial.
Polytetrafluoroethylene (PTFE), better known as Teflon, is the plastic, waxy coating on bakeware and cookware that makes it nonstick, as per Live Science. "When pans are overheated, that PTFE coating begins to disintegrate," says Suzanne Fenton, a reproductive endocrinologist at the National Institutes of Environmental Health Sciences. When it disintegrates, it releases perfluorooctanoic acid (PFOA), which has been linked to a number of cancers, thyroid conditions, and infertility issues (via The National Library of Medicine). In general, Teflon pans are safe. But to avoid any potential PFOA exposure, experts recommend not using nonstick trays over 500 degrees Fahrenheit and to throw your tray away if you notice the Teflon coating beginning to flake off.
Start with soaking
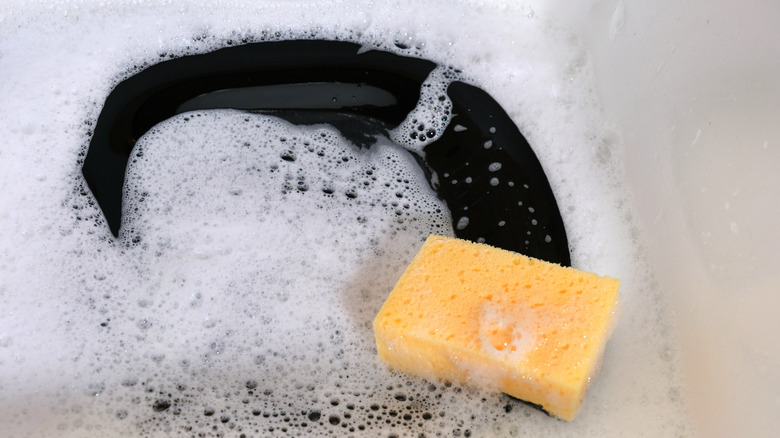
Soaking is a popular strategy in dealing with a particularly dirty tray. But did you know there is an art to soaking? That's right. You shouldn't just soak pots, pans, and baking trays until you finally feel like doing dishes. (Does anyone ever feel like doing dishes?) It turns out dishes should not be soaked for longer than an hour, and some foods should not be soaked at all.
Melvin Pascall, an Ohio State professor of food science and technology, explained to The Washington Post the science of soaking dishes and when it is and isn't helpful. Pascall explained when we cook food, we remove the water in it. And when cooking at higher heat, the food pieces left behind "polymerize" and become like plastic. "If you soak in water, then what you're trying to do is reverse the process," Pascall said. But soaking doesn't work for everything. While soaking can break down leftover bits from fruits, vegetables, and sugar, it does not work as well on fats. However, if you add some dish detergent and baking soda to the soak, those stains will lift a little easier.
Choose the right cleaning product
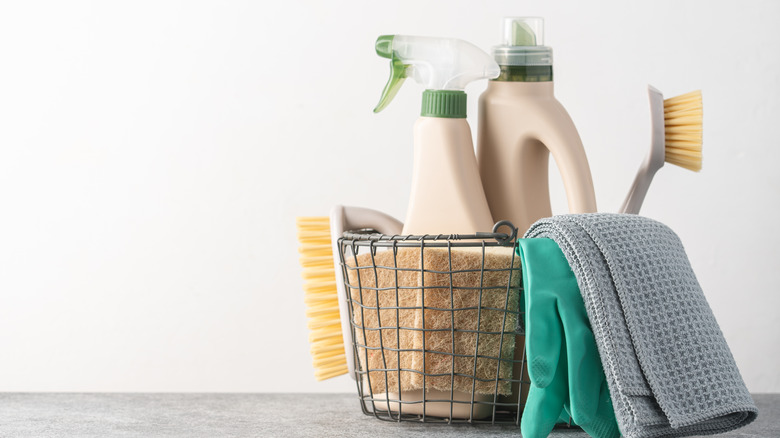
Everyone has their go-to cleaning products. My mother-in-law insisted that Bar Keepers Friend could remove any tough stain. Others think you're not really cleaning unless you're using Lysol. When choosing which cleaning product to use, you must first consider the kind of mess you're trying to clean.
According to the Canadian Institute of Food Safety, there are four types of cleaners: detergents, degreasers, abrasives, and acids. Detergents are used for everyday cleaning. Degreasers cut through grease. Abrasives use their coarse texture to scrub away stuck-on food particles. Acids are the strongest cleaning agents and can be used to tackle the toughest messes and stains. To deep clean your baking trays, you will probably need to use a combination of all four kinds of cleaners. For example, Taste of Home swears by Goo Gone Kitchen Degreaser for removing burned food from trays, and The New York Times recommends using baking soda as an abrasive.
Utilize the baking soda in your pantry
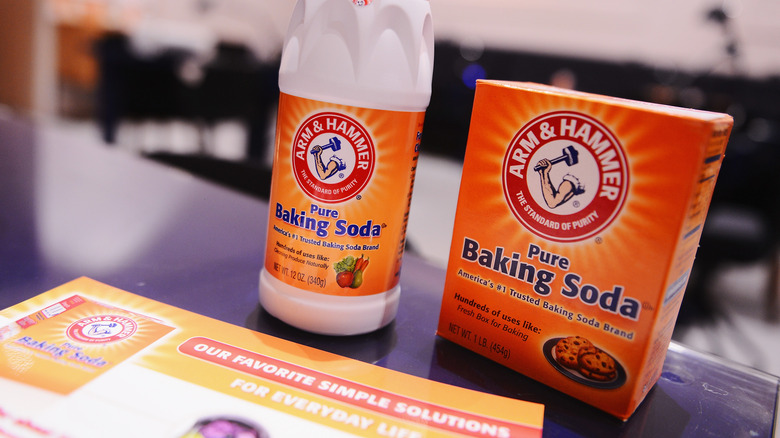
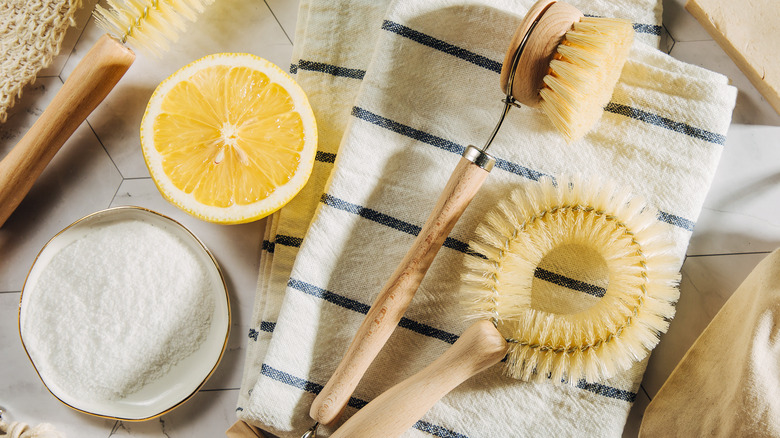
Baking soda has a multitude of uses in the kitchen and beyond. First produced in 1791 by Nicholas Leblanc, baking soda can be used to whiten teeth, polish silverware, kill weeds, extinguish grease fires, treat heartburn, relieve sunburns, and of course, clean and bake, as per Healthline. Beyond its many versatile uses, baking soda is also a favorite for cleaning because it gets the job done without the use of harsh chemicals.
There are a few ways to utilize baking soda to tackle the stubborn stains on your baking trays. First, you can try sprinkling the baking soda on the tray and rubbing it in using a damp sponge. The coarse texture from the baking soda will break off burned bits of food left over from your cooking or baking (via Express). Because baking soda is on the base end of the pH scale, it bubbles and releases carbon dioxide gas when it is mixed with a more acidic liquid, like vinegar (via Live Science). The carbon dioxide gas will lift stains and grime from the tray.
Acidic vinegar always helps
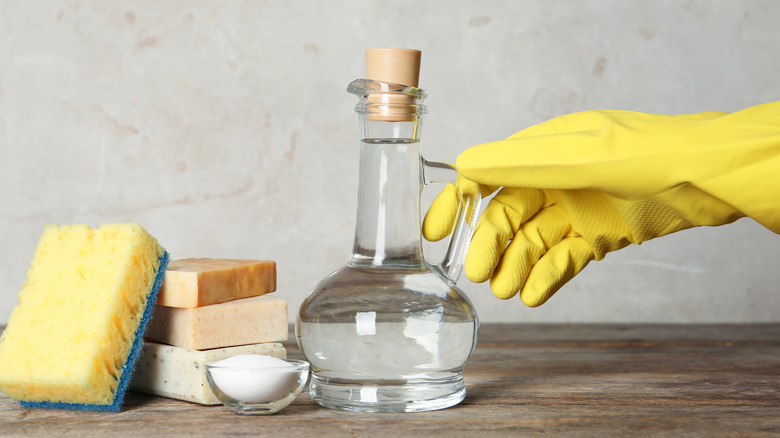
The acidic nature of vinegar makes it a great tool for breaking down difficult messes and stains, which means it is a great option when you are trying to deep clean your baking trays, as per Homes & Gardens. Beyond its strength and acidity, vinegar is loved by many because it's a safe and natural cleaning agent. If you like to avoid using harsh chemicals on surfaces you cook on, why not use a product you can cook with? And when mixed with baking soda, vinegar is one-half of a safe, effective cleaning team.
What is the perfect ratio for this tried and true cleaning concoction? Bon Appetit recommends filling your sink with hot water and ½ cup of baking soda and 1/2 cup of vinegar. Soak the tray for 30 to 60 minutes, and then scrub in circular motions with an abrasive sponge or steel wool pad. Once all of the burned-on food is loose, wash the tray with warm water and soap, rinse, dry, and voila! Your baking tray should be shining like new.
Use the hydrogen peroxide in your medicine cabinet
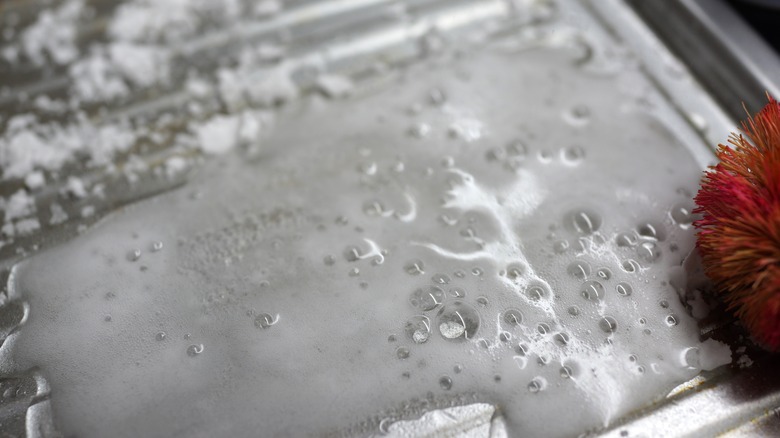
If the baking soda and vinegar combination did not do the trick, you might need something a little stronger. Hydrogen peroxide is another nontoxic, versatile product that will help in your journey to clean baking trays. And the best part is you probably have a bottle of it stashed in your medicine cabinet. According to ReAgent, the chemical properties of hydrogen peroxide have made it a household staple since the 1950s, and it seems like new uses are being found for it every day. While we all know that it is disinfecting (I have vivid memories of my mom pouring peroxide from that distinct brown bottle over my newly skinned knee after falling off my bike), it also is very helpful for cleaning tough stains.
Hydrogen peroxide is composed of an unstable oxygen bond, and when that bond breaks, it releases water and oxygen, creating a fizzy foam. When combined with baking soda, it creates a strong enough paste to clean the toughest stains — like those on your baking trays — while still nontoxic and relatively harmless. Disclaimer: Only use the hydrogen peroxide/baking soda paste when cleaning aluminized steel trays. It will ruin the finish on your aluminum or nonstick pans (via WebstaurantStore Blog).
This method only works when given enough time to break down the food particles on the tray. First, create a paste by mixing baking soda and hydrogen peroxide. Spread the paste all over the tray's surface and let it sit for two to three hours. Once the paste has worked its magic, wipe it off and then wash the tray in the sink like you normally would.
Add a little elbow grease

No matter how strong the cleaning agent is, every method requires some scrubbing. While the manual labor aspect is often the most difficult step in the deep cleaning process, there are things you can do to make it a little easier. While it is tempting to haphazardly grab the first sponge you see or whichever one is on sale, purchasing the right kind of sponge can make cleanup so much easier. First, think about the task at hand. Since we are deep cleaning baking trays, we will need something durable and abrasive to get those baked-on messes off.
A scouring pad is a good option because it has the strength and durability of steel wool, but won't scratch or damage your stainless steel or nonstick baking trays in the process. You may also want to purchase a scraper, as per CNET. It is plastic, so it won't scratch your trays, but it is strong enough to help get the burned pieces off before you go in with the baking soda. And while you're doing all of this scrubbing, don't forget to protect your hands! While we have provided nontoxic options for deep cleaning your baking trays, frequent dishwashing can result in dry, cracked hands. Epicurious recommends investing in some dishwashing gloves, and don't forget to moisturize!
Utilize your self-cleaning oven
The self-cleaning oven was a brilliant invention. Instead of scraping and scrubbing the burnt cheese that slid off your frozen pizza three months ago and is now a black blob at the bottom of your oven, you can turn on the self-cleaning cycle, and your burnt pieces will be turned to ash that you can easily wipe away. And while you're at it, throw your baking trays in there.
First for Women shared this cleaning hack that Reddit user Chris Culbreth discovered. And it's hard to argue with the before and after. After a couple of hours in the self-cleaning oven, his baking trays sparkle like new! And the best part is that there was no scrubbing necessary. However, this hack will only work on metal baking trays. Reader's Digest says temperatures can get as high as 900 to 1,000 degrees Fahrenheit during the self-clean cycle, which is way above the temperature your nonstick baking tray can handle.
Think outside the box
If the traditional cleaning methods aren't working, it's time to think outside the box. Avid bakers will recognize cream of tartar as a baking essential and a key ingredient of baking powder. But cream of tartar is also a powerful, natural cleaning agent that can help deep clean your baking trays. Cream of tartar can be mixed with water, baking soda, vinegar, or hydrogen peroxide to clean a multitude of messes, including rust stains, scratched dishes, and stains in your bathtub or tile, reported Quick and Dirty Tips.
To clean the stuck-on food and stains on your baking trays, Cook Clean Repeat recommends creating a paste using cream of tartar, washing soda, and a splash of hot water. Spread the paste across the tray and let it sit for 15 minutes. Then scrub! Another non-chemical cleaning agent is lemon juice. Its acidity makes it great for cutting through tough grease stains.
Grab a dryer sheet
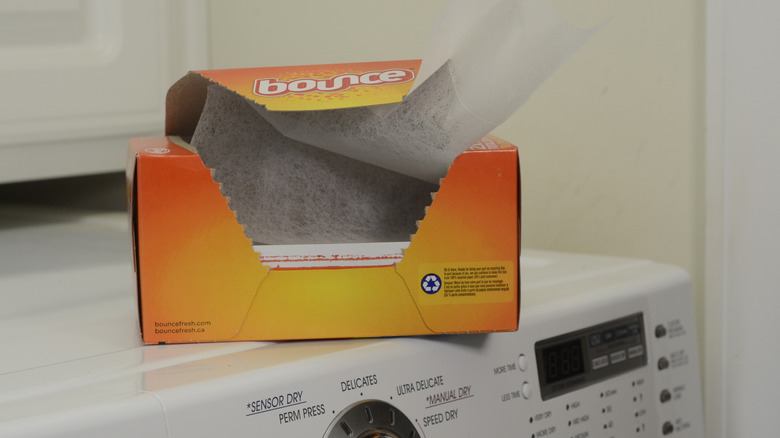
Another outside-the-box option for deep cleaning your baking trays is sitting in your laundry room. That's right, dryer sheets could be the silver bullet to save your scorched, grimy baking trays. At first, I assumed that you were supposed to scrub the tray with the dryer sheet because of its coarse texture. But this tip actually requires no scrubbing at all!
Today explained that the conditioner in the dryer sheet helps to soften and break down the caked-on food left on your baking trays. All you need to do is fill the tray with hot water and place the dryer sheet on top. You can let it sit for as little as 10 to 15 minutes, or as long as overnight. When you go back to wash it, all of the baked-on bits and pieces rinse away and the rest should lift easily when washing with warm water, soap, and a sponge.
What not to use when cleaning trays
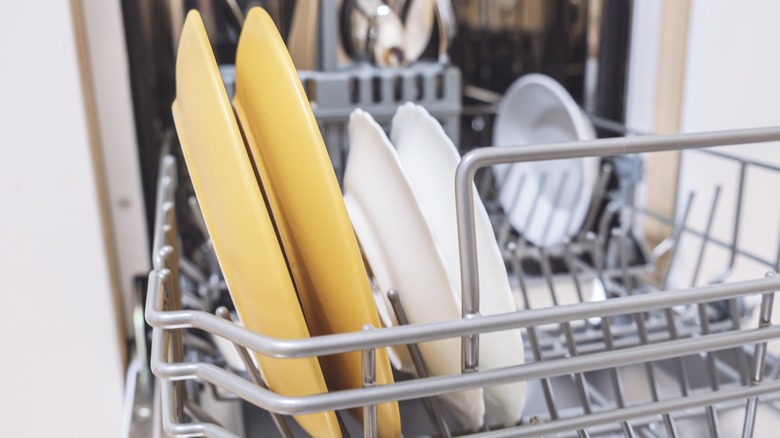
It is human nature to want to complete a task using as little effort as possible. When it comes to washing dishes, that can lead us to grab the harshest cleaners available or let the dishwasher do the work. But in an effort to clean easily, we may actually be doing more harm.
For nonstick trays, avoid using harsh cleaning products such as steel wool or anything too abrasive because they will scratch and damage the finish of your tray. Also, even if a nonstick tray claims to be dishwasher safe, the chemicals in the dishwasher detergent and the dishwasher's extreme heat will damage the nonstick finish long term, as per MyRecipes. Baking trays made of aluminized steel can never go in the dishwasher. Dishwasher detergent negatively interacts with aluminum and can cause permanent stains and damage to the finish (via Red Bluff Daily News). So it's better to wash by hand if you can!
How to prevent stains in the first place
Deep cleaning baking trays is not easy. If it were, there would be no need to have an article about it! So to avoid the inevitable challenges that dirty baking trays present, you should try to prevent the stains in the first place. Whether you are using stainless steel or nonstick, there are products that you can use to protect your trays from grease stains and burnt food that is so difficult to remove.
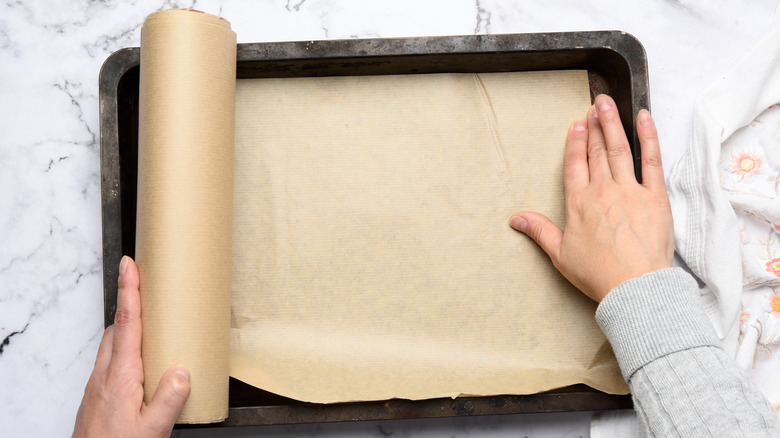
The classic choice is baking paper or parchment paper. According to MetsaTissue, parchment paper is heat resistant, grease-proof, and will basically make any tray nonstick. But the best part is that after baking, you can throw the paper away with no damage to your baking tray. A more sustainable and eco-friendly option is a silicone baking mat. It is the same idea as parchment paper, but it is reusable. Just throw it in the dishwasher after using it! Just be sure to read the manufacturer instructions because some cannot be used at very high heat (via Allrecipes).
If all else fails ... just buy a new one
If it's too late to save your baking tray or you prefer to start from scratch (with your trusty silicone mat in tow), you can always buy a new one. The Strategist broke down the different elements to consider when choosing the right baking tray. First, the material. Most baking trays are made with either aluminized steel or aluminum. For the everyday baker, this doesn't really matter. But remember, hydrogen peroxide cannot be used on aluminum pans because it will ruin the coating. Next, decide if you want a nonstick or regular tray. Many people opt to purchase nonstick trays because they are supposed to make cleanup easier. The downsides to nonstick trays are that they cannot be used in high temperatures, and you are limited in the kinds of utensils and tools you can use because metal will scratch the nonstick coating.
No baking tray is perfect. Whether nonstick or aluminized steel, they will all stain under the right conditions. But with these cleaning hacks in your back pocket, you can return your baking trays to their former glory in no time.