How To Repurpose A Closet Into A DIY Reading Nook
Nothing beats a good book, but we can bet you would agree with us when we say that a cozy reading space comes in a close second. In the same vein, nothing is as frustrating as continuous distractions when all you want to do is immerse yourself in a story. To fix this problem, we'll be discussing how to repurpose a closet into a DIY reading nook.
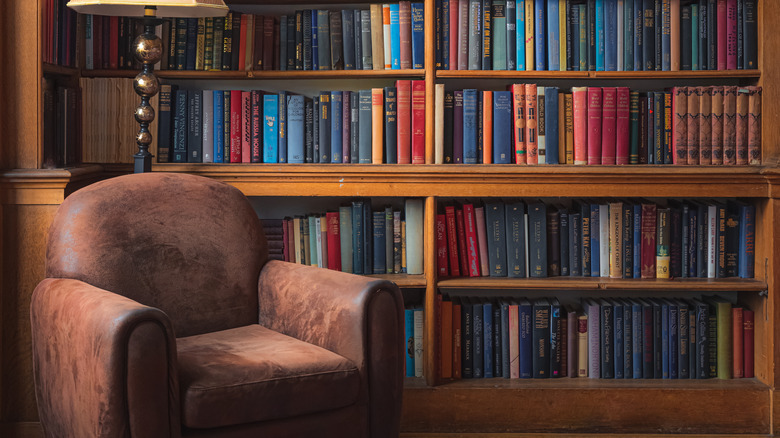
A reading nook is simply an in-house space that is created solely for reading. If you read our piece on turning a kid's room into a teenager's room, a reading nook is something you should consider. This space can also function as a walk-in bookshelf, which we think is one of the most refined things you can have at home.
Scout writes that if you have a pile of tsundokus, fixing up your reading space might break the habit and have you thumbing through a book in no time. If you don't have a reading space, no worries, we'll walk you through the DIY process of turning your barely used closet or storage space into a reading nook.
Choose your ambiance
Before checking your woodshop for tools, pieces of wood, and nails, decide on the interior décor you want. What sort of ambiance would you like? If you're uncertain, hop on Instagram or Pinterest for inspiration. A couple of our favorite creators include Greta of @thebookishpearl and Vivek Tejua of @vivekisms, both on Instagram.
If you still can't decide on the ambiance of your reading nook or are torn between multiple options, we would like you to think back to the last time you thoroughly enjoyed a book. What were the setting and tone? How did it make you feel? Creature from the Book Lagoon expounds in detail on creating the perfect reading atmosphere. If you are into sci-fi or fantasy, it might be best to create an atmosphere that aligns with your reading interests.
Once you have a clear vision, you need to see if your ideas will work with the closet or space in question. Start by answering questions like: "Will the accessories and décor I have chosen for the reading nook fit into the space?"
Make accurate measurements
To start, measure out the entire closet's height, width, area, and other relevant dimensions; don't be scared to do the math. This is essential because understanding the spaces available to you will ensure that you get an accurate number of supplies when shopping, from the wood pieces and nails to paint and glue, per Renovation By Design.
Once you have determined the dimensions, you can measure out the sections. First, decide how many areas you would love to have in your reading nook. Most closet–turned–reading nooks have just a bookshelf and bench. But others have two bookshelves, one at the bottom and one overhead. But we don't recommend the latter because it would be too close to the light and your books could age faster, according to Down To Earth.
Next, decide what kind of books you will have arranged on the bookshelf and tailor your measurements to that effect. Do the same thing for your bench, so you know how large a cushion to purchase or make.
Lastly, use your hands to feel out the interior of your closet. This step is critical because the composition of your closet walls will determine the type of holes you can create and the variety of nails to use. A concrete wall, for instance, may require pilot holes, so feel free to read our tips for drilling the perfect pilot hole.
Let's start building
Get pieces of wood for your bookshelf. Light plywood will do because all you would add to the bookshelf are books, yes? Great! Next, decide how many sections you would like based on the height of your closet and your preferences, of course. This Old House recommends adding 2 inches to the original measurement to ensure that you can easily take out and put back the books.
Create the frame using four pieces of plywood, all of equal height — two for the sides, one at the top, and one at the bottom. Using a cordless drill driver, screw the frame shut on all sides; and then screw in the sections of the bookshelf. As soon as you are done, drill in the back, and voila, you have your bookshelf ready.
The next thing to do is to build the structure for the bench. Get a much thicker wood for this one, probably oak or mahogany, since this would be carrying your weight, says WoodWorkly. You don't want it to come crashing down. Ensure the wood is about 10 inches wide, then pick a wall in the closet and start building the structure. Add some plywood for some extra support and drill in the seat to your bench. Once that is done, affix your bookshelf to the seat structure, and it should be ready for a few coats of paint.
All about painting
To create the ideal reading space, you'll want a well-balanced contrast of colors. And, even if you are not going with a calm ambiance, flashy colors might make it harder to style. Two neutral colors will do just fine, or you could always go for the good ol' fashioned off-white or cream.
The first practical step you want to take in repainting your newly renovated closet is to cover all the areas you don't want to paint. Clad them in plastic and tug at the edges to ensure everything is secure, per Architectural Digest. Once that is done, you can start painting.
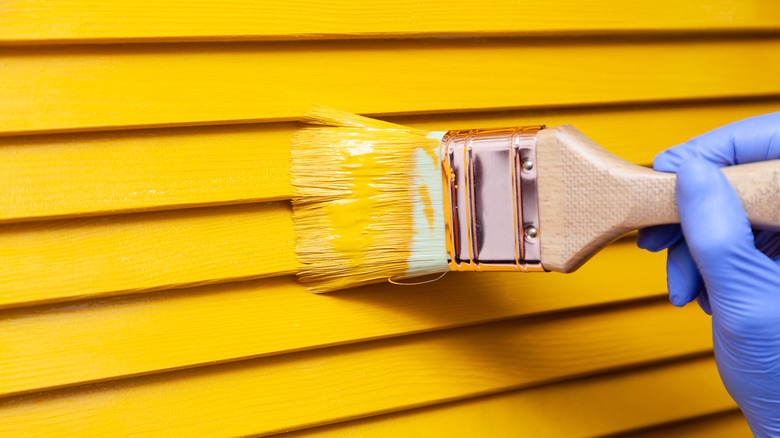
If the size of your closet is small, DIY Dwelling suggests that you use a paint brush. Sure, it might take longer, but it will allow you to pay attention to the details. Alternatively, you could use a roller. You'll get the job done faster without expending too much physical energy. The Spruce writes that it is prudent to paint in one direction, either horizontally or vertically, because it prevents drips, making the entire job much neater. Go over the paint twice so you will not have to repaint the closet for a while.
DIY reading nook décor
Now that your paint is dry, you should feel proud of your progress thus far! The last thing left is to put in the final touches, which consists of décor and arrangements. If you can't be bothered about that, a minimalist setting might be perfect for you.
First off, put in your books — this alone will bring a lovely blend of color to your reading nook. Throw in a plant or two because Desk Plants writes that it helps purify our air which can, in turn, make us more productive and enhance assimilation. Hey, let's face it, you might need help to focus on reading in the nook.
Add some LED light bulbs. You may want to research the types of LED light bulbs available before finalizing the purchase. This step is essential because not only will the light impact your reading habit, but also, you want to ensure that you are choosing a lightbulb that will not make your books age quickly. Lastly, add your pillows, a piece of art, and a table nearby for drinks and finger foods; because who doesn't love snacks?
Other reading nook ideas
Lastly, just in case the step above proves to be too much work for you, here are some other reading nook DIY ideas that you may want to try out.
If you don't have a closet to turn into a reading nook, you could implement the steps underneath your staircase. If not, a lovely futon couch right by a window might do the trick, says The Spruce. Make it all functional by placing a shelf within arm's reach. You could also throw in a pillow, blanket, and snacks to create a cozy atmosphere.
On the other hand, you could go big and convert an old room into a library. Follow the tips we shared to make a DIY bookshelf. Another idea is to build a bookshelf for your bedroom. Reading before bed can benefit your health; Sleep Advisor says this activity can improve creativity and significantly reduce stress levels. The world, or rather, your home is your oyster, so go ahead and build a reading nook that brings you joy!
