How To Install Shiplap On A Wall
Shiplap has become a popular feature in many modern and traditionally styled homes. Remodelista reports that shiplap is gaining favor with homeowners seeking an affordable and eye-catching wall covering. In addition, home improvement TV shows such as "Fixer Upper" have highlighted just how easy it is to install.
Exterior wooden siding has been in use for some time now, notes The Craftsman Blog, as it protects the home from moisture and changes in temperature. However, the introduction of interior shiplap is still relatively new, making it something of a design novelty. In addition, one of the best things about using shiplap wall designs is the ease of installation. Installing this versatile wall cladding is as simple as measuring, cutting, and nailing up the boards, and with a bit of DIY know-how, installing a new shiplap wall is a project that can be completed in a single day (via Tatertots and Jello).
Shiplap gives unique character to a room
One of the main benefits of a shiplap wall is that rooms tend to look bigger and brighter than those with standard drywall construction, notes H2ouse. A small detail that's often overlooked, states Remodelista, is that most decorative cladding isn't true shiplap. This isn't a big deal for internal walls, as they don't usually require waterproofing. However, traditionally speaking, shiplap uses a Z-shaped "rabbet" groove that ensures a tight fit and a water-resistant seal. For homeowners who want their shiplap walls to look as authentic as possible, cutting rabbet grooves into your wooden boards is relatively simple using a hand router. This straightforward guide from Bent's Woodworking will teach you everything you need to get started.
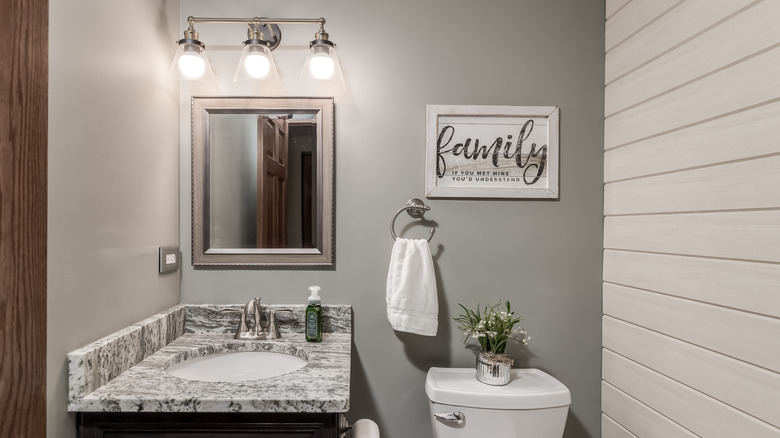
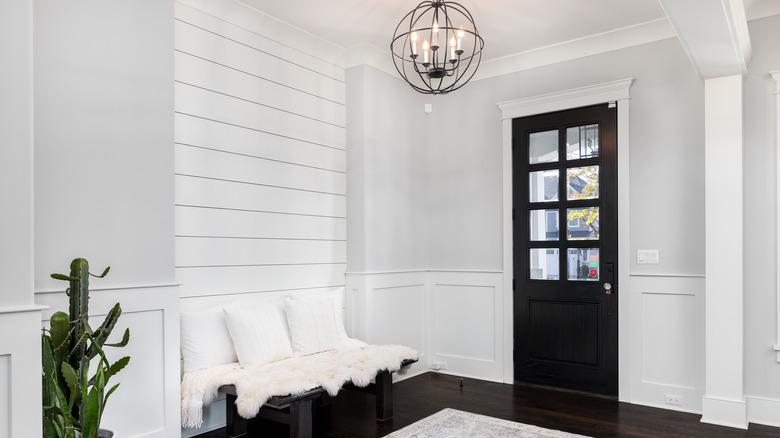
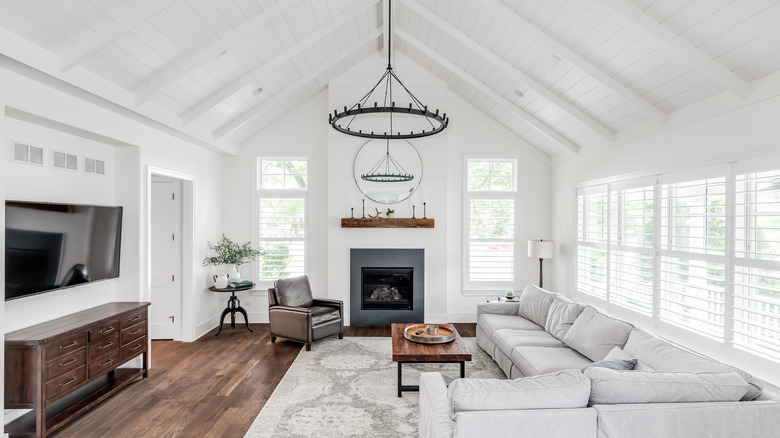
Family Handyman suggests that shiplap can be installed anywhere in the home and can easily be combined with other design elements to create a unique finish. For example, shiplap cladding can be effectively used as a headboard in the bedroom, as a backsplash in the kitchen, or as a feature wall in a bathroom.
Measure and mark each wall
Once you've decided to install shiplap, the most important part of the preparation is finding the studs in the wall. This can be a simple process if the wall has recently been built, but for most installations, this won't be the norm. Instead, you'll need to use an electronic stud finder to locate each of the wooden beams that make up the structure of the drywall. Lowe's reports that generally, studs are spaced either 16 or 24 inches apart from one another, so once you've located the first stud, simply move your stud finder across the wall to locate the next one, which will help you determine the standard distance used in the construction of your home.
You will need to locate the center of every stud along the wall and mark their positions. Draw a vertical line from the floor to the ceiling in the center of each individual beam. This part of the project might seem time-consuming, but it's the most important step to ensure a successful installation (via H2ouse).
Include finishing touches
Once you've marked off the studs it's time to complete the project. Bob Vila suggests sanding and painting the shiplap boards before nailing them to the wall, which will ensure a uniform coat across all surfaces. Similarly, it's important to measure around features like doorways or countertops and cut out holes for your electrical sockets before adding the boards to the wall. Home improvement professionals always advocate measuring twice and cutting once, states RKS Design, and this remains true when adding shiplap cladding to your walls.
It's often easiest to start at the bottom of the wall, suggests Remodelista. It is essential that the first board is installed perfectly level, as this will serve as a guide for the remaining planks. H2ouse recommends using a coin as a measuring guide as you add boards, this will ensure an equal separation between each board to complete the look. Simply nailing the boards to the wall at each stud will see your shiplap wall completed in no time.