How To Install A Privacy Screen
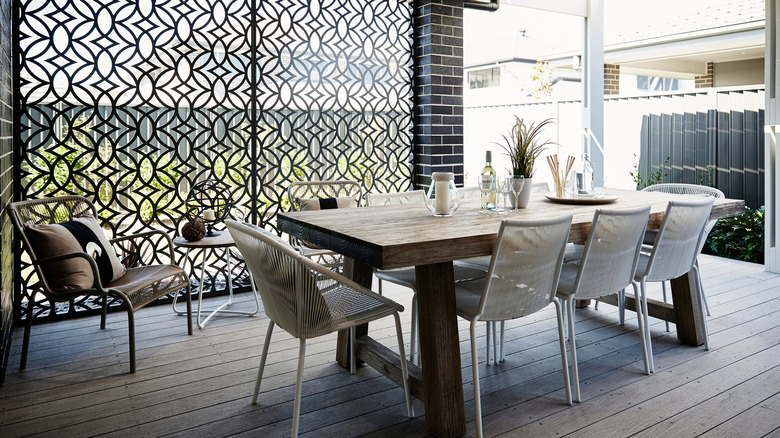
A privacy screen is the simplest way to install a discreet barrier between your yard and those of your closest neighbors. Unlike the time it takes to grow a hedge or bamboo plants that allow for a natural barrier here, or the expense of a more traditional fencing solution, a privacy screen is easy to install and highly cost-effective (via Better Homes and Gardens).
Just like with the installation of a fence, building a privacy screen starts by sinking posts into the soil around your deck or other outdoor space. But this is where the similarities and costs involved in the project depart from one another. A privacy screen makes use of inexpensive and easy-to-find panels whereas a fence requires heavy, expensive, and generally cumbersome slats that are typically purchased as preassembled fence sections.
This layout means that a fence installation will conform to a predefined length calculation that doesn't provide any leeway. On the other hand, building a privacy screen can be done with a variety of different screening components and is assembled on site, giving you complete customization and control over the finished product.
Prep the design and sink the posts
The first thing you'll need to do when installing a privacy screen is to measure out the dimensions that the project will stretch across. Planning is key to success here (via Hunker), so understanding the length of the whole project will help you place the posts in the correct positioning and complete the project with little issue.
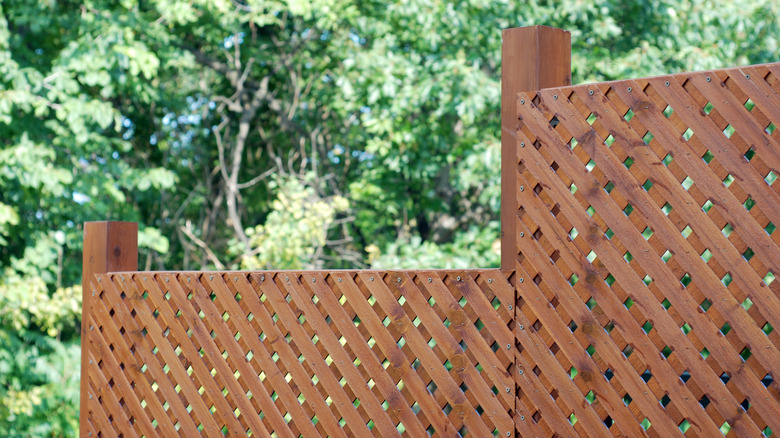
A DIY installation gives you the ability to select any length of screening material that suits your layout, but there may be a need to cut down the sections if you opt for a design that doesn't fit your dimensions precisely. Choosing a wood, mesh, or even light aluminum siding option will serve you best if you need to trim an edge to perfect the fit of each piece.
Once you've established the spacing required, digging post holes will launch the build in earnest. Better Homes and Gardens suggests digging down at least 20 inches to provide a secure footing for each post. Using a post leveler (instructions can be found at Johnson Level), position the post so that it sticks straight up and out of the hole, then pour in concrete to secure the structure while taking care to keep each post level in its place.
Attach each panel and start enjoying the fruits of your labor

The Concrete Network estimates that most home concrete solutions will require a day or two to cure effectively—although, for a more comprehensive project like a driveway, the outlet recommends a 28-day cure time. Once your concrete footings are hardened, you can manipulate the final pieces and finish off the project.
Better Homes and Gardens recommends using a top rail to help secure the finished product more comprehensively. Doing so will create a boxed frame rather than leaving unmoored posts to rise from their groundings. Attaching the rail and then painting the entire frame is the best way to ensure an even look and texture to the whole build.
Then, drilling guide holes in the posts to help streamline the installation of each screening piece will see the finishing touches added to the build. Attaching your panels to the posts is a simple process and once this step is complete, all that's left to do is sit in the screened area and enjoy the benefits that the privacy screen affords you and your family.