How To DIY A Canopy Bed
Canopy beds offer an intimate setting and a luxurious design. The traditional four-poster bed was originally built to create a layer of material that could trap warmth within the confines of the bedding area, per Architectural Digest, and has since evolved into a distinctive feature that anchors a luxurious room as few other statement pieces can.
Apartment Therapy reports that canopy beds were made popular in Europe as a way to create a sense of privacy within the often-communal sleeping quarters of great medieval halls, on top of the functional conservation of heat that these added fabric layers provided. Yet, the concept of enveloping the sleeping space with this additional curtain is much older, appearing in China in the fourth century.
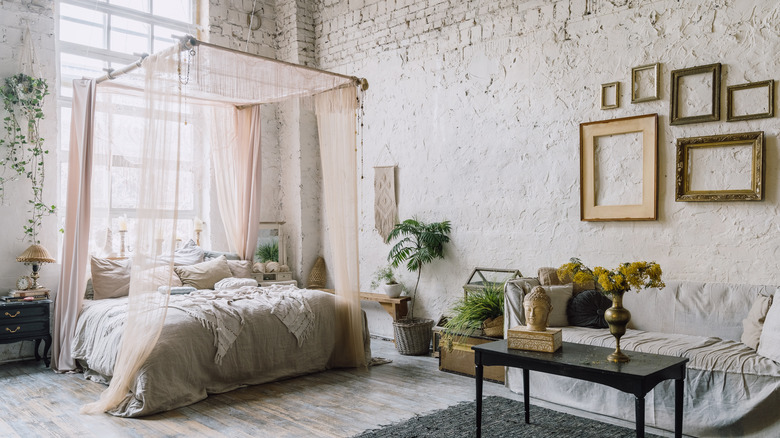
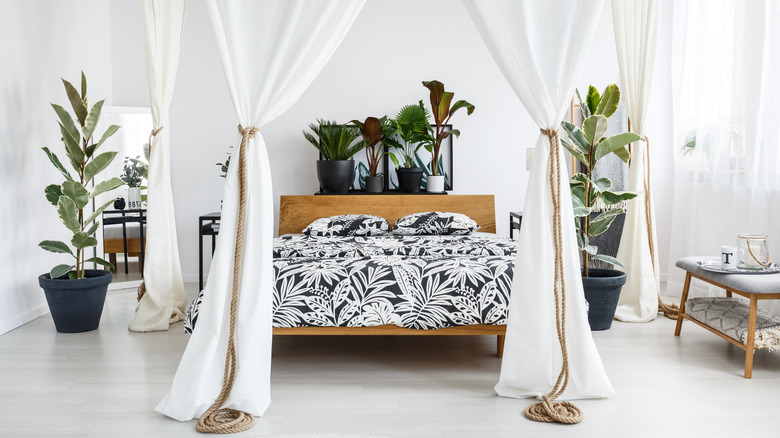
While a traditional four-poster bed might cost an arm and a leg, installing a DIY canopy around your existing bed is a simple task that anyone can achieve with just a bit of home improvement spirit. The wrapped-around fabric can be as light or heavy as you want it to be, and many homeowners select a silky material to add a touch of elegance without suffocating the interior section in a cloud of darkness.
Gather materials and measure the dimensions
To craft a canopy bed, you'll need to understand the features that make the installation possible. If you aren't opting to purchase or build a complex four-poster setup, then the structure you'll create will act like your shower curtain. Namely, this project will see you develop an overhead railing that hangs above the corners of your bed, supporting the silk or cotton sheeting that you'll elegantly drape down around the sleeping space.
Craft Your Happiness offers a simple and easy-to-follow design for this build, suggesting that homeowners seeking a canopy addition should construct a wooden frame along the roof, supporting the hooks that hold the railing in place. Each bedroom layout will be unique, but a typical double bed measures 54 inches by 75 inches, and a standard king measures 76 inches by 80 inches, SFGate notes. This makes for a good starting point if you are unsure of your bed's dimensions.
Once you've measured, you need to source thin wood strips and paint them to blend with your ceiling. Then add hooks to your shopping cart (Craft Your Happiness suggests eight hooks for a queen-sized bed) alongside PVC or aluminum piping and toggle bolts to support the frame's weight if you don't have the luxury of drilling directly into ceiling studs. Lastly, you need to select four sheets (made of silk, cotton, etc.) to hang around the bed.
Cut and assemble each piece
Once you've sourced all the materials, you'll just need to cut and assemble the framework. Measuring again to ensure accuracy is always a good idea when cutting, as well. Next, cut down the wooden frame pieces and install them in an arc around the bed, on the ceiling. Craft Your Happiness recommends using corner pieces that add to the visual appeal, but you could use a miter saw to get precision angles for a sharper cut instead if you wish.
Attaching the hooks to the wooden frame is typically easier to accomplish while the pieces are on the ground rather than screwed into the ceiling above your head. This saves you from climbing up on the bed or a ladder. After the hooks have been placed, use a drill to attach the wood segments to the ceiling, using the toggle bolts if you need them to add additional support.
Once these pieces are in place, feed the sheeting you've selected through the pipe and hang the completed piece from the hooks that are now perfectly positioned to hold the canopy around your mattress. Installing a DIY canopy is simple, and Craft Your Happiness estimates a total cost of less than $20 for this type of homemade luxury. This is a project that anyone can accomplish, transforming a typical bed into a place of decadent relaxation.


