Use This IKEA Hack To DIY A Hidden Desk
IKEA designs have become a mainstay in the modern home, leading to the company's $21 billion brand valuation, according to Statista. The furniture is as easily approachable as it is cost-effective for young renters, first-time homeowners, and anyone looking to add a simple piece to their home.
What IKEA can't do, however, is offer customizable, unique furniture. Many homeowners and renters are itching for pieces that don't fit the cookie-cutter look — and IKEA's clean edges and functional simplicity dominate virtually every product they sell.
Today, IKEA hacking has become a booming industry, with retailers selling additional parts and plans that can be used to transform simple IKEA furniture for added versatility and reimagined designs, rather than buying a new item that may cost 10 times the price of the IKEA equivalent (via The Hustle).
This is exactly what this hidden desk DIY project is all about — taking a simple IKEA purchase and turning it into something special. IKEA Hackers offers a fantastic cabinet conversion idea that can transform your storage piece into a desk for a home office and then morph back into a cabinet to clean up at the end of the workday.
Prepping and materials for the redesign

IKEA Hackers recommend buying three of the IVAR cabinets (priced at $100 each on the IKEA website) to create an accent piece against the wall of your choosing. Of course, you could use one or two of these pieces if you have limited space.
In addition to the cabinet and included hardware, you will need a monitor arm to attach your computer screen to the lid of the pop-out desk. IKEA Hackers also added 15 cm legs to the cabinets to ensure the sliding desk was at a comfortable height. It's a good idea to measure your existing desk setup to determine the height you need.
You will also need sliding bolts to lock the top segment in an upright position when the unit is used for work, and a standard drawer slider to support the keyboard shelf that will fit directly underneath the main desk space.
Assembling your custom creation
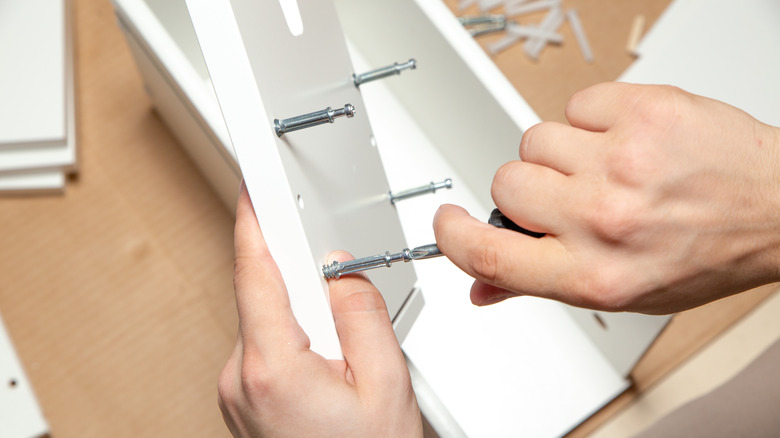
To start, IKEA Hackers says to drill additional holes about 12 cm below the holes in the side panels. Then, build the cabinet according to the IKEA instructions, but attach the top part in the lowered holes you made. Next, shorten one of the shelves by a few millimeters so it can be used as a lid that can be opened and closed. Attach the lid with the two spare bolts provided. This will enable you to flip open the top section, revealing the hidden desk space below.
After you've built the basic framework and added the swing component to the lid, IKEA Hackers says that you should move on to the finishing touches. You may want to chop out a rounded section of the base to accommodate easy foot access. It's best to do this before attaching your electronics for easy maneuverability.
Once these components are in place, use the mounting bracket to attach the monitor to the underside of the lid segment. This allows your electronics to be compactly stored when the desk is not in use. You can then attach the sliding keyboard shelf at your desired height. IKEA Hackers notes you may want to measure and shave down the edges of the pull-out drawer, so they don't create friction with the cabinet's interior.