How To Repurpose A Closet Into A DIY Mudroom
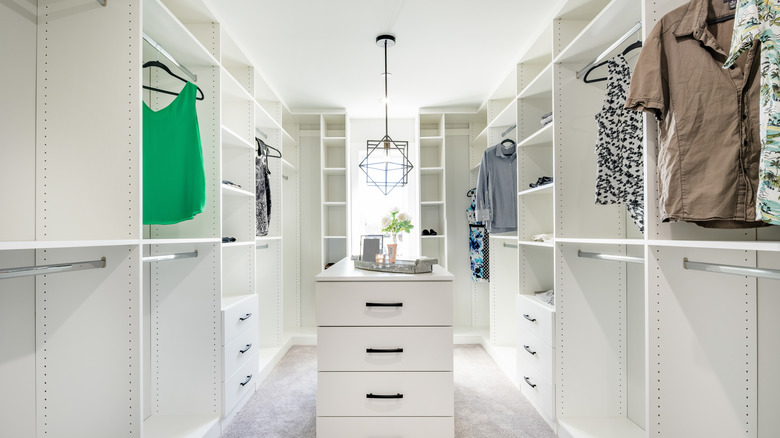
While there are plenty of DIY projects that you can do with the closets in your home, including repurposing them into an office, a bookcase, or a vanity, Simple Made Pretty may have the perfect project for you. Looking for a more practical way to use a small coat closet in her home, she modified the space into a mudroom that looks great and has plenty of storage for every season.
Despite no longer needing a mudroom space in her home for all four seasons, she has continued updating and replicating the project. She has seen consistent results since her first attempt at the closet mudroom conversion in 2015. She isn't the first DIYer to attempt the project, as many others have, including Amanda Vernaci at Stay Awhile and blogger Katie Lamb. And although their DIYs may differ a bit from one another, they all had similar results with a bit of customization, which is key with this project.
Supplies and costs
As for the supplies, Melanie's DIY used multiple tools, plywood, 2x4s, wood filler, paint, and more, while Vernaci and Lamb both used caulk, Kreg jigs, and fabric to give their closet conversions a more built-in look. And while it may seem like their supply lists are a bit cumbersome, depending on what you have on hand and what you want your new mudroom space to look like, both the supply list and the project's expenses are subject to change.
And although Come Stay Awhile and Katie Lamb both had functional and stylish closet mudroom conversions, they haven't attempted the project as many times as Simple Made Pretty or seen as much fluctuation in their costs as she has. For her first attempt, she used leftover paint and a bench that she already owned to keep her expenses under $50. Her second and third attempts topped a hundred dollars as the costs included additional wood, new storage bins, and replacing the baseboards. However, she does provide prospective DIYers with a general cost breakdown of the project, which comes out to a total of $165.
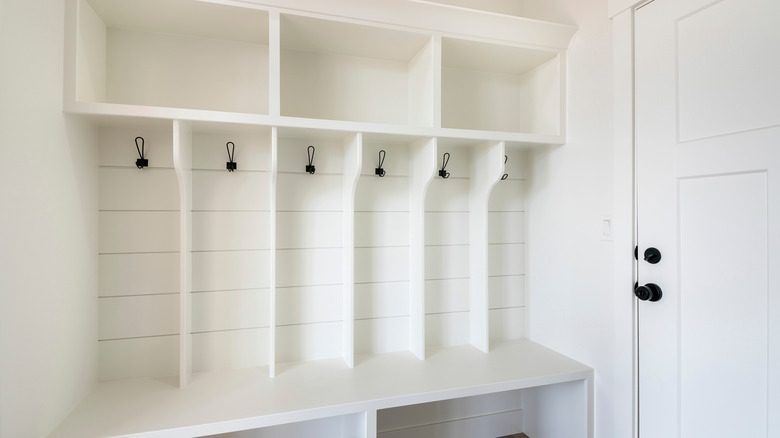
DIY Mudroom Steps
The project takes around four days to complete depending on your closet's dimensions and your plans, according to Come Stay Awhile. As for the first step, you should start by cleaning it out, removing the doors, and removing any existing shelving. Once you've done that, fill any holes in the walls, and if you're building a bench, you'll need to remove some of the door frame. You can start putting together the structure for your bench and cut your plywood to add on top of the frame.
Simple Made Pretty then recommends using your storage bins for the space as references for the bench's storage and marking them on the plywood. Once you have your measurements, cut the legs and attach them to the plywood, then place the plywood on the frame with the legs facing up and secure it with screws. Cut your second piece of plywood and put it on top of the legs, then use screws to attach it. From there, you can cut your baseboard and add it to the front of the frame.
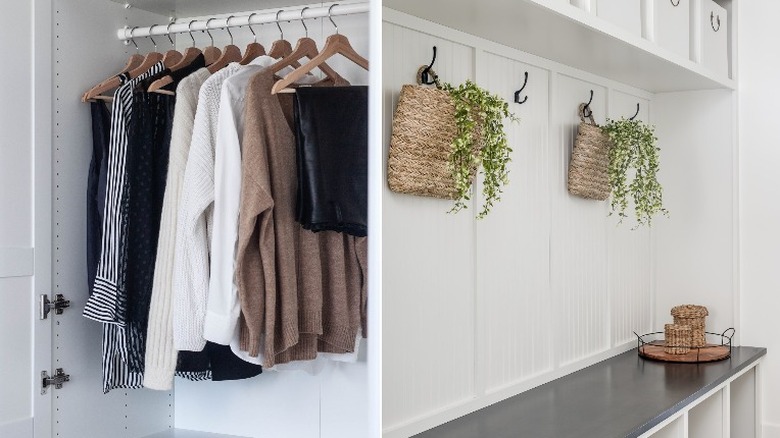
This is where the biggest part of the customizations comes into play, as you can add extra shelving above your bench or hooks for coats, or even board and batten to add something special to your mudroom. Once you've added everything you want to add to the space, you can decorate it with baskets, pillows, and more.