How To Install Schluter Trim
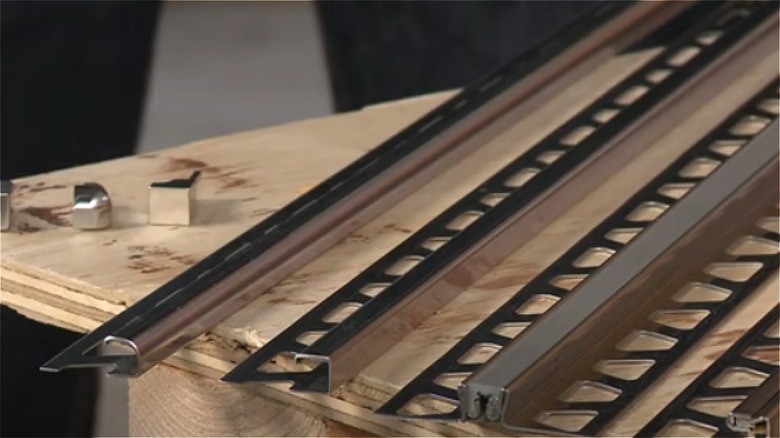
Schluter trim comes in varieties and profiles suitable for a wide range of operations. It can be used in tiling any area that has external corners. If you don't like your tile edges showing or you don't want to spend your money on another tiling job soon, then Schluter trim is the way to go! Just as we do too, Hunker loves how installing tile trim makes the tiling process easy and protects the tile from damage.
Installing Schluter trim is an easy task; you will need a hacksaw or miter box, Schluter trim, measuring tape, tape, T-square, hammer, marker, level, and adhesive or glue. The right tile trim profile should fit exactly into your tile's thickness, meaning no part of the tile trim should show and the tile should not be thicker than the trim. Bunnings Warehouse advises carrying a sample tile to the hardware store so you can easily test out each Schluter trim profile until it fits right in.
Precut your Schluter trim to the right length
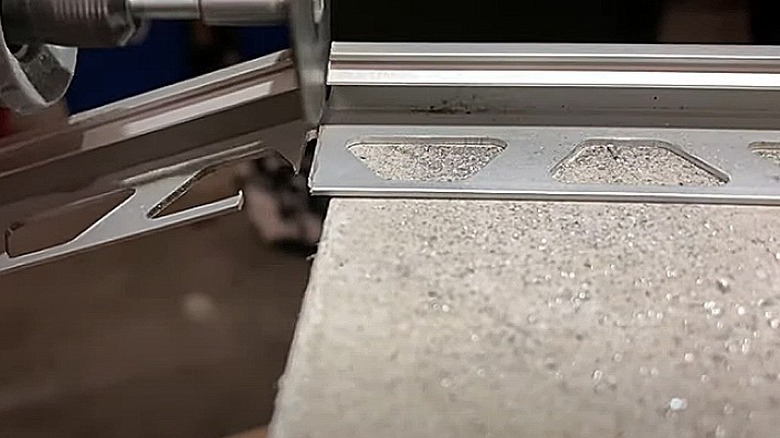
Measure the length and height of the area of installment to determine the length of your trim. The Schluter trim should not be a straight cut; it should slant at a 45-degree angle so that the two adjoining trims lock together at an angle, per Bunnings Warehouse. To do that, instead of cutting the Schluter trim with a straight cut, slant your miter or hacksaw so that the cut ends are sharp points. After you have marked the length to cut on your tile trim, go ahead and cut. Schluter Systems North America advises laying your tile trim against the areas of installment, so you have accurate measurements.
Note that the ends of your trim should be at opposing angles to each other. If you're not familiar with cutting angles, you could purchase Schluter corner pieces from the home improvement store instead. Now that you have your cut Schluter trim, it's time for installation.
Install your Schluter trim
Next, tape down your cut Schluter trim. This will give you the flexibility to adjust when you are putting the glue on your tiles and bedding. To install trim, always use adhesive and not nails, per Bunnings Warehouse. If you use nails, they can puncture the waterproof layer and reduce its resistance against excess moisture.
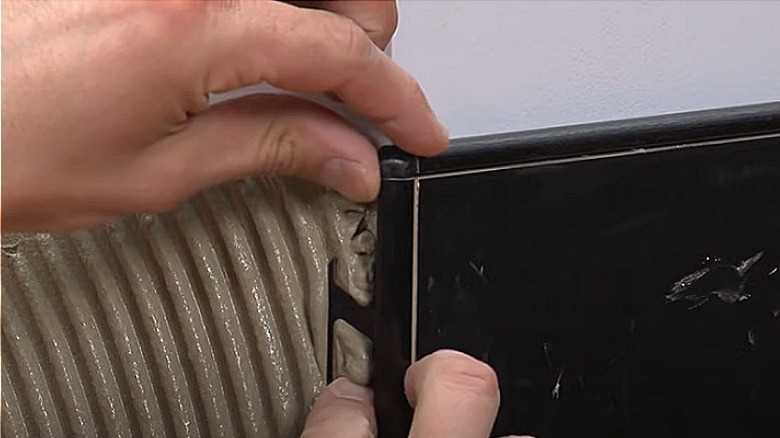
Apply your adhesive or glue and lay the middle tiles first before laying the edge tiles. When you are done with the middle tiles, press the anchoring legs of the Schluter trim edges into the glue around the edges of the area of installment. It should be placed firmly into the glue. If it is not, adjust the edge of the Schluter trim and go in with a level to check the position; if it's not level, apply more glue or adhesive to balance it out.
You can now go on to lay your tiles, and voilà you've installed your Schluter tile trim and tiles. Pro tip: let your tiles be in direct contact with your Schluter trim when installing so that it all looks organized and neat, per Hunker.