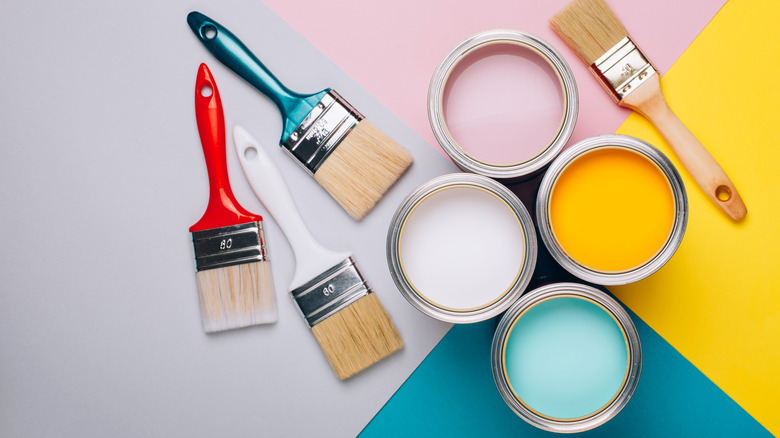
How To Clean Paint Rollers And Tray For Continued Use
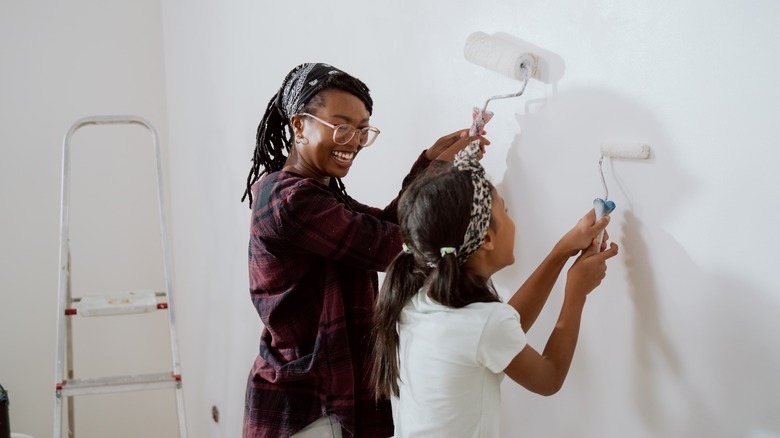
Painting is one of the quickest, easiest, and most cost-effective ways to refresh your space. It's something that can easily be done yourself, and simply switching up the color in a room can have a huge impact. A different paint color has the potential to completely change the feel of a room, according to Georgette Marise Interiors, and can have a formerly dark and dreary room feeling fresh and bright in no time.
However, if you're the type to buy a new set of paint rollers and a new paint tray for every single paint job, you need to rethink how you're cleaning your painting tools. The paint rollers and tray should be able to be reused several times, making the entire process more budget-friendly, not to mention more eco-friendly.
So, if you were under the impression that painting tools were a one-time use item because you never really understood how to clean them, check out these handy tips. They will guide you through how to remove all the paint after you've wrapped up a particular home improvement job so that your implements are ready and waiting for you next time your urge to refresh a space in your home strikes.
Make sure you're in a well-ventilated area

Just as you want to ensure the space you're painting is well-ventilated, you want the room you're cleaning your roller and tray to be well-ventilated as well. After all, you'll be scrubbing out all the paint, breathing in the fumes from it all. Dulux suggests not only cleaning your tools in a well-ventilated area, but also doing so with protection such as gloves and goggles. It may seem like overkill, but if you're doing a lot of painting and are scrubbing down those tools on a regular basis, it can be an important measure to take for your safety.
Capture the excess paint
When you're done painting and ready to clean your paint roller and tray, there's likely still an abundance of paint lingering in both tools, per Motor City Paint. That's why step one is to capture all that excess. For your paint tray, you should be able to simply pour it back into the can. For your roller, you can use a tool like a knife to scrape off the excess, again allowing it to flow back into the paint can. Once you've dealt with that, you can start really cleaning out those tools so they can be reused again.
Roll the last bits off your roller
Paint rollers are extremely absorbent, and can suck up a surprising amount of paint during regular use. As Coat Paints recommends, you'll want to grab some newspapers, cardboard, or any other kind of flat material you can discard afterwards, and roll along it as you would on the wall. This should help grab as much of that lingering paint from the roller as possible so that it's easier to thoroughly clean it. After all, if you're dealing with loads of excess paint while you're trying to wash out the roller, the process will take far more time (and be a much bigger mess).
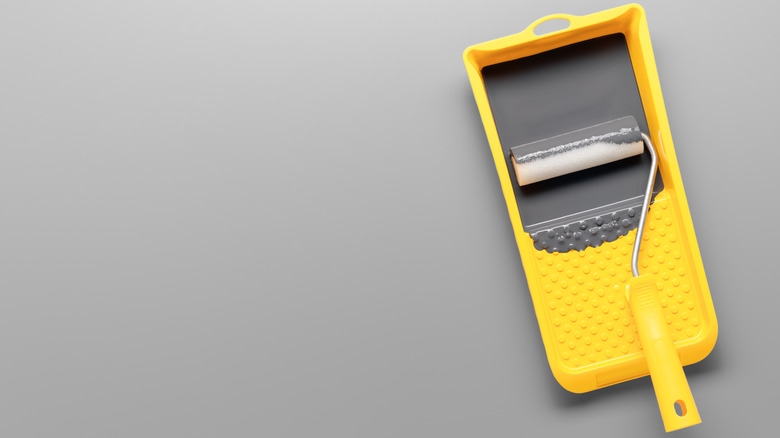
Separate the roller and frame
This may seem like an obvious step, but if you're not very familiar with paint rollers, it may be a useful tip — in order to really clean out all the paint from your roller and have it looking like new for your next use, you'll want to separate the roller and frame, as per Marshalltown. This will allow you to clean each of the components the way they need to be cleaned, as well as allow you to dry them both separately.
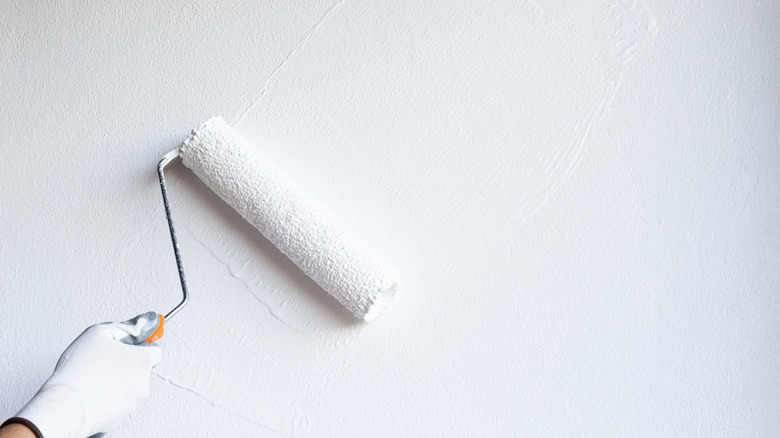
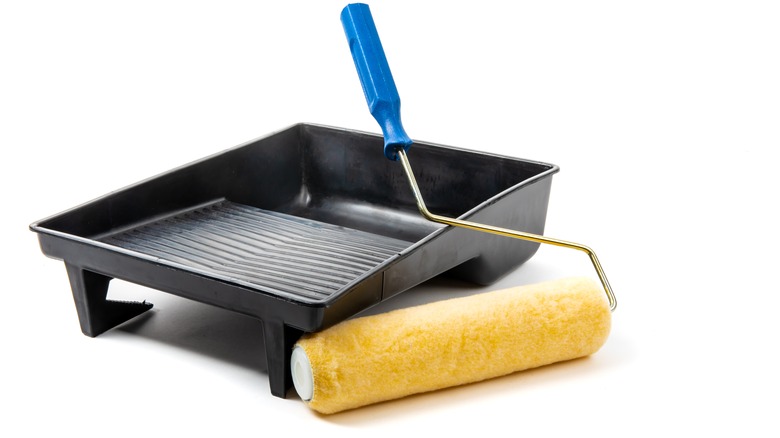
Scrape out the paint tray
Water-based paint is the most common for residential use since it holds its color well and dries quickly with less odor than oil-based alternatives. With this type of paint, after pouring out the excess, you'll want to allow the remainder to fully dry. Then, you should be able to use any kind of scraper tool, like a putty knife, to remove that leftover film of paint, as per Pro Roller Co. Once the last layer is gone, you can simply wash out the tray with dishwashing liquid and it should be clean and ready to use for next time once it dries.
Wash the roller frame

You might assume that thoroughly washing the roller frame is far less important than the roller cover, and be tempted to simply give it a quick wipe. However, there's a good reason you should be just as thorough about this step of the process. As Coat Paints explains, paint lingering on the frame has the potential to prevent the roller from spinning smoothly. This means your paint job will be uneven at best, or your roller cover may not even be able to rotate smoothly enough. As with the roller cover, a thorough cleanse with soap and water should do the trick.
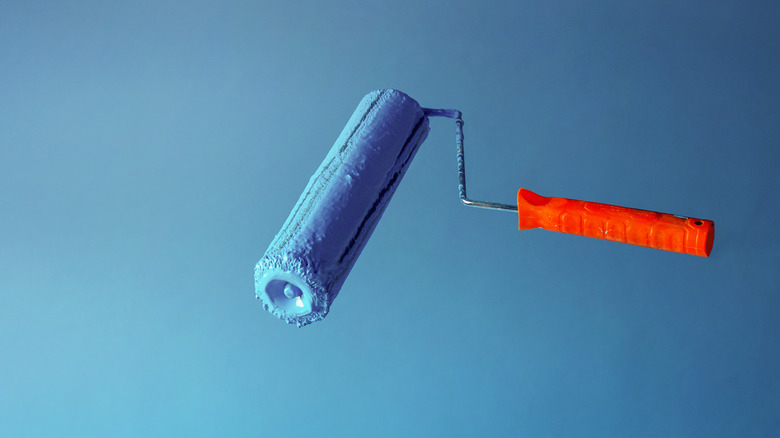
Wash the roller cover
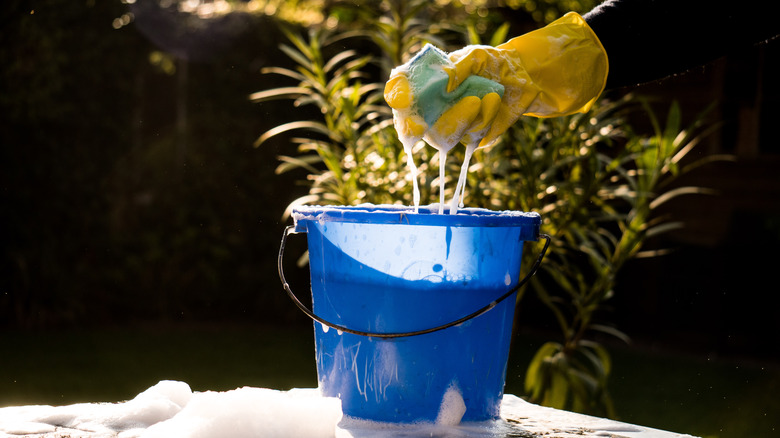
One of the most daunting steps in reclaiming that used paint roller for your next paint job is dealing with the roller cover. After all, that fluffy material is super absorbent and it can feel like you'll never manage to rinse out all the paint. If you're using standard water-based residential paint, according to Marshalltown, the best method is to fill a large bucket or container with soap and water. Then, just plunge that cylindrical cover into the mixture and scrub away at it with your hands. Then, rinse it with clean water until all the remaining soap is gone.
Don't lay the roller cover flat to dry
While it may seem like no big deal to lay the roller cover down to try, that can actually harm the fibers on the roller, as per Bob Vila. Instead, you'll want to prop the roller cover up on a dowel or paper towel holder, or if you don't have anything like that, simply thread string through the roller cover's interior and affix the string to two sturdy points so the cover is suspended in the air. This way, the delicate fibers on the cover can dry without being misshapen.
Only store them once they've been fully dried
As Eco Paint My House explains, the best way to preserve your paint rollers is by storing them in a protective bag so that dust doesn't work its way into the cover fibers. However, if you toss a damp roller into an airtight bag, that can cause issues. Err on the safe side and just wait to put your tools away until they've completely dried — that way, they'll be in peak condition next time you need to use them.