Everything You Need To Know About Installing Laminate Flooring On Top Of Tile
We may receive a commission on purchases made from links.
Installing laminate flooring on top of tile can seem daunting. However, with the right tools and a little bit of know-how, it can be a breeze. According to Forbes, laminate flooring can be an affordable alternative to hardwood floors while maintaining the look and feel of hardwood floors. They're also relatively easy to install and can make for a great do-it-yourself project.
Before beginning your project, you'll want to consider the type of room you'll be working in, the type of laminate you'll be using, and the materials you'll need to complete the job. According to Cabana State of Mind, some of the supplies and tools you'll need include an underlayment, underlayment tape, a utility knife, a saw, a pry bar, caulk, and wood glue. In this article, we'll walk you through everything you need to know about installing laminate flooring on top of tile. So whether you're looking to update an old tile floor or are just getting started in DIY home renovation, read on for all the information you need!
Preparing your floor
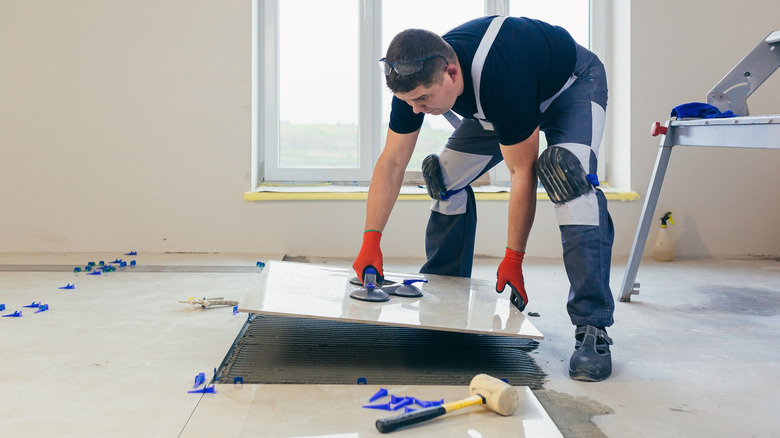
According to Home Depot, you should ensure your floor is ready for installation by making any necessary repairs and cleaning the area thoroughly. Take into account the type of room you'll be installing the laminate in as well. If you're in a basement with high humidity, for example, you may want to consider laying down a vapor barrier before getting started. If your floor is uneven, consider a foam underlayment to serve as a base for your planks. For personal preparation, you'll want to wear the appropriate safety gear, such as knee pads, work gloves, and eye protection.
Choosing your laminate

Per Home Depot, laminate comes in several different styles, such as smooth, embossed, and handscraped. Smooth laminate can resemble polished wood, marble, and ceramic, while embossed resembles wood grain texture. Lastly, handscraped laminate mimics antique wood with solid colors. In addition to this, you'll want to consider the level of gloss you desire. While there's no difference in durability, scratches aren't as noticeable on low gloss finishes. If you're installing it in a bathroom or kitchen, waterproof features of the laminate may be especially important.
Preparing for installation
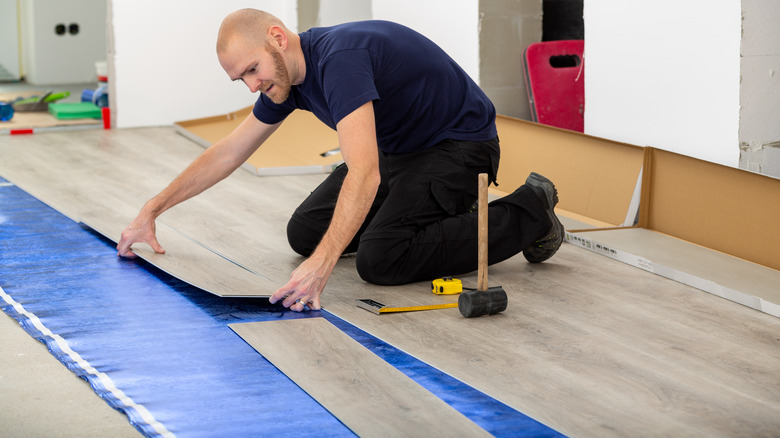
After you've chosen and purchased your laminate, it's time to get ready to install it! According to Home Depot, you may need to determine whether or not you need to start with an underlayment as your first level. Some laminate planks come with an underlayment already attached to the underside, in which case you would not need to install one separately. Underlayment installation will include rolling out the material, trimming it, and taping it down.
Installing the laminate
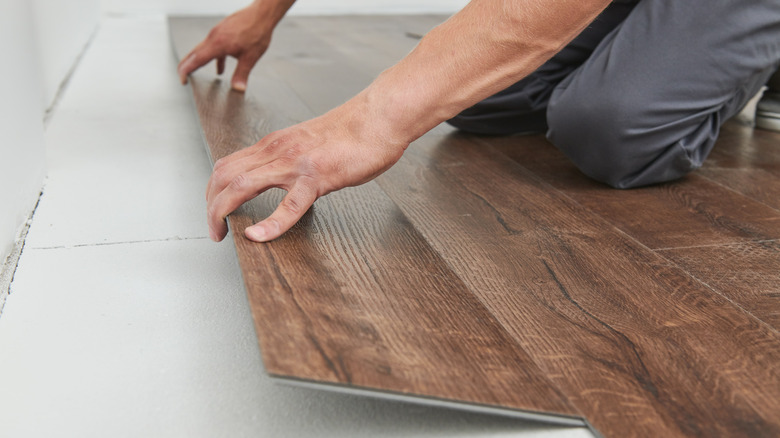
Laminate floor installation is essentially like building a puzzle. According to Fiddle Leaf Blog, you'll lay the planks lengthwise from left to right. A scrap piece of flooring and a rubber mallet can be used to apply pressure when interlocking the planks together. For cuts, you can use a miter saw, which is better for cutting straight lines, or jigsaw, which is best for corners. When laying laminate over tile, your floor may not be level. If the underlayment is not enough, you may need a material such as plywood to level the planks.
Finishing touches
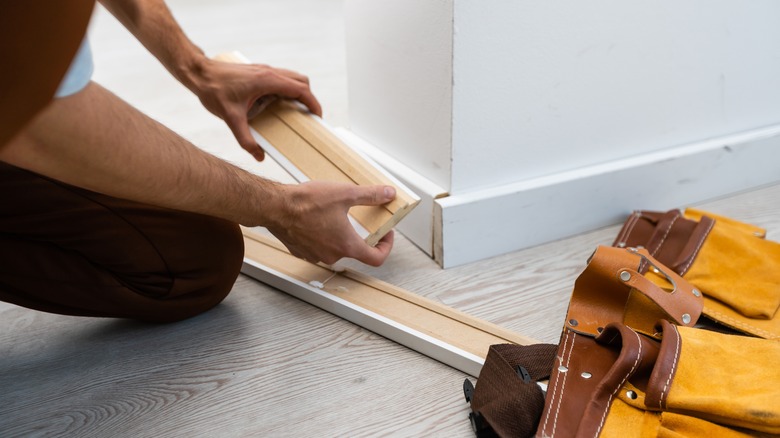
After you've cut and laid all the planks, it's time to add any additional finishing touches. Per Fiddle Leaf Blog, you can install baseboards and fill in any holes with silicone caulk. For baseboard installation, you'll want to make sure to lay them over the vapor barrier if you've chosen to use one. Remember that it's especially difficult to get paint out of textured laminate flooring. If you choose to paint your baseboards after installation, make sure to use thick tape that adequately covers the laminate so that paint doesn't seep through.