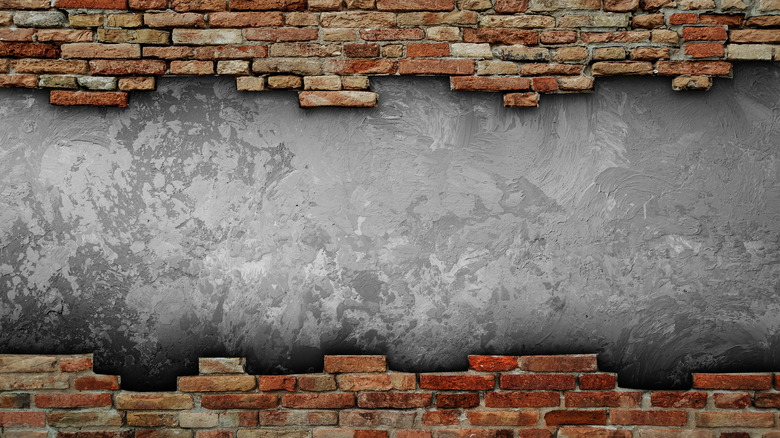
The Proper Way To DIY A Fake Brick Wall
Applying a faux brick panel to a wall in your home is a great way to personalize the space. Brick walls offer a unique style aspect and can be a major conversation starter. Brick walls were once reserved for city apartments that were built into historic landmarks, repurposed as a loft space for residential use. However, today, many people are finding that adding brick walls or a representation of an interior brick façade is easier than ever to accomplish.
From sourcing the brick façade to mixing the perfect spackle and paint ratio, the process will only take a day or two to accomplish, meaning that even the greenest of DIYers can start and finish the project in a weekend (or two at the maximum extent), according to A Thoughtful Place. Installing a faux brick wall isn't difficult, but it does take an eye for detail (via Frugal Family Times). No matter how you square the installation, lining up brick patterns along each new segment to be installed will leave you with a great visual product, while a lack of attention to detail will likely mean that you'll need to start over again.
With these steps in mind, engaging in a DIY effort to install a fake brick wall is simple, straightforward, and immensely rewarding.
Ensure that you have all the required materials
Installation of a faux brick wall isn't particularly difficult, but it does require some crucial tools that may not be in every homeowner's tool shed. Frugal Family Times includes the use of a brad nailer on their list of must-have items for this project. Brad nails are small nails that are fired through a nailing power tool that may be either gas-powered or completely cordless. The nailer will make quick work of the project and create minuscule indentations at the joins, whereas screws or traditional nails simply can't provide the same speed or discreet fixing power.
Alongside your nailer, you'll need a square, jig saw, circular saw or table saw, and adhesive compound to affix the panels to the wall more permanently. It's also essential to wear eye protection and ear protection while working with these pieces of equipment. On top of the technical material requirements, you'll need spackle or joint compound and paint, as well as the panels themselves.
Measure and purchase faux brick paneling
Taking accurate measurements is always crucial when planning out a home makeover project. If you're installing a fake brick wall section along just one accent wall, you'll need to measure the area of the space and take into account the need to carefully create overlaps that place brick sections against one another (rather than haphazardly), according to A Thoughtful Place.
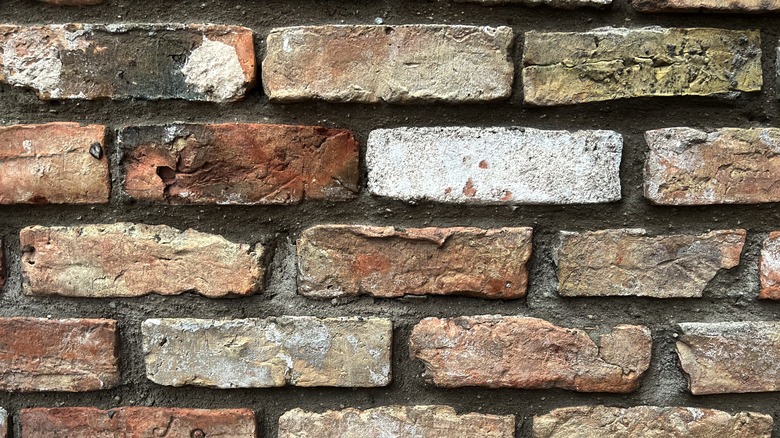
This all adds up to a requirement of overestimating your material purchase, just like when buying lumber to build something for the home or yard. Fortunately, these panels can be found in abundance at local hardware stores, and they come in a variety of pattern scales, color gradients, and textures. After you've finished measuring the space you're planning to add the panels to, shop your local area stores to find the perfect panels for your project and make sure you have some extra area to match up the seams for a stunning new feature in the home.
Start in the toughest corner or edge

If you are adhering these panels to a single, bare wall, you should start on one edge and work across the wall until you finish the installation. However, most homes and walls contain odd corners, windows to work around, and other elements that need to be considered when installing any new feature. Frugal Family Times reports that it's a good idea to begin with the trickiest segment of the space you are attaching paneling to and then work outward around the remaining wall area.
If you are including coverage of a corner or edge with odd dimensions, making measurements and cuts to facilitate the installation in this section first can speed along the overall installation in a significant way. These areas can be difficult to tie into the larger space later on because of their smaller surface area or odd shapes. Starting here will give you the ability to make decisions freely about the edge cuts and overall layout of the faux brick pieces and then work your way out from there rather than being boxed in when you arrive at the tight corners.
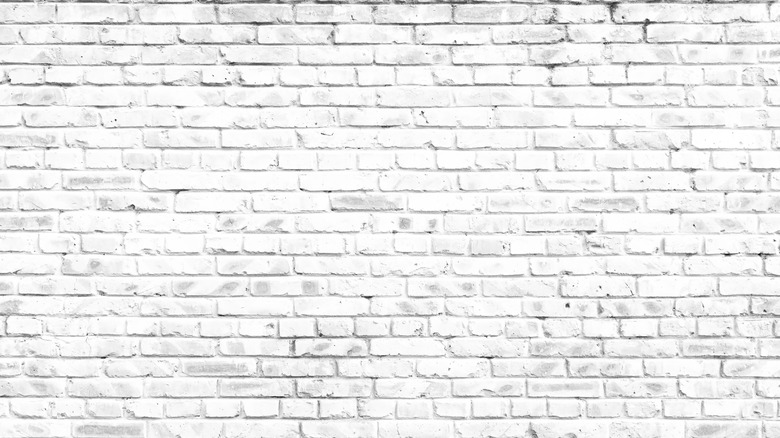
Test your spackle and color blend
After completing the installation of the paneling and making sure to line up seams between the brick segments to ensure a cohesive look throughout the wall, you'll want to move on to the texture. Jennifer Decorates reports using a mixture of spackle or drywall compound and paints to create the look that most homeowners are going for with their brick feature.
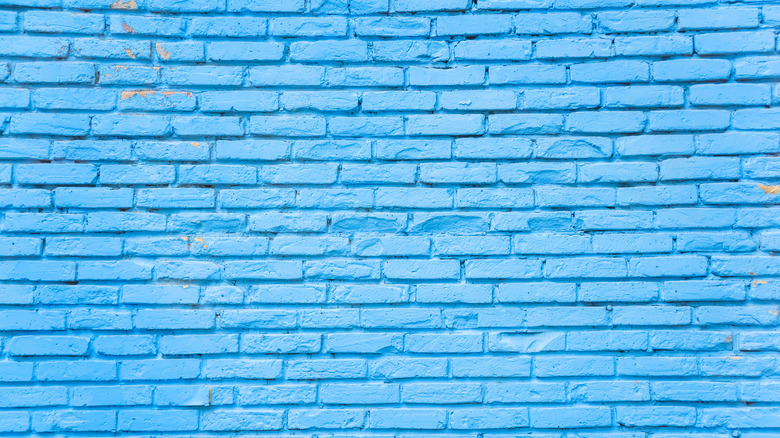
A Thoughtful Place reports that it's also a good idea to practice adding this mixture to sections of brick walling that you have leftover before going in on the wall itself. This is another reason to overestimate the number of brick wall panels you'll need for the project. Mixing your paint and spackle concoction isn't an exact science, so continue adding until you've arrived at a consistency and color that makes sense for your design. Whites, blacks, blues, and reds make for good pops of color in the finished product, but testing out a few options is always a good idea before committing to a color scheme for your wall. A Thoughtful Place also notes that taking a field trip around your local area to see real brick walls and get a sense of color patterns that you like can help in this process.
Add your texture sparingly
Adding this smear across the surface is perhaps the most fun part of the whole process. You'll want to create a more or less even coat across the wall, but precision isn't exactly key here. Brick walls are uneven, unpredictable, and never the same in two places. This comes from the nature of the bricks themselves, and in order to mimic this, you'll want to apply a healthy coating but ensure that it's not done to a level of relative perfection. The Savvy Sparrow recommends using an uneven coating to mimic the natural variation in real bricks and suggests that this process is actually far easier than traditional painting because of the imprecise slathering you'll be doing.
A Thoughtful Place suggests using sponges to dab on the mixture across the newly installed surface, while The Savvy Sparrow reports that a joint compound trowel works well to fill in gaps created by the grout spaces between brick features. Take your time to apply this coating across the whole surface, then when it's dry, Frugal Family Times suggests that you might want to go over the wall with sandpaper to rough up the surface a little (further mimicking the aesthetic of a true brick façade).