The Best Ways To Weather-Seal A Garage Door
How often do you check on your garage door seal? Do you even know whether your garage door has a seal or not? If you are living in an older home, chances are your garage door might not have a weather-seal after all. Many homeowners are unaware that garage door weather sealing is necessary for every home and comes with a lot of benefits that you ought not to ignore. If left unsealed, garage doors allow cold drafts to creep in, especially during the cold winter months. In addition, these gaps in your garage doors can let in pests and rodents that will wreak havoc in your home.
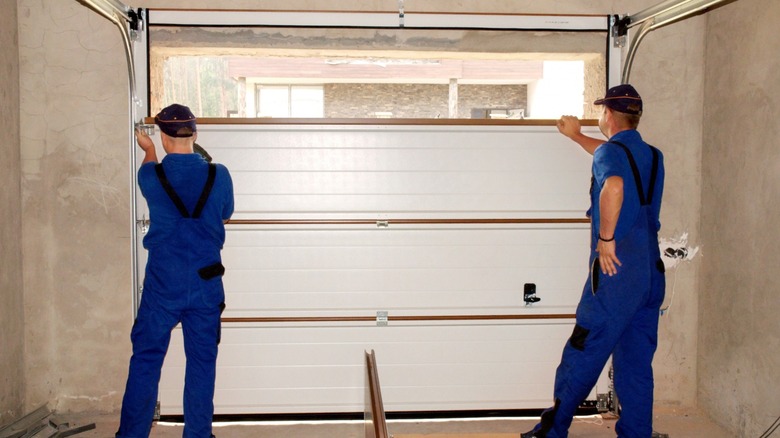
Fortunately, weather-sealing a garage door is not as hard as it sounds. In fact, it is a simple renovation that you can DIY with just a few hand tools. According to TBC Garage Doors, weather-sealing a garage door involves the replacement or installation of a bottom seal and weather sealing the molding on the side and at the top of the door. Let's have a look at these options and learn how they can even help you bring down the energy bills in your home.
Install a door sweep
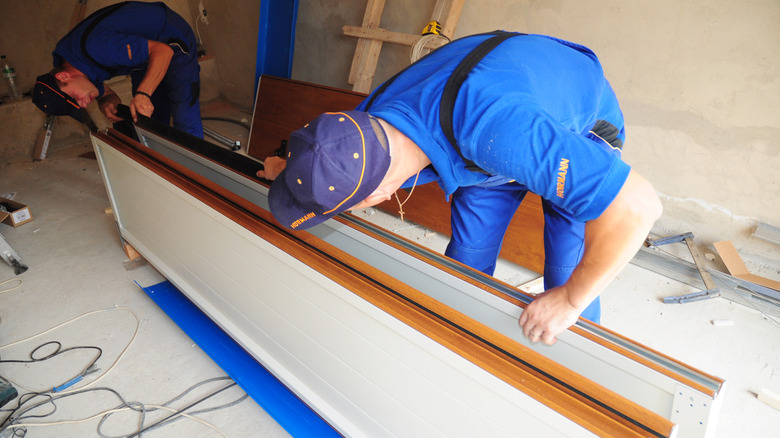
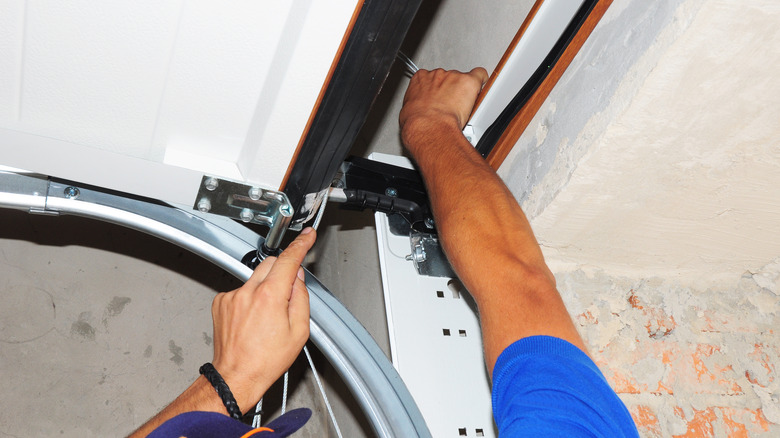
This is one of the easiest but most effective options for keeping the pests away and also improving the livability of your garage. The bottom seal, better known as the door sweep, is essentially a rubber or vinyl material that is installed at the bottom of the garage. This rubber or vinyl material compresses relative to the space left between the garage door and the ground sealing this space completely. Fitting with the most common metal garage doors, the rubber or vinyl bottom seal is U-shaped and designed to slide easily along the track retainer, explains idc-Automatic.
As a first step, you will need to remove the track from the garage door so you can then remove the old seal and clean the track effectively. Next, slide the new, U-shaped rubber seal onto the tracks and reattach the track to the metallic door. There are also options for trackless or wooden doors. These U-shaped models are instead affixed to the bottom of the garage door using galvanized roofing nails. You will know that it is time to replace your bottom seal once you can see light coming through the bottom of the garage door.
Install a threshold seal
Although they function according to the same principles, there is a huge difference between the threshold seal and the bottom seal. While the bottom seal is attached at the bottom of the garage door, a threshold seal is affixed to the ground. Just as the name suggests, threshold seals are attached below the garage door with adhesives to hold it firmly in position. It is made of strong rubber or vinyl and assumes a peak shape that provides the ultimate barrier for both water and unwanted cold or heat. This is a great option for completely covering the space under your garage door. You can use this method alone or combine it with a bottom seal if you so wish.
Installation is relatively easy, depending on your handyman skills. You will need to measure the distance between the edges of the outdoor tracks and cut the rubber or the vinyl seal accurately. Mark the area where the threshold seal should be installed, clean the surface, and apply the adhesives. Close the garage door to apply pressure while the seal attaches to the floor. It's important to keep in mind that while threshold seals stop water from coming in, they also stop water from flowing out whenever you need to clean your garage (via All Garage Floors).
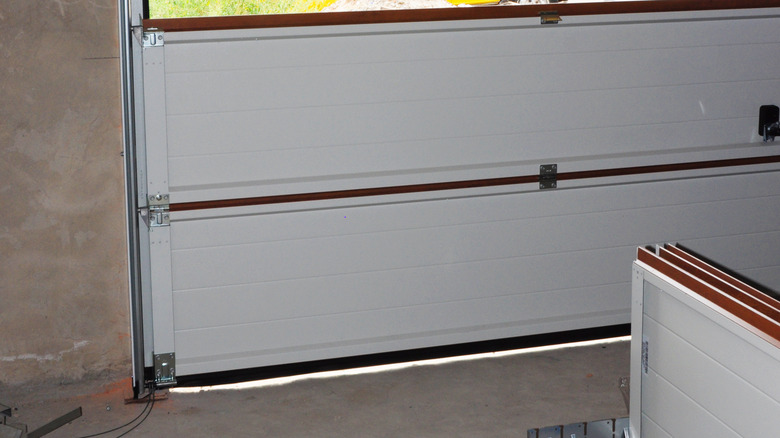
Consider side weather stripping
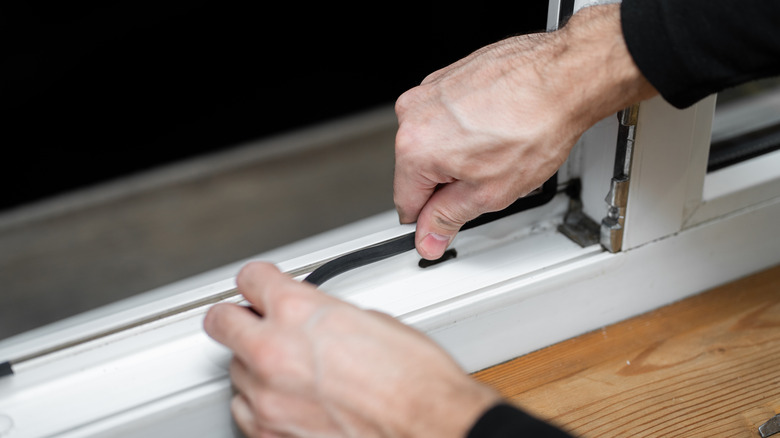
Another possible place where the elements can breach your garage door is the space on either side and on top of the garage door. One way around this problem is to install rubber or vinyl strips on the garage door molding. The flexible flaps will create a tight seal on your garage door and prevent water, debris, and bugs from getting in. According to Anderson Garage Doors, side weather stripping requires no maintenance after installation, and the strippings are also available in a variety of colors.
If you already have this feature installed, you should check on the condition of the rubber strippings before considering installing a new one. You will know if your older stripping has failed if you notice rainwater making its way into the garage through either the sides or at the top of your garage door. Similar to the other aforementioned weather stripping methods, this one is also quite easy to install. All you need to do is to cut the rolls into the required sizes and affix them using galvanized nails.
Incorporate garage door panel weather stripping
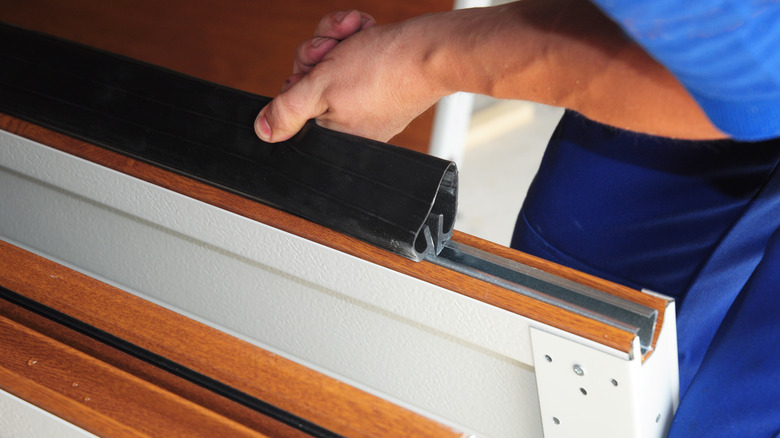
Modern metallic garage doors feature interlocking panels that are air-tight, and thus do not require weather stripping. If you have wooden garage doors with flat edges and panels, however, you will need to seal the tiny spaces between the panels. This stripping is made of a very durable material that is strategically placed in between individual door panels to prevent cold drafts and other weather elements from disturbing the temperature balance in your garage. You will be surprised at how much more energy efficient your garage will be after sealing these gaps that often go unnoticed.
When it comes to installation, a V-shaped panel seal is the easiest to install, they are available in rolls that can be cut down to the appropriate size before installation. With a reliable adhesive on one side, all you need to do is stick the strip at the top or bottom of each panel. The V-shape flap will seal the garage door perfectly every time you close it. A Better Garage Door, Inc. suggests you check on the V-shape weather stripping regularly as they can bend out of shape and will no longer provide an air-tight seal on the garage door.
Why you need to weather seal your garage door
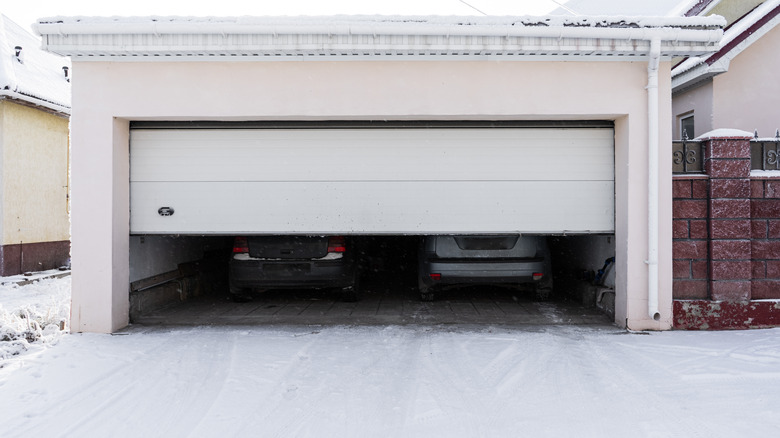
While the garage is not typically thought of in terms of energy efficiency, it's important for homeowners to consider that it may be the source of rising utility bills. Proper insulation of your garage prevents your HVAC system from needing to overwork itself in trying to keep your home habitable. If your garage is used for anything other than storage, making it a liveable space is essential, especially in smaller homes that need the extra room.
Weather-sealing the garage door also helps keep the weather elements away from your home, preventing a host of issues that can develop from water damage.
If rainwater makes its way into the garage, it can be disastrous to your property, and mitigating the water damage can be expensive to fix, according to Action Garage Door. Another reason to add weather sealing is to preserve the integrity of the system and prolong its use before you need to replace your garage door. If there is space big enough to fit a pencil through the seams of your garage door, you'll need to start figuring out how to tackle this home improvement project sooner rather than later.
How often should you weather-seal your garage door?
Generally, how long weather-sealing on your garage door lasts depends on the door's frequency of use. However, while true, a quality product should last between six months to a year, on average. This is why Precision Garage Door of Delaware recommends inspecting it at least once or twice a year. Fortunately, this can be done without having to call a professional. In fact, a damaged seal is easy to diagnose, especially if you notice icy drafts and outside water entering your garage. On the other hand, when it comes to installation, you can either go the DIY route or call professionals if you don't trust your handiwork.
Professional installation will likely cost you between $60 to $180, depending on the size and type of seal you choose (per STI Garage Door Service). Ultimately, the longevity of a seal is subject to the quality of the material and installation. So, hiring a professional and opting for a reliable product is a good idea if you want the weatherstripping to last for as long as possible.