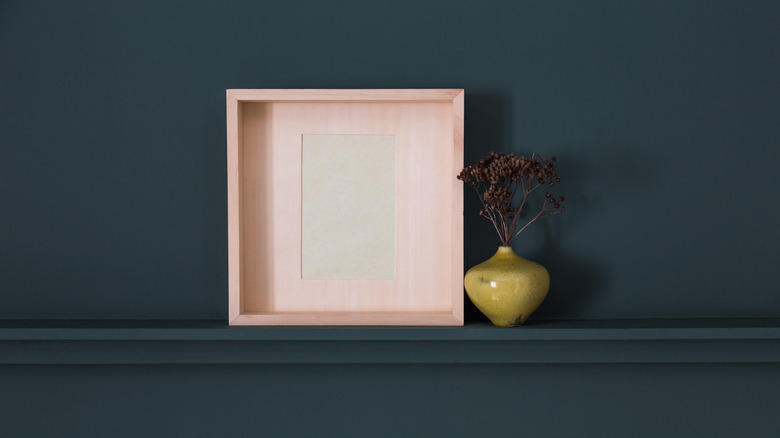
How To Create A Shadow Box For All Of Your Treasured Keepsakes
We may receive a commission on purchases made from links.
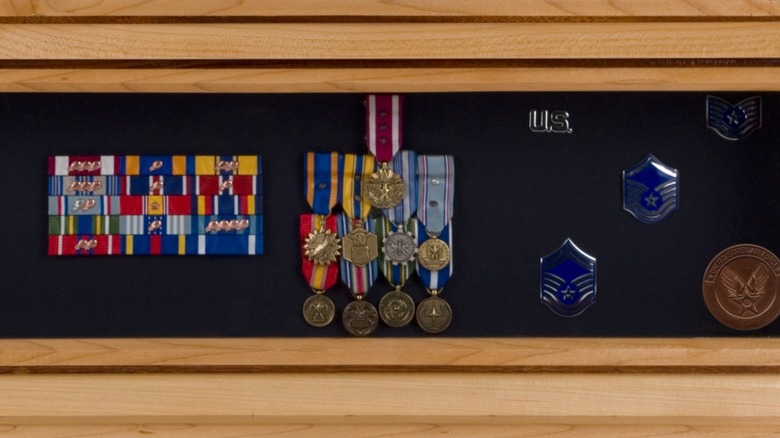
Sometimes, a simple floating shelf isn't enough to safely display something that holds a lot of meaning. Whether it's a trophy for a huge accomplishment, a family heirloom, a collection of photos and memories, or a sports jersey or ball you cherish, you need something that displays it safely. According to Displays2Go, shadow boxes were originally given to retired military members in order to hold special badges and recognition during their service. Today, the purpose of shadow boxes goes beyond the military to a more personal purpose.
There are tons of options for shadow boxes — from custom dimensions and color to artistic wood carving and intricate design. There are also ways to decorate shelves that include shadow boxes for a complete room design. Here we'll give you a step-by-step guide on how to create a shadow box for all your treasured keepsakes so they don't end up in a box in the garage.
1. Materials and prep
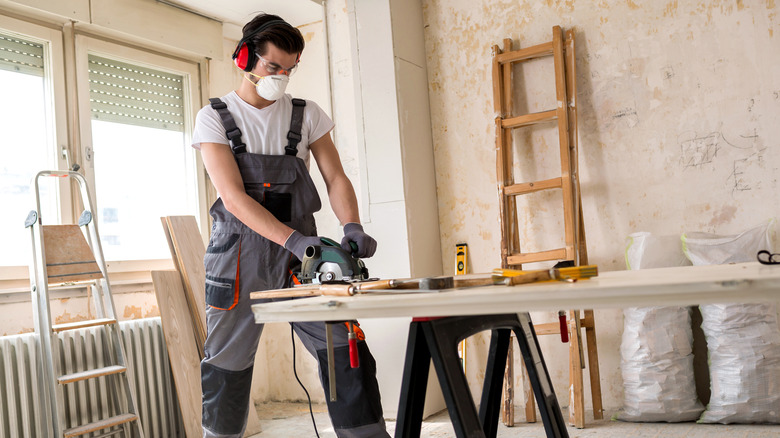
To make a shadow box from scratch, any wood will work. If you want a more rustic look, This Old House suggests using an old door to get quality wood that can be cut to the right length and shape you need to make the shadow box to your specifications.
Cut the sides of the box to the depth you would like your shadow box to be. After the sides are cut, make a ½-by-½-inch rabbet (i.e., a groove or recess that creates a lip, per Wood Magazine) in one corner (which will hold the back panel); and on the other side, make a ½-inch interlocking dado that will be used to hold the shadow box's glass.
2. Miter cuts and pocket holes
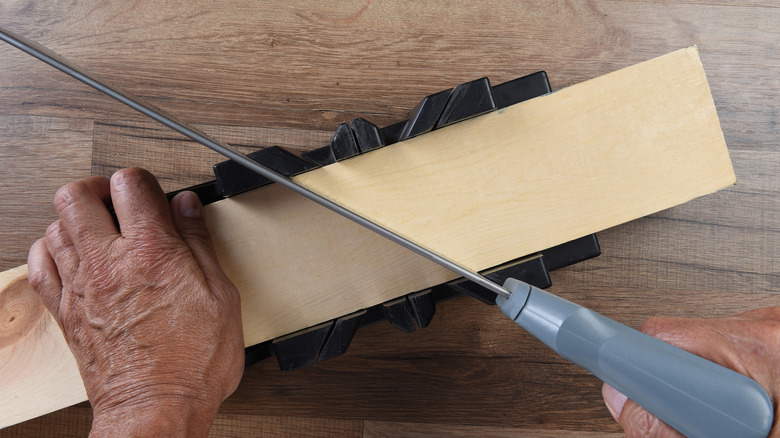
To each of the four sides, you'll want to make a miter cut at a 45-degree angle. These miter cuts are how the sides will fit together, like a picture frame.
For the back panel, cut it to the shadow box's width and height. In the back of this panel, Build Basic suggests using a pocket-hole jig and your trusty drill to make two pocket holes on the panel's shorter sides and three pocket holes on the longer sides of the panel. Place the back panel to the side.
To start assembling your shadow box, apply wood glue to the bottom and one of the sides to adhere them together, and then drill pocket holes to screw them into place. Add the other side to the bottom and let dry. Set the top piece to the side (for when after the cover is added).
3. Color (or wallpaper)

Now that the shadow box's glue has had time to dry, it's time to decorate it to match your personal style. According to MasterClass, white or black paint is the most popular because of the simplicity of either color. The colors are easy to blend with practically any decor and can showcase the items inside the box better, too.
Another suggestion, however, is to wallpaper the back panel using stick-on wallpaper, making it more unique. You could also, of course, leave the wood as is and simply cover it with gloss sealant for that shiny finish.
4. The shadow box cover
Once the shadow box's paint or gloss finish has had time to dry, it's time to add the box's clear cover. This is an easy step; simply fit your piece of glass into the dado groove you cut in step 2. Note that you'll likely need to cut a piece of glass to the box's specifications yourself (as it's unlikely there's a ready-cut piece that fits), using a glass cutter or sharp knife, per Home Depot.
Alternatively, you could also use a clear plastic cover like plexiglass if you're worried about the shadow box falling and the glass shattering. DoItYourself suggests using glue to attach the plexiglass to the shadow box, making sure all the edges are aligned to avoid overlap or a misaligned cover.
Once the cover is in place, glue the last mitered side in place using wood glue.
5. The back panel
The final step of your DIY shadow box is to add the back panel. This panel should fit into the rabbet cuts you made into the box's four sides in step 2; the panel's drilled pocket holes will allow you to screw the panel into place, as well as open the shadow box up if you need to make changes to what's inside.
A final note: While shadow boxes can, of course, go on a shelf or a mantel, there are many wall art ideas that incorporate shadow boxes, too; suitable for any room, you might want to consider them when finding the perfect place for yours. We hope this creative mini-guide inspires you to create your own shadow box and say goodbye to keepsakes in the garage!