The Easiest Way To Install A Retractable Screen Door

Gone are the days when screen doors and windows were a luxury. Now, they are essentials — necessities and every other word that emphasizes this same point. Not only are screen doors aesthetic, but they also serve as a convenient option. They are pet and little kids-friendly, and also help conserve energy and protect your home from bugs and creepy crawlers, says Larson.
For excellent decor, we also recommend a retractable door because it helps improve the lighting of your home significantly. This is just perfect for all the interior decor styles you want to try out whenever and wherever. But, installing one could cost anything from $100 to $1,500 (via Angi), and that's a valid reason to shy away from this door choice. But not to worry, you could save up a couple of dollars by simply opting for a DIY installation. This is a rather easy technique, as long as you have the perfect guide. Today, we'll be sharing exactly how to install a retractable screen door so you can ace your DIY like a pro!
Select a type and price

The first step in installing a retractable screen door is selecting your preferred type. For an awesome user experience, retractable screen doors come in different types to ensure you find one that'll fit your existing door type perfectly (via Designing Idea). According to Mr. Window Screen, sliding retractable screen doors are the most common type, and they are connected to the door frame with a push button or latch. The sliding retractable door opens and closes horizontally as well. If you're looking for something simple and quite easy to operate for everyone in your home, this should be among your top pick. Although prices vary, you should budget between $100 to $300 to get one.
On the other hand, if your pre-installed door is a storm door, then our recommended pick would be the pull-up and down retractable screen door, and the experts at Feldco Factory Direct agree with us too. With or without an insect screen, the retractable screen is pulled up to access the home. Finally, for those who seem to have a ton of people and pets coming on and out, you may pick a magnetic retractable screen door. Why? Well, these models are majorly curtains connected with magnetic clasps that snap back quickly after you've passed through. It's quite affordable, and you'd get one as low as $10 (via Home Decor Bliss).
Measure the door
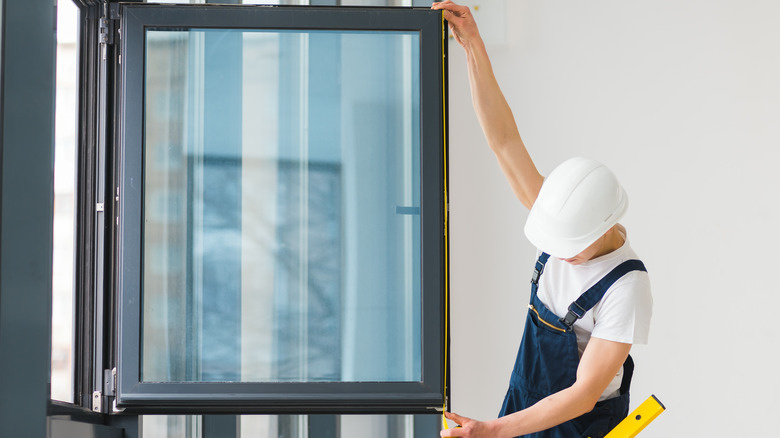
Now that you have decided on which style of retractable screen door you'll be purchasing, just before driving to the home improvement store or placing your order online, get your measuring tape. It is important to measure your already installed door to get the right specifications for the retractable screen door about to be attached. Although there are standard sizes, mostly 32 to 38 inches (via Bob's Finish), it's better to be extra sure before spending a lot of money on the wrong match.
The measurement techniques differ from door to door. If you're getting a retractable magnetic door, you'll measure the outer door frame for a proper fit, says LYGFZF. However, for the pull-up and down retractable screen door, measure the exterior door within ½ to 1 inch, say the experts at Legends Retractable Screens. Afterward, at the store, you could then work with the measurement on the available doors and select the nearest fit for your door. And if need be, Demers Glass LLC says that you could always cut and file the door to fit. Finally, get all the needed tools for installation like a pencil, hacksaw, drill driver and bits, tape measure, scissors, screwdriver, and a utility knife. Then, proceed to read the manuals of your screen door.
Install the retractable screen door
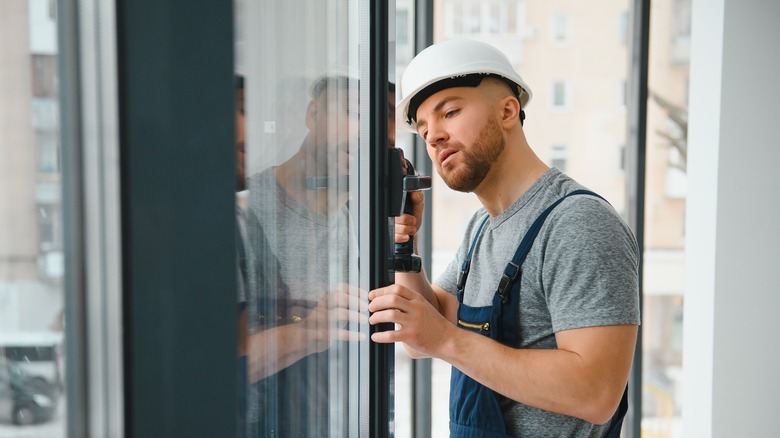
The installation process of your door would take a minimum of three hours and a maximum of six hours, so be prepared to dedicate this amount of time to your door. The first major step is to determine which way to install the door. If your main door swings in, mount the retractable screen door just outside the door frame or vice versa. Next up, you need to attach a part of the door known as the boot body (where the screen lies). To do this, place the end cap on the boot body and screw it in place, says Metro Screenworks.
Next up, install the retainer guide and the available recess mount clips. For the recess mount clips, the experts at Quality Window Screen say to place them 16 inches away from the top and bottom. Screw them in place, and then trim the top and bottom guide rails if need be. Place the bottom rail into the cassette end cap and slide the boot body upwards. The next step after this is to place the top guide rail on the boot body tap.
Finally, install the side rail of the retractable screen door, and if you have a threshold transition, install it at this point. If not, move on to installing all of the screws as mandated in the manual, and then finally, your retractable screen door is ready.