How To Caulk If You Don't Have A Caulking Gun
We may receive a commission on purchases made from links.
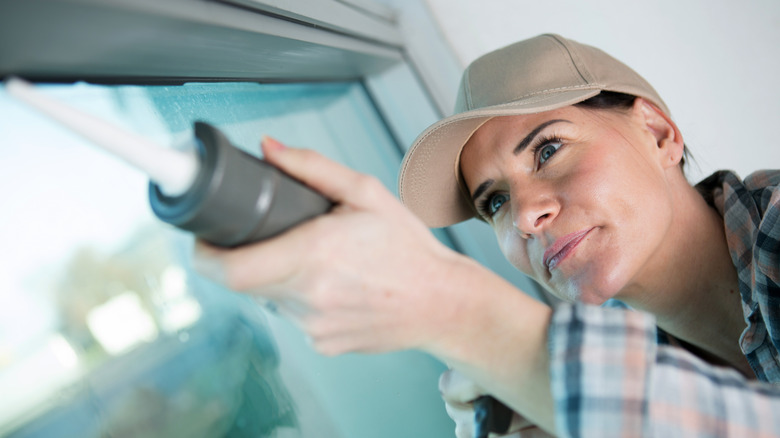
The ingenuity of DIYers is basically limitless, even when applied to something as simple as caulk. If you find yourself with caulking to do at home but no caulking gun, it's not impossible to solve the problem. However, we must admit out of the gate that the pinnacle of caulk inventiveness is the standard caulk gun, and the workarounds all fall short in some way, even though the results tend to be quite good. So if there's any way to get your hands on an actual caulk gun before you start your project, that's what you should do. According to Podarilove, the item is a frame that holds sealant cartridges and includes a piston to push the sealant out. This piston activates by a trigger and is therefore called a gun, although it's more like a syringe.
Asking around, we have discovered that the average suburban homeowner has five or six caulk guns, though they can't begin to tell you where any of them are. Even the average urban renter has one for reasons they can't quite recall. However, let's assume you can't put your hands on one, and you need to caulk your mother-in-law's new backsplash after Thanksgiving dinner. No stores are open, and everyone is either washing dishes or pretending not to take a nap. Here is everything you need to know about caulking if you don't have a caulk gun.
Types of caulk
The two primary types of caulk we apply in our homes are latex and silicone or some combination. There are many such combinations and many other kinds of caulk to boot. Pure silicone is the best choice for a tub or shower because it's flexible and tough, per Home Fixated. However, it smells bad, leaves a mess, and doesn't stick to wood or drywall. (What it's good at doing if it doesn't stick remains a mystery).
More common is acrylic latex, which is cheap, fast-drying, easy to clean up, and paintable. Vinyl latex is similar but can be used outdoors, and lasts longer. Acrylic tile sealant is for wet locations but only lasts a few years. Siliconized acrylic is strong and can be used outdoors, but is challenging to clean. Adhesive caulk is glue. Butyl rubber is flexible and stable in sunlight, and it's usable from -50 to 250 degrees Fahrenheit, or from Mars in summer to Miami in springtime (via Thomasnet). Use asphalt sealant for parts of a roof that aren't in direct sunlight. Mortar repair caulk is for (wait for it) repairing mortar, and can be challenging to use. Fireproof caulk is for closing air gaps in framing. In mom-in-law's kitchen, you're going to use siliconized acrylic latex caulk, since that's what she bought.
Caulk packaging
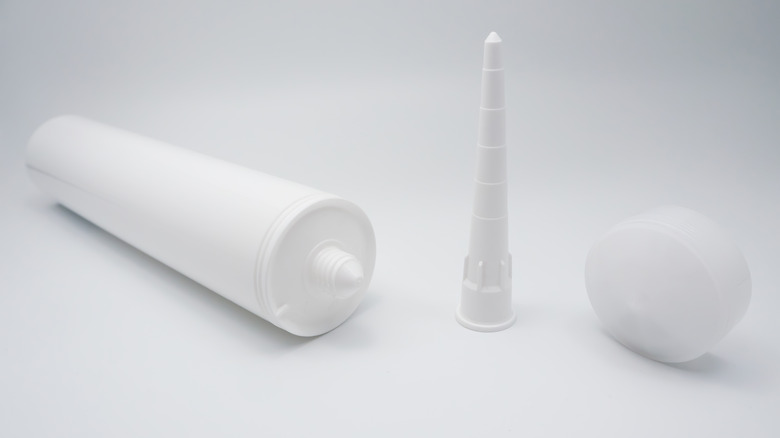
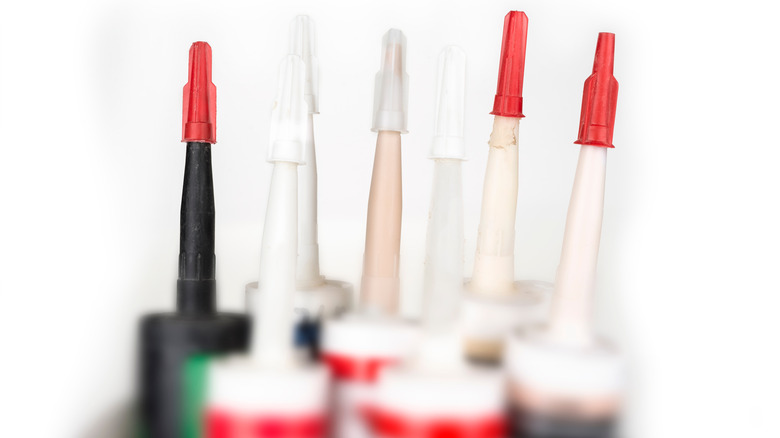
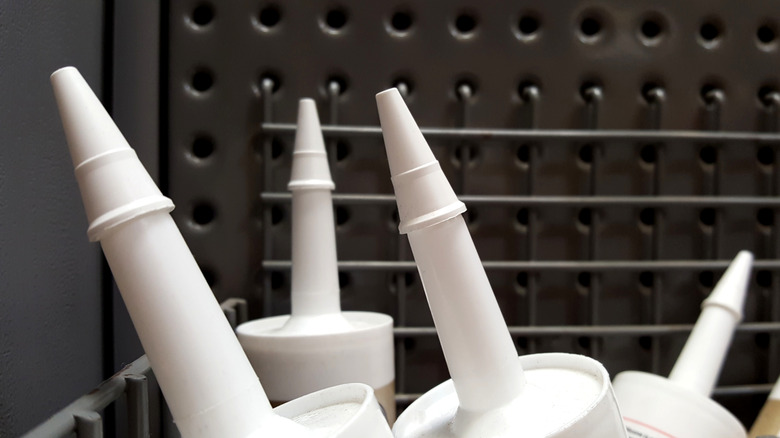
Caulk comes in several container formats. Chances are you have a standard cartridge tube which are available in 10 to 11 oz and 28 to 29 oz sizes, per McMaster-Carr. The more common size for household caulk is about 10 oz. Most caulk guns for this format are manual, but there are also battery- and air-powered versions, usually for professional use.
There are also bulk-load caulk guns, which fill directly from a container, and sausage packs (for use with sausage guns, neither of which is as much fun as it sounds). Builders typically use these guns with large amounts of sealants (via MT Copeland). Some caulk containers don't require a gun, such as caulk singles (small, toothpaste tube-like containers for single use). You can also use caulk that comes in aerosol cans without a gun. Finally, there's also a caulk cord, a rope-like length of material for weatherstripping doors and windows (via Lowe's).
Improvised gun ideas to try
Since you're almost certainly dealing with a roughly 10-oz standard cartridge, you need something that functions more or less like a standard caulk gun. That is, you need to hold the body of the cartridge in place while some plunger-like (or piston-like) mechanism pushes the caulk from the back toward the applicator tip. The most common is the hammer butt method, by which you insert the butt of a hammer (or some other T-shaped object to use as a plunger) to push the caulk. Actually, you'd probably end up resting the hammer against your body and moving the cartridge body, which is awkward but workable, according to Fine Homebuilding.
Less awkward is the quick clamp method, which uses a ratcheting bar clamp and a scrap of wood in place of a caulk gun. The finished result is pretty much caulk gun-worthy. Put a piece of wood about as long as your cartridge in the plunger. Then, clamp the wood against the fixed jaw and the front (applicator-side) edge of the cartridge cylinder on the moveable jaw. In "Make: Tips and Tales from the Workshop Volume 2," it's suggested to use a couple of cable ties to affix the cartridge to the clamp bar, and you have an improvised caulk gun very close to the real thing (via Google Books). Another intriguing idea is to use a plastic kitchen storage bag like a baker's piping bag or pastry bag (via Fine Homebuilding).
Improvised gun ideas not to try
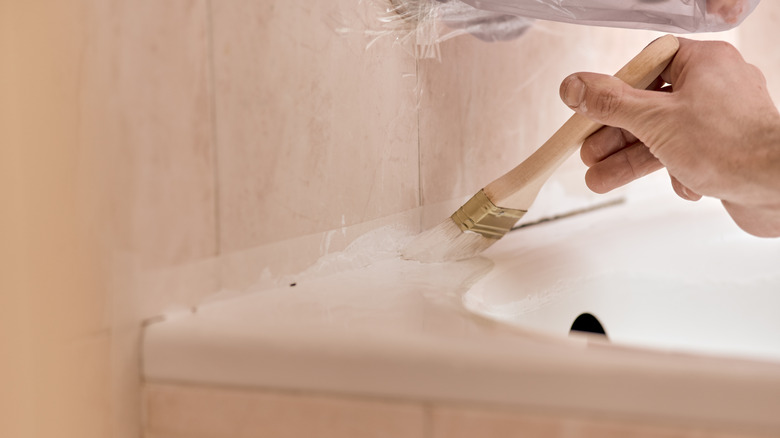
Some ideas never get off the ground conceptually and seem more like a way to garner YouTube views or Pinterest shares from the astonished and the curious. One example is painting on caulk using a brush or roller. The underlying challenge in caulk application is to prevent a mess, so starting with a big mess doesn't seem like a good approach. However, this appears to be a fairly common approach for professionals, so perhaps the idea isn't completely wild.
On a recent episode of the Australian reality TV show "The Block," there was a flap when a tradesman was spotted painting when he wasn't supposed to be, per Daily Mail. It turns out he was actually applying caulk. You can also use paint brushes to shape applied caulk, which is particularly useful for matching nearby wood grain (via Instructables). Ultimately, your satisfaction with the effort required and the end result is what matters, so few ideas are unacceptable without investigation. Use your judgment.
DIY drill-powered caulk guns
If you have a broken caulk gun (and lots of people do), one idea that might actually have some merit is the DIY drill-powered caulk gun. We love this overkill hack, even though it seems far more involved than simply going to a store and buying a caulk gun. The frame of the caulk gun does its usual work, while a drill replaces the trigger mechanism by driving a threaded rod through what amounts to a captured nut. Instructables has a step-by-step guide to creating one from a broken caulk gun, and there's a hopelessly over-engineered version on the DIY & Crafts Facebook page. There are also commercially available drill attachments for dispensing caulk.
Screw-powered improvised caulk guns use the same principle but employ something other than a drill for twisting, usually cranked by hand (via the DIY with AK channel on YouTube). The problem with this design is that you are manually twisting the gun while also manually pulling it. It appears to take a lot of practice to manage these two conflicting motions while laying down a uniform bead of caulk.
Finger versus tools
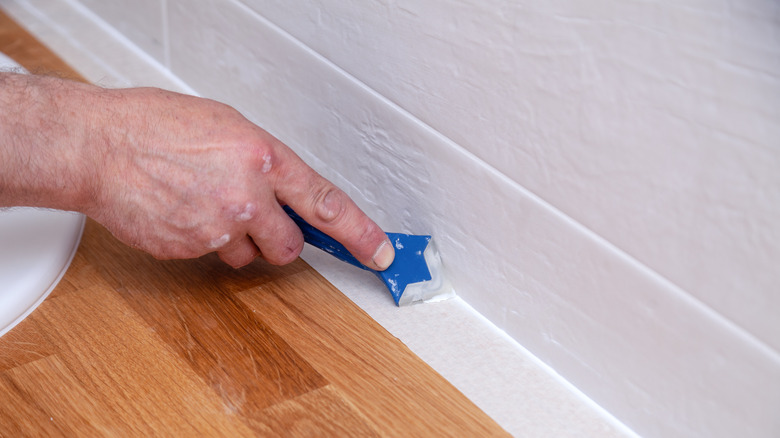
Whether you have a caulk gun or not, you'll probably need to smooth the caulk bead. Some pros can caulk without much or any smoothing, but you're probably not a pro. Without a proper caulk gun, you're more likely to need some smoothing. Here's how to do it properly, using store-bought and improvised tools. Caulk smoothing tools are often strangely shaped bits of plastic, though some (like the Allway Caulk Applicator Tool from Lowe's) include metal. There are many shapes (many of which are in this set from Amazon). Some integrate into caulk cartridge applicator tips, like these ORXPLUS tools from Amazon. However, most are separate hand-held devices. These steel-ball-ended smoothing tools from Speedwox on Amazon look like they'd emulate a fingertip, though perhaps not as good a job as the Caulking Finger on Amazon, which is a finger you can hold with your ... fingers.
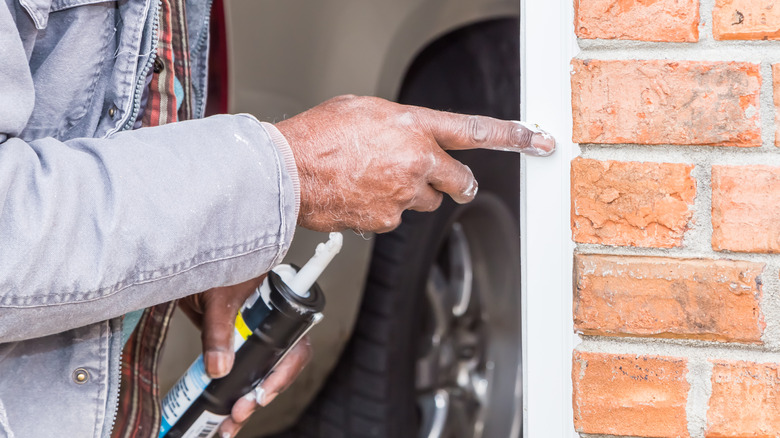
Predictably, many suggest just using your finger. You might want to wear gloves, and if so, use latex gloves for latex-based caulks and vinyl gloves for silicone. Nitrile and latex gloves may prevent silicone caulk from curing properly (via Smooth-On).
You can also improvise your smoother like you did the caulking gun. Try a plastic spoon, toothbrush handle, or a rag (via eHow). A credit card or similar object also seems like a natural fit and one you can re-shape as needed with a pair of scissors. We also like the idea of using various sizes of wood dowels (via Extreme How-To).
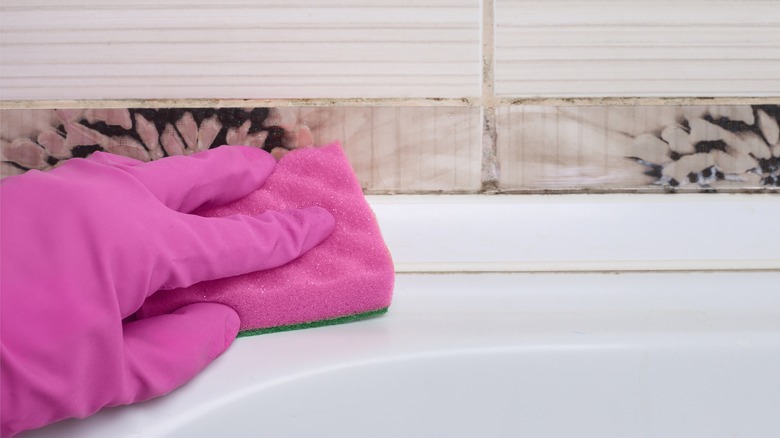
The cleaning process
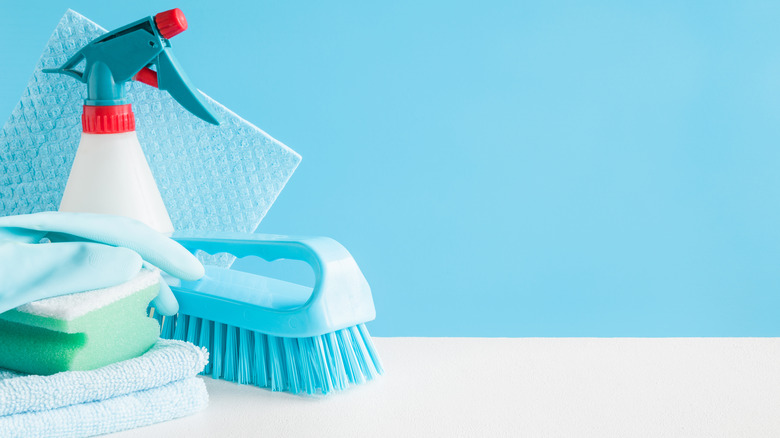
This first step in caulking without a gun process (and caulking with a gun) is to clean the area, per the Chicago Tribune. Caulk adheres best to a clean, grease-free surface. If you're not trying to get the stuff to stick, you might as well squeeze some toothpaste on it and watch the game.
How you clean depends, of course, on the type of surface you're cleaning and what you're trying to remove. Caulking the backsplash behind a stovetop might involve more degreasing than caulking a board-and-batten living room wall. However, beware of leaving moisture, grit, or chemicals from cleaning supplies behind, as those could also interfere with caulk's ability to stick. It's best to use rubbing alcohol or denatured alcohol since the alcohol will evaporate speedily after you finish cleaning surfaces. If you have a tough cleaning job, you might start with other cleaners and end with alcohol.
Apply painter's tape
Everybody hates this step, arguing that applying painter's tape to constrain your caulk is more challenging than actually applying the caulk neatly. At least everyone hates it until they're cleaning up their messy caulk-work and wondering why they didn't use painter's tape. This failsafe makes sense because however long it takes, it doesn't create a mess and actually prevents messiness in the first place. Taping takes less time than re-doing a bad caulking job.
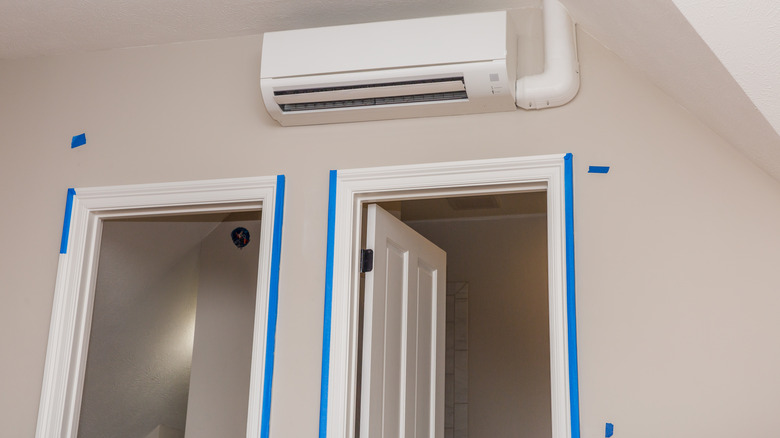
The Billy.com blog notes that a crisp caulk line (and, therefore, painter's tape) is essential when caulking between different materials or contrasting colors. How far in your space you tape (that is, where you will put the edge of your caulk) depends on what you're caulking. It's best to tape about ⅛ of an inch on each side, but others suggest that a dime-width final caulk bead is about right (via Spectrum Paint).
Cutting the nozzle
Everybody knows you cut the caulk applicator and that you cut it at an angle. However, everybody seems to know something different on the internet and argues about it endlessly. Most suggest that you cut the applicator tip at a 45-degree angle. Billy.com recommends 30 degrees, while others prefer a straight, 90-degree cut for more flexibility in sharp turns and corners. Use your best judgment, but if you're using a caulking tool, we have a hard time faulting the no-angle logic.
Where you cut the tip also matters. The closer to the cartridge you cut, the larger your caulk bead, and it's way harder to clean up too much caulk than to reapply a small bead. Cut the tip small and handle the small gaps, then cut it for the bigger ones. Don't forget to puncture the seal between the cartridge and the applicator tip. Caulk gun handles often include a swing-out pokey wire specifically for this purpose. Since you don't have one of those, you can try a nail or a long, thin screwdriver.
Press caulk out while forming bead
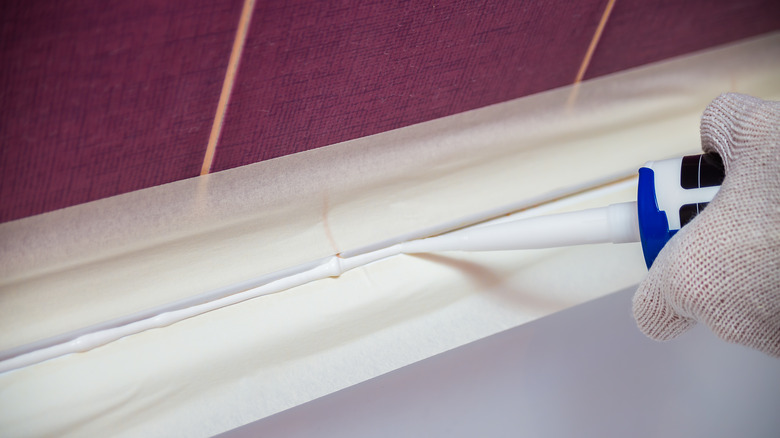
This part is the bulk of the work a caulk gun would do. With practice, you can become competent at putting down a bead of caulk with a gun. You shouldn't get practice without one because you should buy a gun. Here's how to form a good bead without a gun once and never again. Slow and steady is the key. Work in one direction and dispense caulk as evenly as possible, advises Home Depot.
Whether to push or pull caulk is an issue that everyone has an opinion about, all of which are perfectly correct. Most experts favor pushing, while professionals in the field tend to pull (via JLC Online). Pushers fill joints with more caulk (via West Fraser Timber), while pullers say it's smoother because you don't get snagged on every irregularity (via PaintPRO). It seems clear that pulling works best because you are moving in a straighter line and avoiding sudden shifts in the angle that cause errors. When using a caulk gun, pulling also avoids the conflicting forces you'd get from pulling the handle while pushing the gun. Cutting your applicator tip straight rather than at an angle splits the difference between pushing and pulling because you'll work at a steep angle near 90 degrees. Either way, the most important thing is to take your time.
Smooth with tool or wet finger
As the old saying goes, it's time to get out your latex gloves, plastic spoon, and an old toothbrush. This part gets a little involved, but remember that the caulk you apply with a gun has two purposes: looking good (when not covered) and sealing a joint against water, pests, and air leaks. Since it's entirely subjective, you can check off the first part when you like the result. The sealing is a bit more tricky and can be challenging to get right when applying caulk (usually messily) without a caulk gun.
Properly sealed corner joints typically have a flat bead of sealant, 45 degrees to both surfaces. JLC Online says this is called a fillet bead. With practice, you can accomplish it with no smoothing. On the other hand, a sealant joint forms when two surfaces are butted against each other to form a single combined surface. Since these tend to occur in wet areas like baths and the materials often contract and expand, this is a more technical joint with specific requirements. When properly executed, you'll see a concave caulk line on one side of a hidden hourglass between the surfaces you're sealing. The other side usually rests against a foam backer rod stuffed into the joint. Your side of the sealant and the side against the backer rod should both be concave (via Hammer and Hand). However, some sealants don't follow either pattern. For example, polyurethane, Mulcro supra, and other materials require a convex bead (via Canadian Contractor). As always, read package instructions carefully.
Clean up again
If all goes well, by the time Uncle Frank has broken your favorite casserole dish and the kids are moving from Cranberry Sauce Speed Phase to Cranberry Sauce Torpor Phase, it will be time to clean up the unholy mess you've made of the backsplash. Here's how to clean up effectively. If possible. And it might not be.
If you've used painter's tape, this should go smoothly. Since you didn't have a drip-free caulk gun, there's a fair chance you have the occasional blog of caulk where you stopped, but the caulk didn't. Getting rid of smears and stray blobs is easy enough with acrylic caulk, which cleans up with water. Caulks containing silicone can be tricker. Loctite recommends a caulk remover. If you don't have one laying around (and odds are you don't if you don't have a caulk gun), use a dry paper towel to remove as much as possible. Then, clean up the residue with Goo Gone (via RV Repair Club) or vinegar, alcohol, or WD-40 (via Waterproof Caulking & Restoration).
One last task. It's the morning after Thanksgiving, and you're driving back to your mother-in-law's house to finish the caulking job you wisely abandoned yesterday. You have decided to buy a caulk gun and possibly a new backsplash to replace the one you destroyed yesterday. Good move. Don't forget to take your caulk gun to Thanksgiving dinner next year.