5 Savvy Tips For Staining Your Wood Fence
A wooden fence not only keeps off prying eyes but is also a beautiful addition to any home. As much as we would want our borders to last forever, the fact is that they are battered every day by the ever-changing weather and other environmental conditions. Wooden fences might win a few battles against the weather elements, but Mother Nature ultimately wins the war. With this in mind, homeowners need to provide an added layer of protection to wooden fences to increase their functionality and keep them in tip-top shape. Remember, when wooden fences are continuously exposed to UV rays, they often get discolored, losing their aesthetic appeal significantly, per MMC Fencing & Railing.
So how do you revive an old fence that has seen the worst Mother Nature offers? Staining! Staining is not exclusively for older fences; even new barriers can benefit immensely from a good staining job. Contrary to popular beliefs, staining is actually relatively easy to pull off. It is one of those DIY projects that you can take on instead of paying someone else to do it for you. All you need is some preparation, the right equipment, and some elbow grease! Here are a few tips that will help you pull off a professional grade staining job!
1. Prep the fence
The first order of business is to prepare your fence, which entirely depends on whether your wooden barrier is old or recently installed. To begin, you need to make sure that the fence is completely dry before starting any treatment. Newer pressure-treated wood fences are often wet during installation and need enough time to dry before staining. Rain is another reason that may cause your wooden border to be wet, so give the fence two to three days to dry out in the sun. Staining a wet wooden fence is counterproductive; the color will not adhere properly to the wood surface, and you will have to redo the whole process.
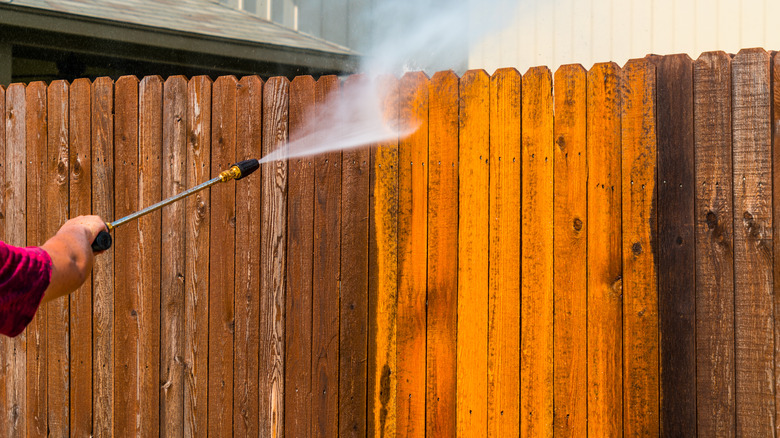
On the other hand, preparing an older fence involves giving it a proper wash to remove the stains, dirt, mold, and mildew accumulated over time. Simple Green cautions against using common household bleach to remove grime and dirt when cleaning wooden walls. The same goes for chlorine-based wood cleaners that might kill the grass and other plants nearby. For the most part, a pressure wash should be enough to remove dirt and old stain residue on the fence. If the fence is dull or discolored, consider applying a coat of wood brightener to restore the original color.
2. Get yourself ready
Staining a wooden fence usually isn't a one-day job. If you are working with a bigger home, you should expect the task to be significant. Before going in, spend a few days figuring out how you will approach the whole task. First, assemble the equipment beforehand, and make sure you have a pair of protective gloves and eye protection at least. Also, pick out attire you don't mind staining for the task. Since it is not a one-day project, think about what will be the best time for the job.
Remember to look at the expected weather for the week you plan to stain the fence. Don't rush; if there are no prospects of good weather, it is wise to wait and do it later. Severe cold and heat have adverse effects on how stains will turn out. The intense cold will prolong the drying time, while extreme heat causes the stain to dry out too fast, leaving ugly undesirable marks on the fence via Reno Paint Mart. The best time to stain your fence is when the temperature is moderate with relatively low humidity levels.
3. Pick the right stain for your fence

Imagine putting in the long hours only for the final product to fall short of the expectations. To make it even worse, you might be forced to go through the entire process again sooner than anticipated. The most important decision you will make during this procedure is picking the right stain for your wooden fence. Remember, you get what you pay for — cheap staining products might appear like a tremendous bargain initially, but you will have to replace them more often, and they might not give you the finish you had in mind. Pick something that will protect your wooden fence and, at the same time, complement the color of your house.
Essentially, you can select two types of stains: oil- or water-based colors. According to Summit Fence North, water-based stains have proven to be better in the long run regarding protection and aesthetics. Water-based wooden stains offer plenty of colors, and you will likely get one that will complement your house. Also, Summit Fence North further mentions that water-based stains are absorbed better into the wood and allow for better air circulation than their oil-based counterparts. When done correctly, water-based stains are more likely to extend the life of your wooden fence.
4. Use the right equipment
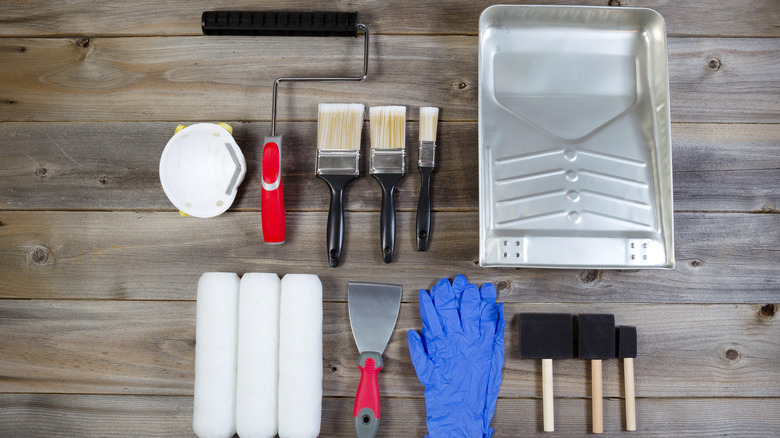
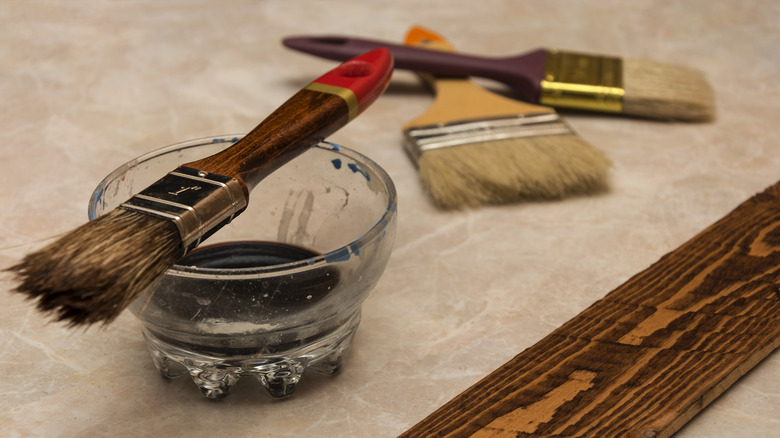
Using the right tools will make your work a lot easier. There are three tools that you can use to stain your fence: rollers, a traditional brush, or an airless sprayer. The type of tool you use depends entirely on the size of your wooden wall. An airless sprayer will make your work easier if you have a large home with a big fence. This equipment comes in different sizes, including smaller handheld types that are easy to use, even for beginners. You can even stain the whole fence in one weekend if you rent a sprayer from your local paint store! On the other hand, you can use a roller or a brush to stain small fences.
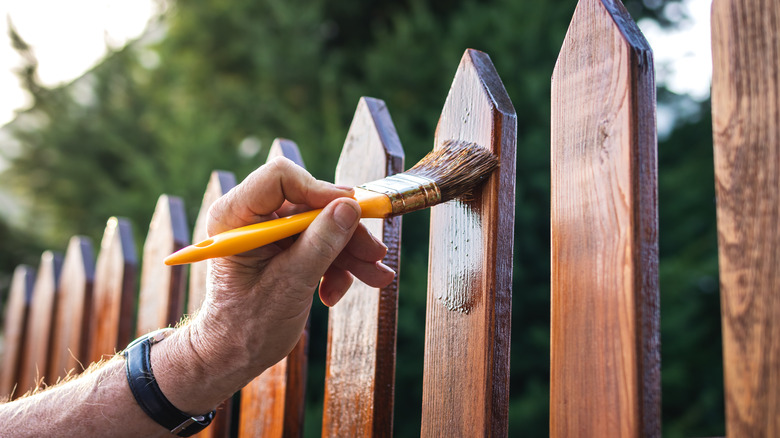
Staining a fence is no different from staining a wooden deck. You need to start by spraying from the top and go all the way to the bottom — avoid stopping in the middle. Popular Woodworking mentions that removing any excess stain before it dries will produce a better-looking finish. So whether you are using spray paint or a roller, you will need to touch up on those areas that are not evenly coated and remove the excess using a brush. Cover plants and grass nearby with drop clothes regardless of your chosen method.
5. Get help from the pros
You can save some money if you decide to take up the job yourself; however, you must realize that staining a fence is a huge task, especially if you have a big barrier. It requires a lot of time, preparation, and plenty of elbow grease to complete the job. But is staining a fence entirely outside the realm of DIY tasks? Absolutely not! It is possible, especially when dealing with a small wall. While it is true that DIY will save you a couple of bucks, homeowners often underestimate the hidden purchases that you will have to make during the process.
Alternatively, you can get the professionals to take care of your fence, saving you the trouble of making expensive purchases and not ending up with a finish you desire because of inexperience. Professional staining costs between $2 to $13 per linear foot, per Fixr. If you think about the time, effort, and resources you will put into this project, it might be a good idea to spend the extra coins on a professional with the promise of a stellar finish and a long-lasting coat.