The Easiest Way To Install Your Doorbell Camera
We may receive a commission on purchases made from links.
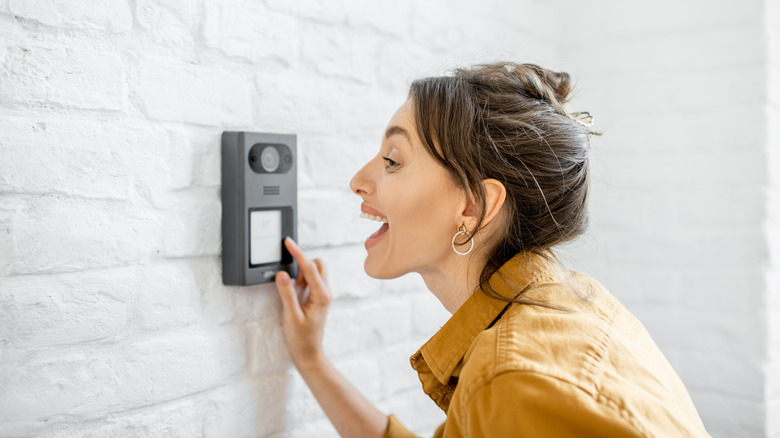
Ever wondered why people spend a lot of money installing cameras around their homes? It's not a far-fetched idea; home security is non-negotiable. While traditional doorbells are the most widely used tools for homeowners to perform the first check on visitors, technology has switched up the game a lot. Now, beyond regular doorbells and holes in the door, you could always install a doorbell camera to reveal the face of the person behind the door. Not only that, it's a great way to monitor kids in the yard, enjoy some sound sleep, or even catch a burglar unawares.
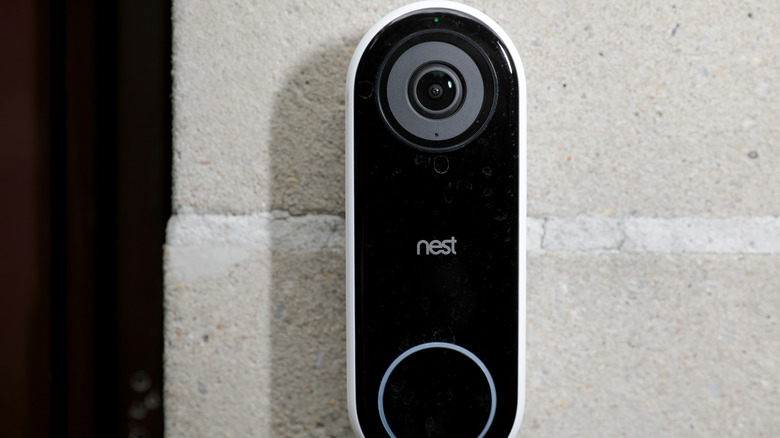
Modern camera doorbells are gradually replacing the traditional types. According to Android Police, the best picks for 2022 include Google's Nest Hello, Arlo's Video Doorbell, and Ring. Business Wire writes that nearly 20 million Americans have a doorbell camera for their homes. Are you among these homeowners? While a doorbell camera comes at $25 to $50 (per Walmart), you can keep costs low by installing it yourself. Don't know how? We're here to help!
Identify all the doorbell parts
To begin, it's pretty important to identify all of the parts of your doorbell camera. The package of your doorbell should come with a manual guide to help simplify the installation process; read it first. After reading, Edrawsoft says to get familiar with the accessories needed for installation. This should include a screwdriver, a charging cable, a push button, and the transformer.
Next, identify the connection spot for your doorbell camera outside of your home. According to Onit Home, factors like height, power source, camera angle, and landscaping of the environment will influence the location you choose for the doorbell camera. Generally, the rule of thumb for doorbell installation is to maintain a 4 feet distance from the ground. Also, take into account any dwarf trees and flowers at the entrance of your home that could obstruct the camera's view during the bloom season. We also recommend selecting a spot opposite the street or directly opposite your door hinges for your doorbell.
Power source
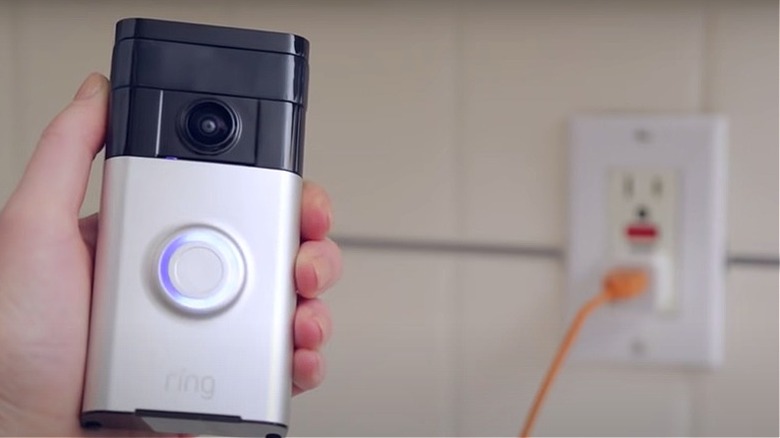
In general, there are two forms of power sources for a doorbell camera; hardwired or battery-powered. While wired doorbell cameras are quite restricted in terms of installation spots, the experts at Consumer Reports write that they often come with other benefits, such as motion sensors and multiple other customizations. If you're opting for a wired doorbell camera, all you have to do is to connect the adjoining wires and screw the doorbell camera into place. If you do not seem to have a spot for this, simply hire someone to install a doorbell circuit.
According to Onit Home, battery-powered doorbell cameras can be installed anywhere. However, if you're working with a battery-powered doorbell camera, bear in mind that its functionality is dependent on you; you have to remember to keep it charged. While the charge time is dependent on the model, the average charging time is several hours, but the battery life will last for months (via Smart Home Starter). If your battery keeps dying even after a full charge, chances are that you have a lot of battery-sapping apps on. To fix this, simply adjust the settings on your doorbell camera app to remove battery-sapping activities.
Install the camera app and set up an account
Once your battery is fully charged, set up an adjoining app on your phone; this will serve as the central control for the doorbell. On your device app store, search for your doorbell camera application and install it on your phone. Set up an account and insert a password to secure it. This account can be used for all doorbell products of the same brand in the future.
With your account setup, proceed to connect your device to the doorbell. On your app list of options, you will choose the option to add a device (via Blink). From here, the app should direct you to scan the QR code on your doorbell, which is often right on the front of the device. But if you can't locate it, Lorex recommends checking out your device's face plate, base, or side. Finish up with the other account requirements and enable your location tracker to register your address on the device.
Install a chime and connect to Wi-Fi
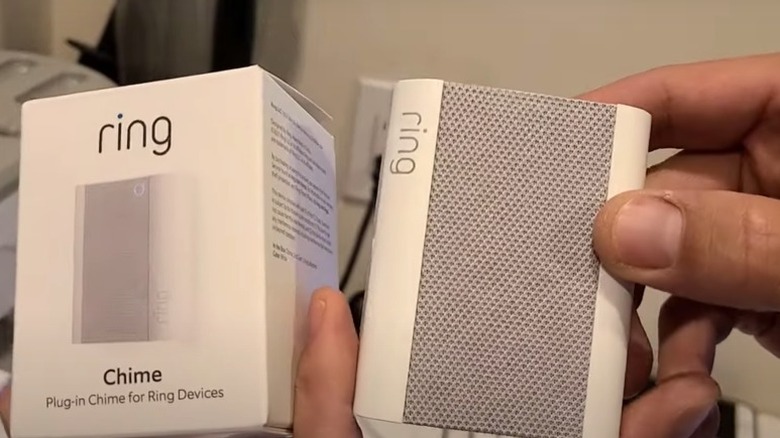
A chime adapter is simply an extra piece of accessory that you can connect to your doorbell for added security. Not every video doorbell requires a chime, though. The experts at SimpliSafe recommend that you should only get one if it's compatible with your video doorbell. Additionally, a chime adapter can sometimes serve as a Wi-Fi extender when placed between the router and the doorbell after installation (via Ring). Although they are typically sold separately, you could still purchase a doorbell camera and a chime for as low as $39 on Amazon.
You can connect your chime to your phone application by following the instructions for your given doorbell model. Then test the chime to see if it works (via Ring). To connect your doorbell to your home's Wi-Fi, follow the model's instructions, which typically include turning on a button on the doorbell and waiting for a light to signal connection. Then use the app to finalize the connection by inputting your Wi-Fi password and waiting for both devices to link (via A Secure Life).
Install your doorbell
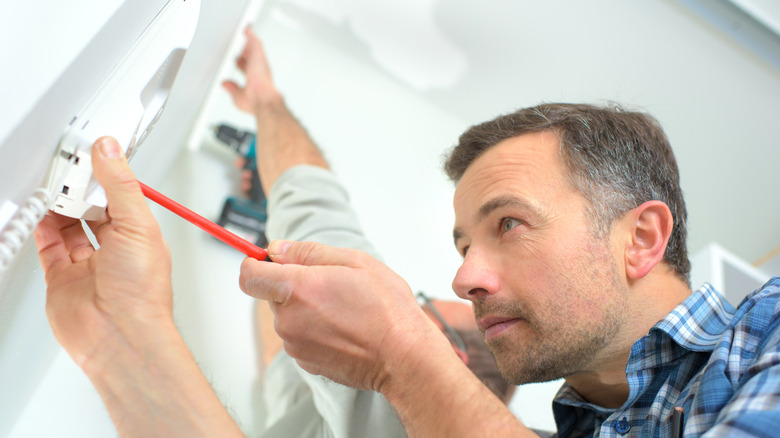
Finally, it's time to install the doorbell. At the spot you've marked earlier, gather your components and get ready to do some work. Place the mounting bracket of your doorbell against the wall to mark the screw areas with a pencil (via Telus). If your outer space is built with bricks or concrete, you'll need a drill to gently make a hole for your screws. Then, insert the plastic anchors provided into the holes. However, skip this drill step to avoid damage if it's a wood or vinyl surface.
Once the connection is secured, place the brackets over the wall and tighten them with screws as recommended by Consumer Reports. With this done, gently place your doorbell over the mounting bracket to fit in, applying a little force if necessary. You'll notice you have some leftover small screws; these are for you to secure the doorbell to the bracket. Once done, try your doorbell and adjust the motion settings if needed. That's all you need to install your doorbell camera. Easy peasy, right?