5 Hacks For Painting Your Baseboards Like A Pro
It is often not mentioned how a simple paint application to the interior trim can transform a space. One home renovation project that often flies under the radar is improving the appeal of the baseboards. Since baseboards are installed close to the floor, they are susceptible to damage from random knocks and even damage from pets. They are also almost hidden from sight, making it easy for homeowners to forget about them. Instead of removing the baseboards for your home's interior, think about giving them a fresh coat of paint. According to Kiefer Home, painting is among the cheapest home renovations that add a jolt of personality to your interior space.
You will be surprised how much repainting your home's baseboards can spruce up the interior appeal. However, painting projects are often considered as one of these home improvement tasks that are outside the realm of DIY projects. While there is some truth to this, it is also important to mention that painting the baseboards in your home is not as complicated as advertised. You only need a little preparation, handy tools, and some elbow grease. It doesn't need to be a task you dread; here are a few tricks you can implement to give any room the necessary facelift, just like the pros.
1. Clean the baseboards

The importance of cleaning baseboards before painting can never be emphasized enough. Again, the baseboard is installed right at the bottom of the wall making it one of the dirtiest places in the house. There is no doubt that cleaning is not fun; however, you don't want to run the risk of your new coat of paint failing to adhere. First, you will need to prepare a solution that will remove stains, and any debris stuck on the board. According to Pro Housekeepers, the best DIY stain and grime removal solution should contain a mixture of hot water and vinegar in equal measure.
Alternatively, you can use trisodium phosphate-based cleaners that mix easily with water. You will also need a tough scoring pad to help scrub off the stain and dirt on the baseboard. It is also worth mentioning that you might need to double down on the horizontal surface of the baseboard that acts as the landing pad for all the dust and dirt. Once you clean the baseboard, allow it to dry completely before going in with a fresh coat of color — paint doesn't adhere well to wet surfaces.
2. Patch and sand
The next step right after cleaning the baseboard is to fill the tiny holes that develop over time on the wood. Also, look for visible nail depression that might need filling. Use a putty knife to apply wood filler to the holes and seal them carefully. Remember, you don't necessarily need to fill even the tiniest cavities; the coat of paint will conceal most of the small pores on the wood. Starting from the edge, press the wood filler into the depression. Be sure to overfill slightly because the wood filler shrinks when dry.
Right after, you will need to allow the filler to dry. Depending on the size of the depression, the filler might take up to two hours to dry completely, according to WoodWorkly. The wood filler leaves unsightly marks on the baseboard that will look ugly if painted over. For this reason, you must sand down those lumps and markings to make the surface smooth and even. For this task, sandpaper does a great job of creating a smooth surface for the paint. Sanding is also essential for old baseboard wood that naturally ages over time, creating a rough surface.
3. Be sure to re-caulk
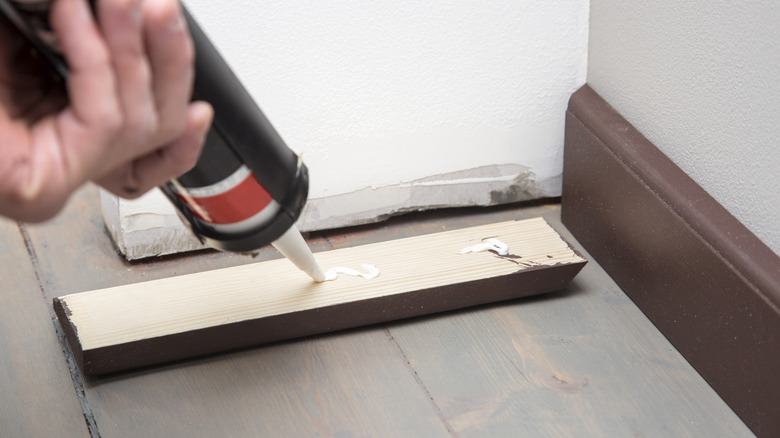
The whole idea behind applying caulk between the baseboard and the wall is to seal the space. Over time, the existing caulk often breaks down due to expansion and contraction, leaving open crevices. So before painting, it is essential to re-caulk to fill gaps between the wall and the baseboard for a nice, smooth finish. Furthermore, taping over uneven baseboard borders results in irregular lines after painting. To regulate the amount of caulk you apply to the cracks, be sure to cut the caulk at a 45-degree angle, via Do It Yourself Help.
This will go a long way in ensuring the caulk is delivered in the right amount and is also pushed right into the cracks. Premium caulk is usually a good choice compared to its cheap counterparts, and they are usually more flexible and paintable, allowing the finish to stay intact for longer. Wipe off any excess with a cloth, which will also help push the caulk further into the crack. Allow it to dry before you begin masking.
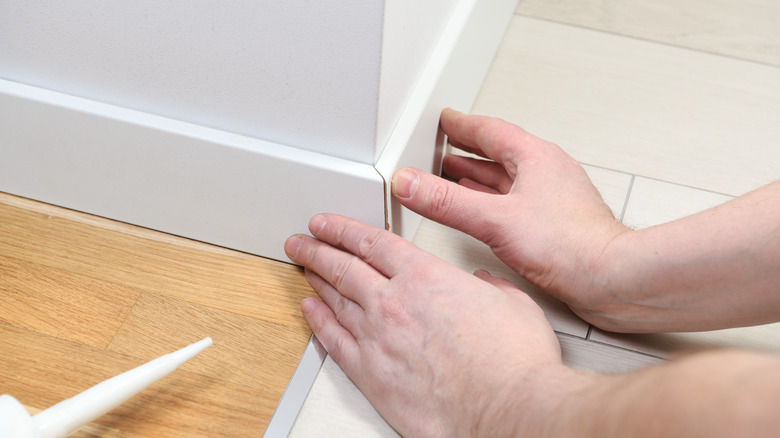
4. Tape the wall and floors
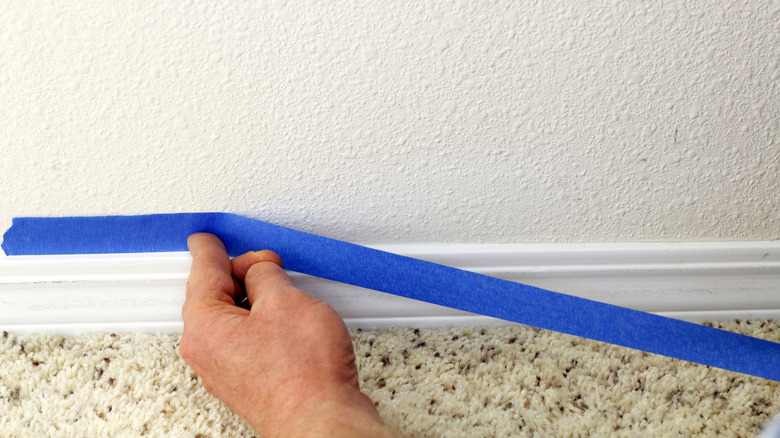
Depending on factors like the size of your house and the number of rooms you intend to work on, masking the floor and the walls can be daunting and time-consuming. However, this will go a long way in ensuring you don't stain your beautiful flooring and wall with paint. Remember, masking doesn't guarantee a perfect outcome because not everyone sticks it well enough on the wall or the floor. One trick you can use to ensure that the painter's tape adheres well and sits flat on the surfaces without leaving small voids is to press down with the sharp edge of a taping knife. Be sure to stick the tape in a straight line in a continuous fashion without cutting it midway.
Alternatively, you can use a taping knife if your baseboard has some clearance between the floor and the board. All you have to do is to move the taping knife as you continue painting. It is worth noting that this trick only works for baseboards with some clearance between the board and the floor. Be careful not to get too much slop on the floor or wall side. Once the paint dries, it will be difficult to remove the mask without ripping some paint off the baseboard. Q1 Premium Masking Solutions advises that you consider using a putty knife to score the edge between the tape and the baseboard to avoid damaging the newly painted surface.
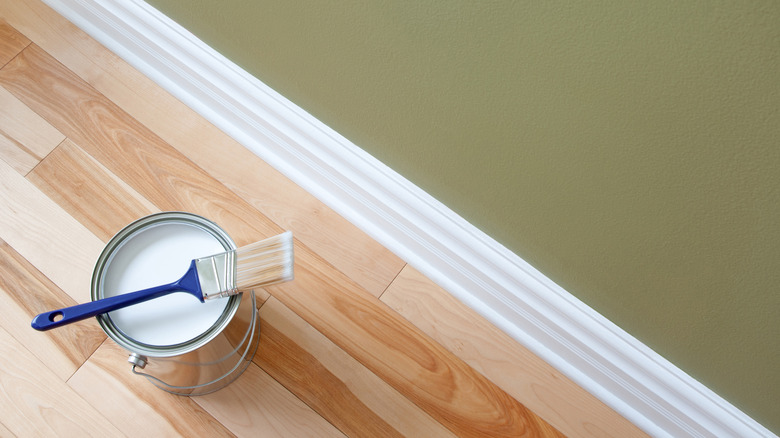
5. Prime and paint
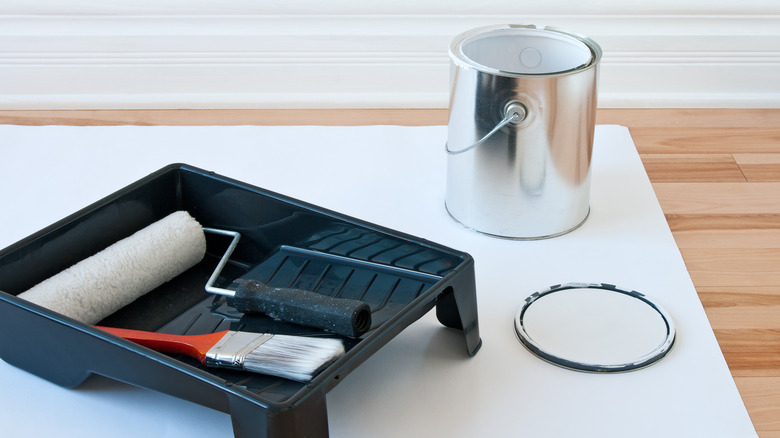
While not every trim requires priming, it is worth noting that old baseboards and those made out of raw wood would benefit immensely from a generous coat of primer. First, priming helps prepare the surface, seal pores, and create the perfect canvas for the paint to adhere correctly, via MB JESEE Painting. Untreated wood can be pretty absorbent; therefore, you will need multiple coats of paint if you fail to prime beforehand. Allow the primer to dry completely before going in with the color.
When painting the baseboard, you must realize that your regular wall paint won't cut it. Colors for baseboard and other trim need to be premium and semi-gloss. When applying the paint with a brush, use the proper brush strokes. Dip the paintbrush halfway through and paint the board horizontally. You should consistently implement one rule of thumb: using less paint on your first coat. Allow the baseboard to dry before applying a second coat. Finally, remove the painter's tape only when the paint is dry.