The Easiest Way To Wallpaper Around A Window
There are two main options when it comes to incorporating your walls in your home decor — wallpaper and paint. The debate between the two options is long-standing, with people usually leaning strongly in favor of one over the other. Despite the controversial discourse around wallpaper, it's more than just a visually pleasing option.
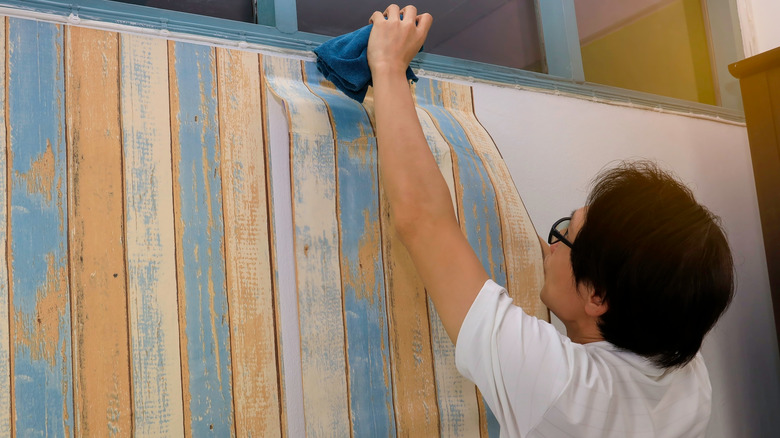
As HK Interiors points out, paint usually only lasts an average of two to five years, whereas wallpaper — when properly applied and maintained — can last as long as 15 years. Some wallpaper materials, like vinyl, are also incredibly easy to clean with a simple wipe-down, making them an ideal option for those with more hectic households. This also makes it a more inexpensive option overall. The drawback most people have when it comes to wallpaper, though, is the application process. Applying wallpaper on a flat wall is more tedious than difficult, but trickier areas, like around windows, are when many people tap out. Keep reading to learn how to make applying wallpaper around a window as easy a process as possible.
Choose the right wallpaper
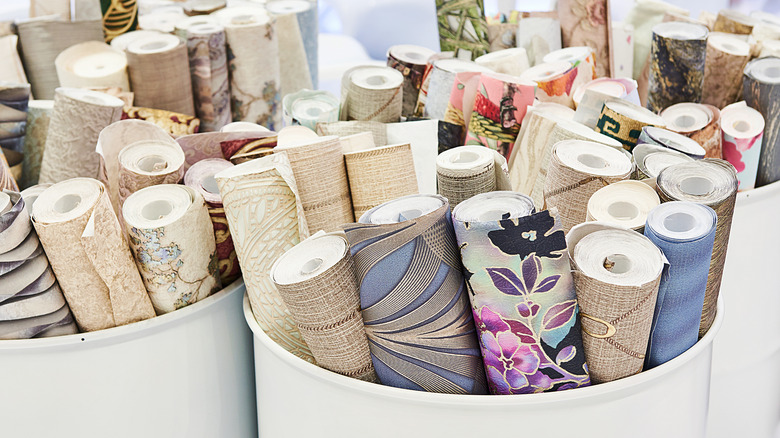
Set yourself up for success by choosing the wallpaper that's easiest to apply. This can mean a few things. If this is your first time wallpapering, start simple — don't order a wallpaper with an elaborate design you'll have to seam and pattern match.
Similarly, A House Full of Sunshine warns against purchasing wallpaper without a selvedge edge. A selvedge edge is essentially a white border on the edge of each end of your wallpaper scroll that needs to be cut off before application, and can also mess up your pattern/seam matching. This just unnecessarily complicates the process, especially in an already complicated area like a window. They also suggest opting for a paste-to-the-wall wallpaper. Pasting to the wall requires you to simply apply the adhesive to the necessary spots on your wall, and smooth the paper over, as opposed to dredging through the complicated process of soaking and pasting the wallpaper.
The first window strip
The first strip of wallpaper you hang should not be near your window. Even better, if you have walls without any windows, doorways, sockets, or other obstacles, start with those to get the hang of things. Once you're in the groove of things, you can move onto wallpapering around your window.
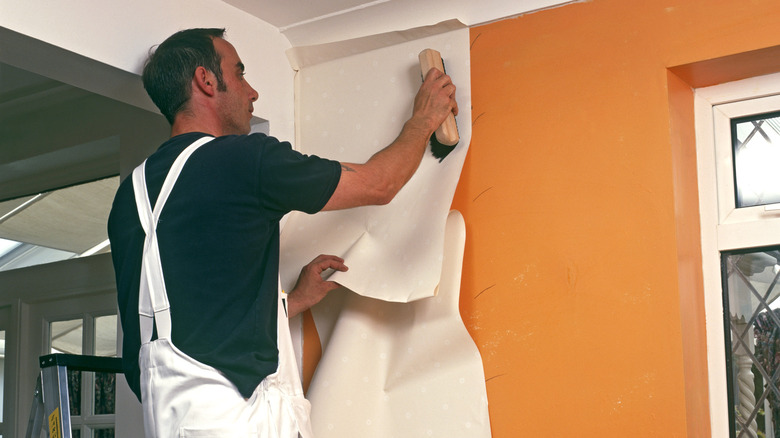
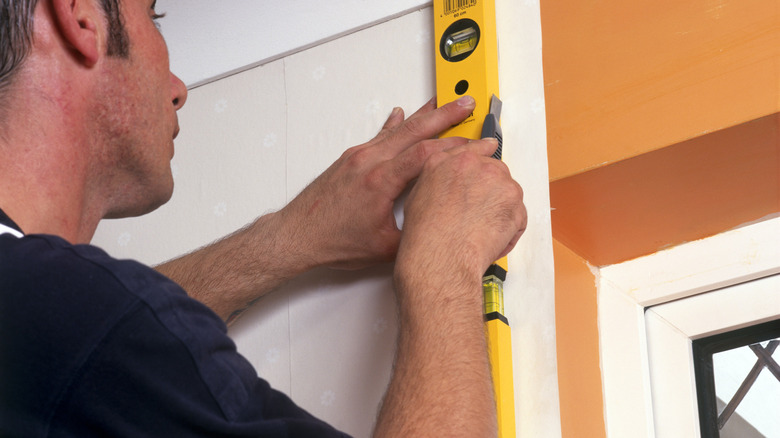
The first strip you hang by your window shouldn't be too painful. Wallpaper From the 70s advises wallpapering from the left to right, which means when you get to your window, the strip of wallpaper will likely be half on the flat wall, half overlapping the window — this is ideal. In fact, this strip should be no different from all the ones before it. Simply line up the strip so the pattern and seams match, and paste down as usual. There are only a few variations for this application. One, don't apply any paste to your window frame or reveal — yet. Two, make sure the strip of wallpaper is wide enough to account for the reveal, which is the wood jutting or sill surrounding the window. Give yourself a little bit of seam allowance here — no less than a quarter inch or so.
Trimming the excess
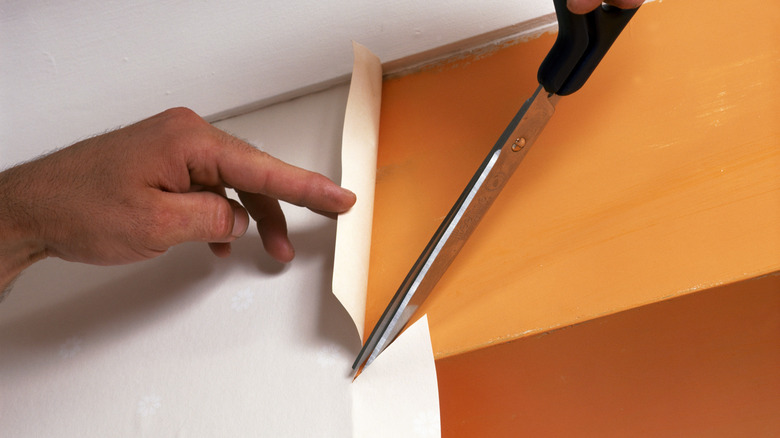
Next up is the first strip totally covering the window, but before rushing into this step, you need to trim up the first overlapping strip. If you have a recessed window with a significant reveal, Homebuilding & Renovating recommends applying your wallpaper into that recess. Do this by using either very sharp, precise scissors or an Exacto knife to cut a diagonal line at the top edge of the reveal in the wallpaper, which will allow you to fold each piece back, flush against the reveal. From there, simply paste the paper onto the wall as usual.
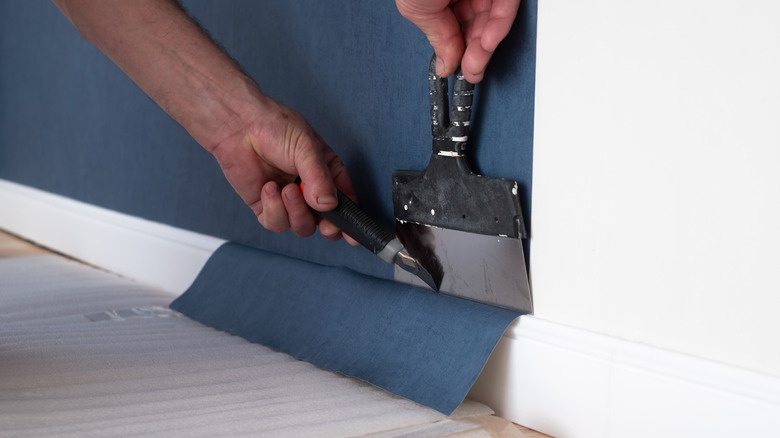
If you have flatter windows with either a small lip or none at all, this is slightly easier, but still requires a sharp knife or razor. When applying the first overlapping strip of wallpaper, use a putty knife or something similar to crease the wallpaper into the architrave. Once it's hung, you can simply use the knife to trim against the seam and cut away the excess — just be careful the edge of the paper doesn't lift. Also, be sure to clean up any residual wallpaper paste before it sets.
The second strip
Now it's time to start on the second strip, which will fully cover the length of your window. This is a little more complicated than the previous wallpaper drop, but not too much so. As opposed to accounting for extra width like with the first strip, this one will require you to account for extra length, according to Wallpaper From the 70s. This is because, like the previous wallpaper being pasted into the vertical edge of the recess, this one will be pressed into the top and bottom.
Begin by measuring out your strip of wallpaper. The biggest thing here is to make sure there's extra length — half an inch for the top and bottom. You can also opt to overlap the paper if you need to line up the patterns, but this requires a slightly complicated overlap removal later on. Simply paste the wallpaper as usual from the top of the wall to the top of the window, using a putty knife to crease it into the architrave. Then, measure out the reserved half inch, and cut. Next, move to the bottom and repeat the process, again making sure to keep extra paper for the window reveal.
Finishing up
Once you have the wallpaper applied above and below the window reveal, it's time to yet again get these pieces secured inward. This process is very similar to the first trimming, except you don't need to make any diagonal cuts. Instead, you simply need to fold the paper down into the reveal and paste it. If you have a flatter window lip, again, all you need to do is trim the remains using an Exacto knife, and clean up any excess paste.
Once this is done, repeat the process until you get to the right edge of the window, which mirrors the first overlapping window strip process. If you decided to overlap your wallpaper to pattern match, your last step is to remove the excess paper. This process is simple but needs to be done carefully so you don't mess up all your hard work. Per Wallpaper From the 70s, begin by grabbing a wallpaper guide or metal ruler, line it up under the overlap, and use a sharp knife to cut it off, going slowly and carefully. Discard the trimmed paper, and use a putty knife to smooth everything into place.