How To Bring Plexiglass Back To Pristine Condition
We may receive a commission on purchases made from links.
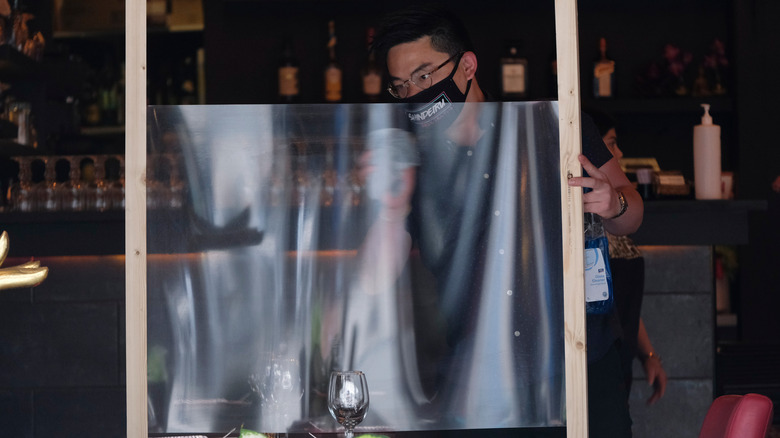
The COVID-19 pandemic made us suddenly, intimately familiar with a lot of things we didn't think about much before, like masks, disposable gloves, and ubiquitous plexiglass panels erected to shield people from each other. Plexiglass is common for a lot of uses, as well... everything from skylights, to shower doors to submarine windows and headlight lenses, says Arch Daily. And plexiglass is acrylic, so you can fold in a lot of other uses you might not have called "plexiglass," like clear acrylic furniture.
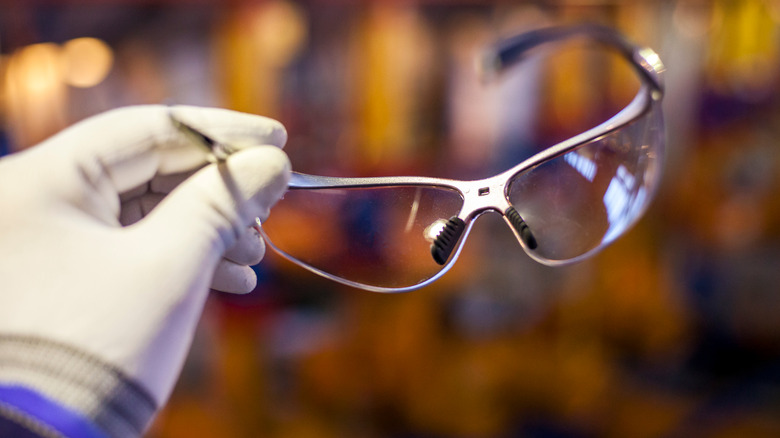
Acrylic plexiglass is sold in every form, color, and opacity you can think of. It is impact-resistant (10 times more than glass), weather- and UV-resistant, chemical-resistant, stable, light, and has great optical clarity (so it's often used for eyeglass lenses). In its common sheet form, it can be cut and repaired using basic tools, with flame-polishing being a possible exception here (via Acme Plastics).
With time and use, plexiglass can start looking scratched and cloudy. Fortunately, it's relatively easy to make basic repairs to the finished surfaces of plexiglass, and very likely you can eliminate bigger flaws. In fact, you can sometimes make plexiglass better than it was when you bought it.
Restoring plexiglass is a progressive process, each step of which is designed to remove flaws left in previous step, similar to sanding with increasingly fine sandpaper. So, the intensity of restoration and quality of finish are more or less defined by how many steps you complete. These steps include cleaning, scraping, sanding, polishing/buffing, and flame-polishing, usually in that order. For minor blemishes, you might move straight from cleaning to sanding or polishing, and stop there.
Cleaning chemicals and supplies
The most basic level of fixing up your plexiglass is cleaning it properly. This is also the first step for any more intensive process of removing cloudiness, scratches, or manufacturing flaws. The main goal when cleaning acrylic is to manage cleaning without damaging the surface and achieving the opposite of what you set out to do. This is simple enough, with a few basic procedures and rules.
First, round up your supplies. Get your hands on cleaning cloths that won't scratch the plexiglass. Displays2go recommends microfiber cloth, while The Plastic People recommend a soft cotton cloth. Abrasive sponges, brushes, and paper towels (which are surprisingly abrasive) are strictly off-limits. It might be a good idea to wear cotton gloves, if you're the kind of person who owns cotton cleaning gloves. You can use hot, soapy water or a dedicated acrylic cleaner, but take care to avoid damaging your plexiglass by using ammonia- or petroleum-based cleaners like glass cleaners and WD-40; these can leave you with cloudy plexiglass and a bigger job than you started with. Some experts recommend 50% isopropyl alcohol, which can be difficult to find locally but can be had on Amazon (via Two Way Mirrors).
Cleaning steps
As cleaning goes, taking care of plexiglass is a relatively painless process with great-looking, encouraging results. What you must bear in mind is that this and all subsequent steps have to be carried out so as to avoid additional damage to the acrylic.
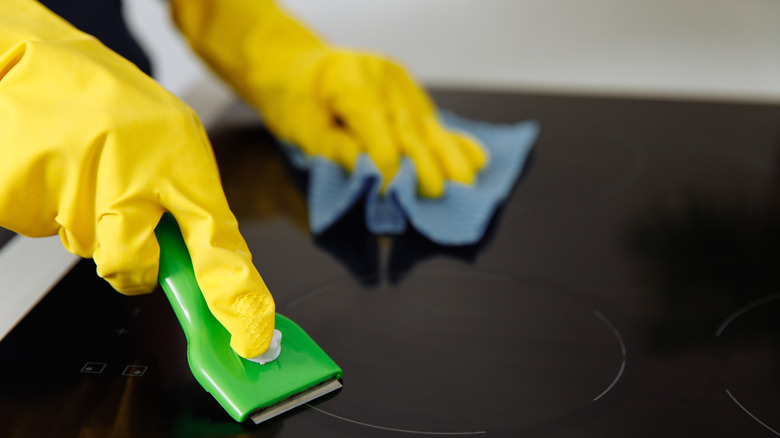
Spray on your cleaner or blot it on with your cleaning cloth. Spread it lightly to cover the surface. Wipe gently to clean, with as little pressure as possible. Be careful to watch for any grime building up on your cleaning cloth, since pushing this stuff around will scratch the surface of plexiglass. Switch cloths as often as you need to. You can take the additional step of adding a disinfecting chemical to the process as described by Displays2go, if that's beneficial for your particular cleaning job.
If your plexiglass was pretty dirty to begin with, it's a good idea to avoid scratching by making the first step a cloth-free endeavor. Resist the urge to brush off the surface or wipe it down dry; making dry contact with a soiled acrylic surface is almost certain to result in scratching. Compressed air or a blow dryer on an unheated setting is a good option. You can achieve the same thing with a spray bottle of water, but it's considerably messier (via Tap Plastics).
Basic polishing prep, as final step
Bringing plexiglass back to a pristine state is mostly a matter of performing steps in order, and stopping when you get to the desired level of shine and clarity. One exception is basic polishing, which is the last step if you're removing very minor hazing or scratches from a piece. You'd normally skip this step and move on to scraping for more in-depth restoration. The keys to basic polishing are to accurately determine if this one-step method is sufficient for the piece you're restoring, and to choose the right polishing method.
Polishing without scraping, sanding, and other more intensive steps is only appropriate for correcting minor problems like haziness or cloudiness, or scratches that can't be seen easily from a distance. More substantial damage will require more substantial work. And while basic polishing is simpler, it's also a process that will by design leave your plexiglass in less-than-pristine condition. According to WeeTect, one-stage polishing can leave a slight haze on acrylic that is attractive enough to be sometimes desirable, but it is an imperfection nonetheless. But if you lack the time or confidence for more involved restoration, this might be the right approach for you.
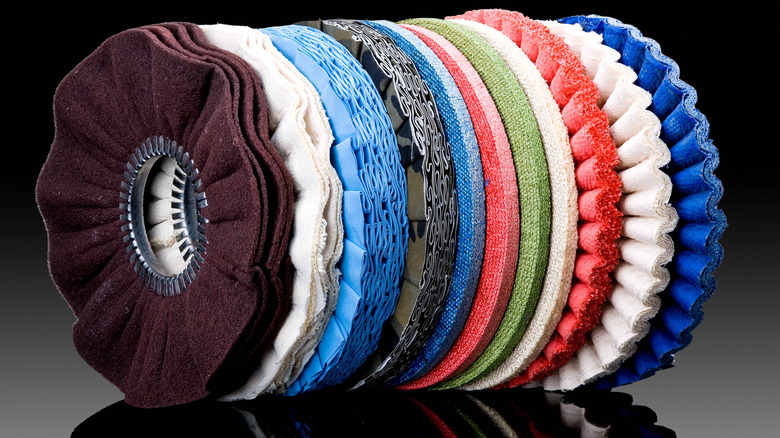
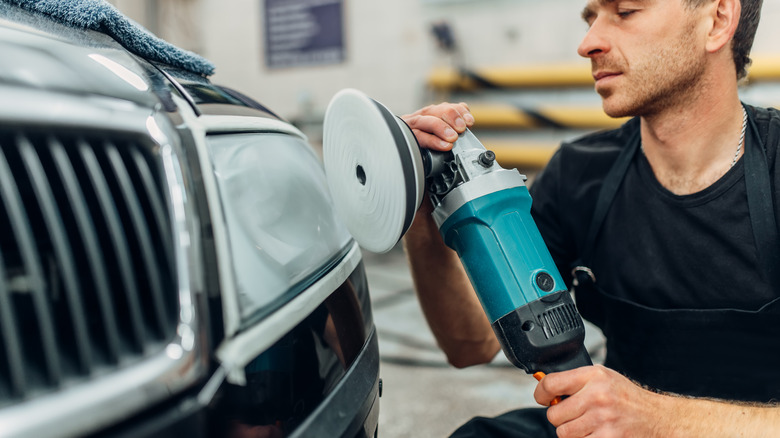
There are two approaches to basic plexiglass polishing. You might choose to polish by hand with a cloth and a polishing compound specifically designed for acrylic, or you might choose to use a cloth buffing wheel and polishing paste. Typically, a DIYer would use a buffing wheel with a drill, and power tools are prone to increasing the risk of damage and the potential magnitude of that damage, but it is obviously a faster and potentially more thorough process (via Plastic Warehouse).
The basic polishing process

The goal with polishing is to move through the steps deliberately and with care. With cleaning, your goal is to avoid abrading the surface of the workpiece, while buffing or polishing is a process of damaging the surface in a controlled way so that the damage is less visible and more acceptable than the deeper, more random, more visible scratches you are trying to remove.
If you're hand-polishing, apply your polishing compound directly to the surface you're restoring. One important note here: it is tempting to reduce the time and effort of polishing by spot-polishing the area that's most affected, but unless the rest of your plexiglass is in perfect condition this will probably leave you with a highly visible "clean" spot in the acrylic that is just as distracting as the scratches themselves. Using a clean cloth, work the paste in a circular motion, applying moderate pressure and checking your impact and progress constantly. Any particular area is likely to take a few minutes to polish, according to Acme Plastics. Once the scratches have disappeared, remove the remaining compound with a clean cloth.
Using a buffing wheel is a very similar process. You'll want to clamp your clean plexiglass in place, if possible, to keep the drill from moving it around as you work. Apply the polishing compound or wax directly to the buffing wheel. With the drill operating at a high speed for small wheels and a lower speed for larger ones, work the paste against the plexiglass surface with light, even pressure, and keep the drill moving at all times. Consistency is the key to power polishing. An area polishing more or less aggressively than any other will show in the final finish, and you must also take care not to overheat the acrylic, which could cause serious damage to the area. When you're done, remove any excess compound with a clean, dry cotton or microfiber cloth (via Plastic Warehouse).
Scraping purpose, preparation and pitfalls
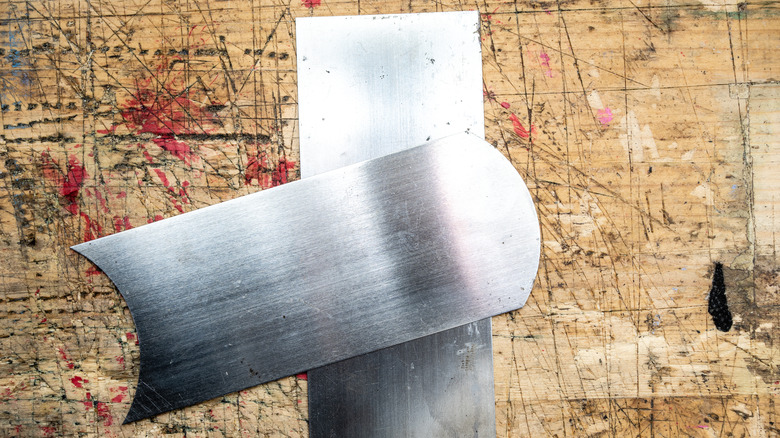
Scraping is a counter-intuitive process that many assume is a better way to damage something than to restore it. But this process has been used in other crafts, as evidenced by the use of card scrapers in cabinetry, and some aspects of using drawknives and push knives. It's a simple mechanical process to get a fairly even surface to use as a foundation for additional plexiglass repair steps. Since, as we've said, the plexiglass restoration process is a matter of removing increasingly fine scratches from the surface, scraping is best suited for removing very coarse scratches and marks left by saws and other tools when the piece was created. Accomplishing this is all about tool and technique.
Card scrapers or some replacement tool with a 90-degree edge are ideal for the scraping process, according to Engraver's Journal. Sometimes you'll see recommendations for using the back of a hacksaw blade or similar replacements. You can use a more knife-like edge for scraping, like a utility knife blade, with some adjustment in technique.
Note that many "acrylic scrapers" available from stores like Amazon are actually meant for cleaning acrylic fish tanks by scraping away matter like algae, not for reconditioning plexiglass, while others are made of acrylic for various scraping purposes. Many four-inch scraper blades come with a square 90-degree back perfect for scraping acrylic.
Scraping steps
Scraping is a simple process, but you must follow it closely to avoid exacerbating the problems you are trying to correct. You also want to remove excess material and defects like burrs without rounding the edges of your plexiglass.
Scraping is commonly done to improve the finish on edges of sheet plexiglass. If it's the edge of a sheet you're trying to improve, the job is fairly simple and effective. Any use of a scraper involves clamping your workpiece down to prevent its moving all about while you work, says Engraver's Journal. Pull the scraper towards you with the blade angled at 45 degrees. Apply firm pressure, taking care not to press down too aggressively. Keep the scraping blade level (perpendicular to the flat surfaces of the plexiglass) to avoid rounding the corners too much. Keep working the scraper until all the major tooling/machining marks are gone.
Scraping the flat surfaces of acrylic is essentially the same process. Some sources recommend using a much shallower, more upright angle (10 degrees, for example) on non-edge surfaces. If you're using a utility knife blade or other knife-like edge, adjust to a lower angle to prevent your blade from biting into the plexiglass and causing more damage (via The Plastic People).
Sanding materials and prep
As with scraping, our instincts sometimes tell us that sanding is more likely to destroy our plexiglass than to restore it. But if you're working carefully and with fine enough sandpaper, you can produce an excellent finish on plexiglass by sanding. Indeed, sanding is essentially a coarser stage of later buffing/polishing efforts you might or might not find worthwhile. If you're after a matte finish, you might be able to stop after the sanding is complete.
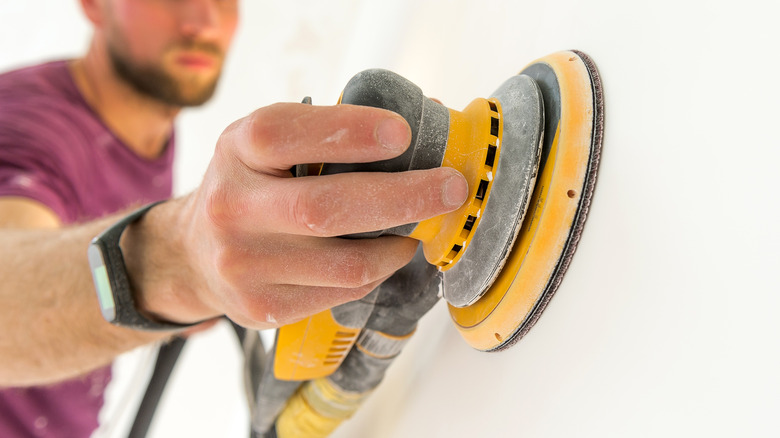
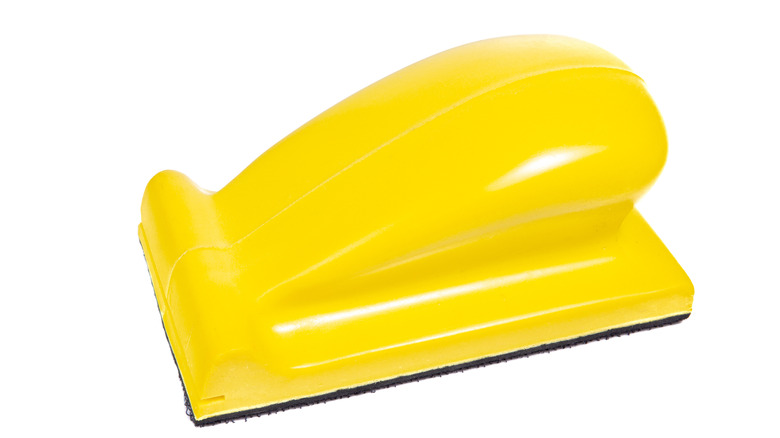
Materials are simple... sandpaper and water, in most cases. But which sandpaper you use is determined by the sources you trust and the finish you're after. Acme Plastics recommends starting with 800-grit sandpaper, then moving to 1200-grit. Most others recommend more coarse paper, proceeding from 180 through 600 grit, or even coarser 80 through 320 grit if you're just finishing the edge. Hand-sanding is possible, and using a sanding block is advisable, but ultimately an electric sander will improve both the process and your experience. In this case, you're also going to want to involve some water in the process, to avoid overheating the acrylic.
Sanding steps
Dry or wet sanding, done properly, will probably suffice for a finish on most plexiglass edges for which a satin finish is desired and, of course, the same steps will achieve a matte finish on flat acrylic surfaces as well. A good sanding block is important if you're hand-sanding, and attention to the temperature of the workpiece is key.
Start with clamping your plexiglass to your work surface, as always. You can use wet sandpaper, dry sandpaper, or alternate between the two. If using an electric sander, wet your sandpaper and keep a close watch on the surface temperature of acrylic; overheating can ruin your finish. Start with a coarser grit (say, 180) if you have deep scratches, according to The Plastic People, or a finer grit (perhaps 320) if you only have light scratches.
Keep the sander moving, and constantly remove any debris left behind by the process using a clean microfiber or cotton cloth, to avoid introducing new scratches.
The final buffing/polishing stage
As we said above, sanding and buffing are on a continuum as different degrees of the same process: using a mildly abrasive medium to make a surface regular and smooth. Unlike basic polishing, discussed earlier, full buffing generally requires a mechanical means of getting the work done... maybe even professional tools. It can be an involved process.
The steps here are fundamentally the same as with the "basic polishing" process we discussed before. You'll need to choose a polishing compound made for plastic or acrylic specifically, and get your hands on a drill and a polishing wheel.
Once you've cleaned and prepped the surface and determined which polishing compound(s) you plan to use, it's time to apply the compound and start polishing. It sounds a bit simpler than it is. WeeTect recommends only lightly spinning the buffing wheel against the polishing paste. As with most steps of restoring acrylic, be careful of the material's temperature, especially if using higher drill speeds.
Finish with a finer polishing compound for best results. Since this is the last step in an ever-finer process of improving the plexiglass's surface, the finer you can go here, the better. Finally, clean the workpiece and dry it with a clean cloth.
Flame-polishing
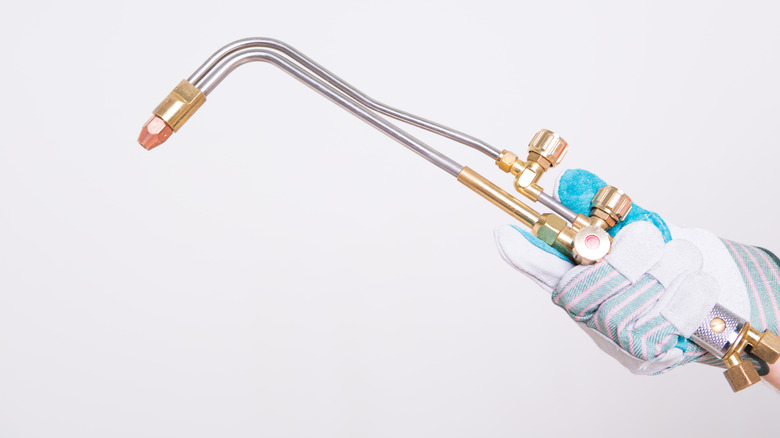
We've seen a few examples of how our intuitions can fail us when working with acrylic. There's no clearer example of this than flame polishing, in which a process associated with bombs and eternal damnation is used to make plexiglass more attractive. Unlike with bombs and anything eternal, the difference here is a matter of degree. Doing it right – not too fast and most definitely not too slow – is what keeps your vintage acrylic chair from being reduced to an undifferentiated blob of plastic. You must use an oxy-propane or oxy-acetylene torch, according to Instructables, the size of which will vary with the requirements of your workpiece. (Edge-polishing, for example, can be done with a very small flame.)
As always, we start with cleaning, but in the case of flame polishing, the goal is not to avoid scratches but to avoid debris fusing with your workpiece and becoming a permanent part of it. So clean as well as you can, then a little better.
The idea is to pass a torch flame quickly and evenly over the surface, which melts the plexiglass and leaves it with a shiny, smooth edge. Work quickly and steadily to avoid problems, and to get a handle on the right pace and technique you might want to watch a video of the process.
If you're uncomfortable with the process, try flame-polishing the edges first, if that applies to your situation. It's the most common mode of flame-polishing, and is relatively difficult to do incorrectly. It's a good way to practice for the main event.
Other methods and processes
There are other ways to put the shine back on your plexiglass, but unless you're thinking of going pro or you have 1,000 pieces to recondition, these involve tools and processes that would normally fall outside of the DIY realm.
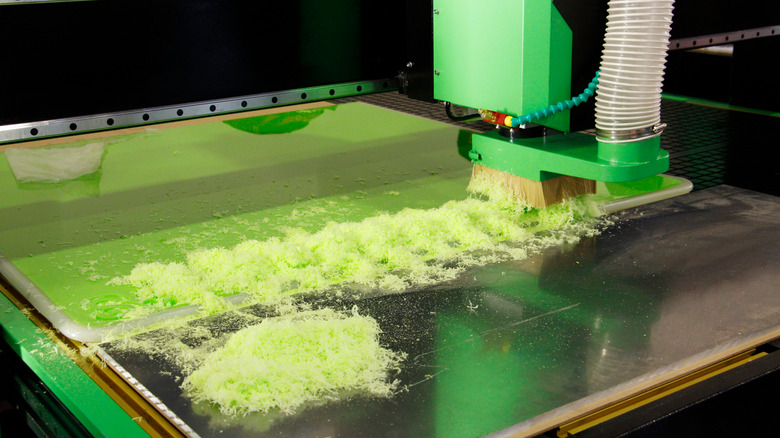
Nothing says "pro" like having a machine do the work for you, and there are a lot of commercial polishing machines designed for the acrylic manufacturing and refurbishing process. Altuglas International publishes an impressive manual on the topic of plexiglass fabrication, and it touches on many of the machines involved in the various processes of making acrylic attractive and useful. There are tools to automate practically every aspect of automating the plexiglass production process, from various milling and shaping machines to edge-polishers to mechanical buffers. There are even machines for flame-polishing, which probably makes that process sound more difficult than it is.
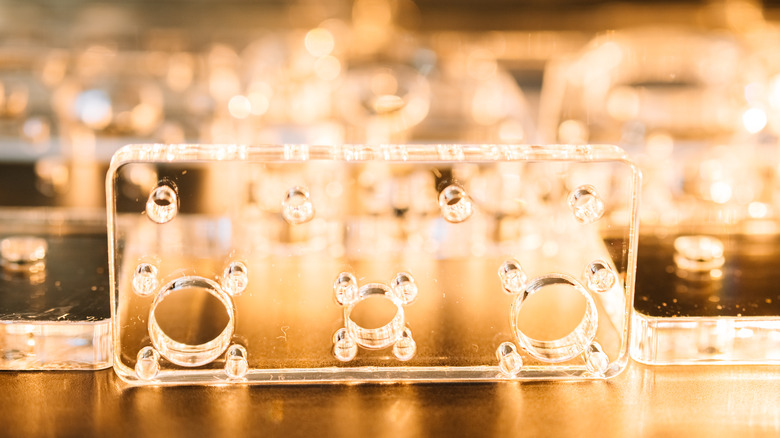
For applications with very specific or small tolerances, industrial machines are indispensable. For example, optical-grade acrylic is often vapor-polished with solvents to maximize smoothness and clarity. Vapor polishing is also used in medical applications to improve fluid flow and to improve the visibility of certain devices (via Arrow Cryogenics).