5 Smart Tips For Installing Stone Veneer Over Brick
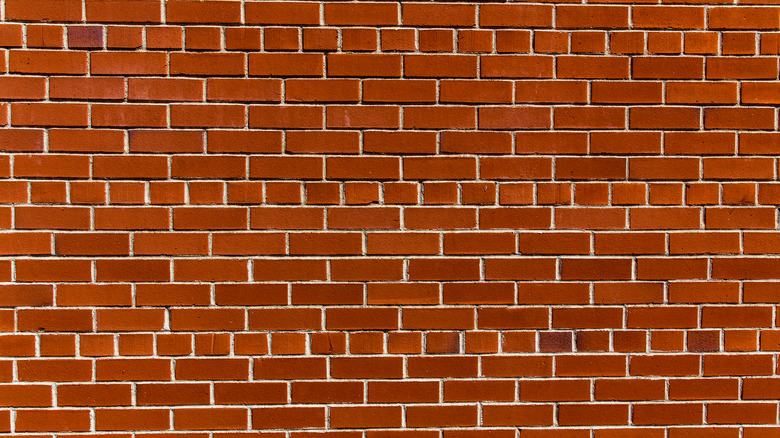
Brick is a staple building material that finds its way into many styles of interior design. Whether it's a brick fireplace or an exterior wall, the aesthetic of the material is legendary. But this doesn't mean that brick is always welcomed with open arms. Brick can sometimes bring about a cold and industrial sort of feeling rather than the warming and inviting atmosphere that you want to instill in your home. Moreover, Allura notes that mold, moisture, and other problems can become an issue in brick houses.
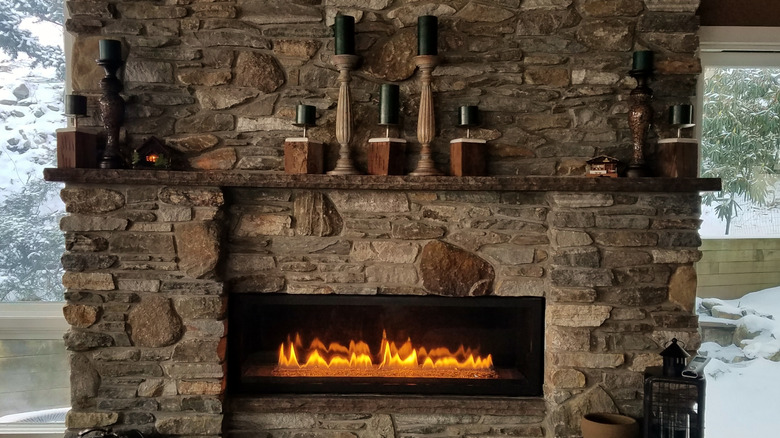
Many homeowners opt to change the look of their brickwork with the use of veneers. Stone is a common choice here, and it's actually much easier to install than you might initially think.
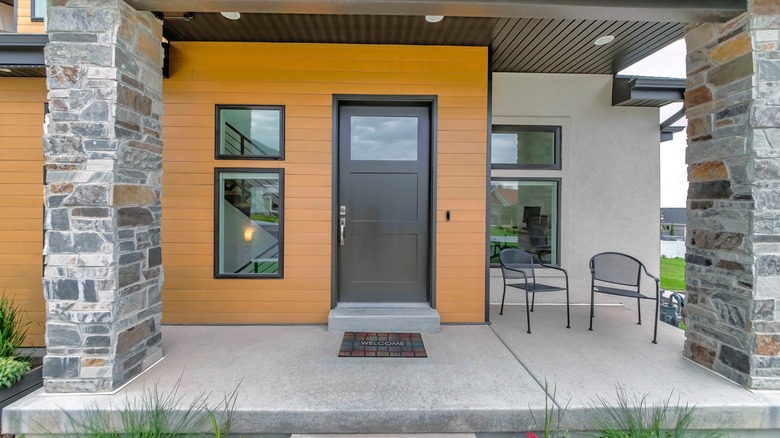
A stone veneer can dramatically change the aesthetic of your property for the better, and with this change, you also have the ability to match underlying color tones with existing features of the target room. Follow these five great tips for installing new stone veneer over your existing brick features for an easy yet effective renovation process.
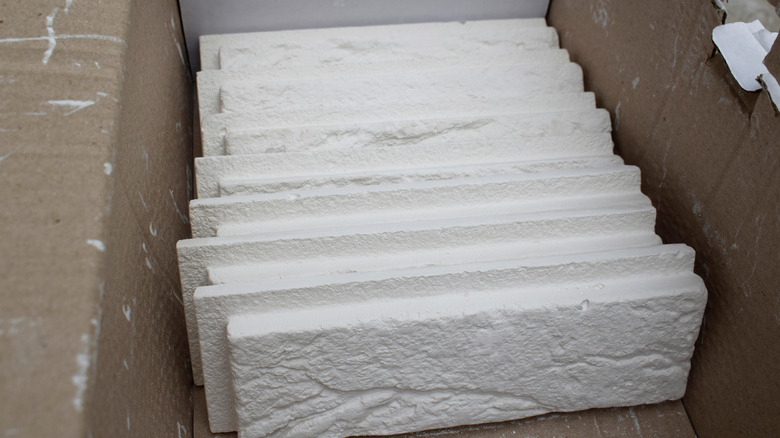
Select the type of stone veneer
There are many different types and styles of stone veneers you can choose from. Selecting the right color and texture pattern for your home and the new aesthetic that you are trying to build is a critical step when reinventing a brick fireplace or brick wall in your home or outside of it. Taking the time to decide what kind of stone installation you're trying to add will help make the whole process more streamlined and provide a better finished product
It's also important to think about the size of the project at this stage. Measuring the overall dimensions of the space that you are hoping to transform and getting quotes for the materials is essential. In order to achieve the look that you're going for, it might be helpful to sketch out a rough plan of the project, according to HomeByMe. Making a few drawings and calculating your budget, investigating different options, and perhaps even speaking with professionals who can complete the project for you will help set you off on the right foot.
Clean your brick surface for the new installation
After you've sourced your materials and finalized a plan for the build, it's time to start working on the brick wall itself. Stone veneer can be a true stone block or simply a stone face attached to backing material that makes for a lighter overall product. Either way, you'll need to prepare the surface for this new addition. Cleaning your brick wall thoroughly is the best approach at this stage. If you've painted your wall, you may want to consider removing the paint before you get started on building the framework for your new installation. Alternatively, homeowners who have stained their brick walls may want to apply a new coat of stain in order to give the brick a renewed layer of protection before adding this new veneer layer.
Brickwork is durable but it requires care just like any other asset that may be in your home. Ensuring that you are building a new veneer over the surface of a healthy brick wall will give the new installation a long-lasting life that might not otherwise be possible without the proper preparation of the underlying surface. Stain can perform this function admirably, according to Chicago Brick Co.
Add cement board, metal lath, or a wet scratch coat
It's not possible to attach a stone veneer layer directly to your brick wall, according to Slate Skin. You can, however, apply a wet scratch coat to unpainted brick in order to prepare the surface for more or less direct mortar addition. But it should be noted that this will alter the structure of your property more substantially. For most, the best way to achieve the stone veneer look is to create an interior surface that will sit between the two layers and allow you to transition the space back to a brick surface in the future. Cement board or metal lath is typically used to achieve this additional layer of customization and mobility. Both of these options provide a physical surface that you can stick mortar directly onto that doesn't sit on the brick surface itself.
Metal lath is a sheet of metal with small, dimpled holes running across the surface. Attaching this to your brick wall in a continuous layer allows you to build a strong substructure for the stone to sit against while ensuring that an insulating gap remains between the stone and the brick behind it. This means that you won't have to mortar directly onto your brick and potentially render it unusable as a facade in the future.
Apply your mortar coat to the installation
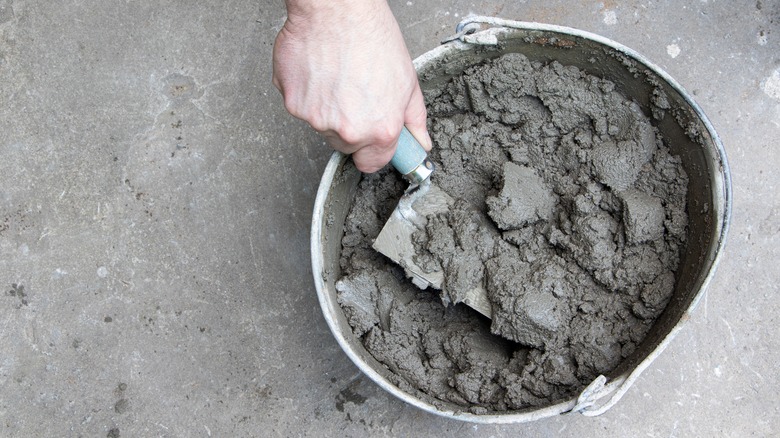
Once you've built a backing framework for your new veneer, you'll need to apply mortar to its surface. Using a trowel, start slathering the surface of your metal lath or cement board with mortar. If you're using metal lath, The Excellent Laborer reports that you should generously apply the coating and ensure that it squishes through the holes in the surface in order to reach the back side of the framing material.
The mortar will hold your new stone veneer in place and so it's incredibly important to get this part of the installation right. Ceramic Tile Foundation reports that you'll want to firmly press in a coating of mortar to begin the process, and then add more to the surface, running your trowel up and down in straight lines to ensure a high-quality bond between the backing substrate and the stone veneer material that you'll be sticking to it.
Press in your stone and let the feature set in place
After developing a quality mortar layer, it's time to set the stone veneer in place and allow it to set. Yellow Pages notes that the type of mortar you use to build this new veneer layer should be weather-dependent. In warmer weather, using a medium-slow drying mixture is the best approach. Yellow Pages also suggests keeping the mortar as dry as possible if the temperature is particularly cold: Mortar doesn't perform very well if it is exposed to moisture and freezing temperatures. At the same time, you'll want the adhesive to dry and set slowly for the best possible bond.
If you're working on a project that involves exterior walls, doing so in the spring or summer might be the best course of action. Once your veneer has set, all that's left to do is enjoy the new visual element that the aesthetic brings to your home environment!